Behind the Scenes in Algarve Portugal
Welcome to the fifth episode of Behind the Scenes, where you’ll learn how I took the photos on location, to help you improve your own photos.
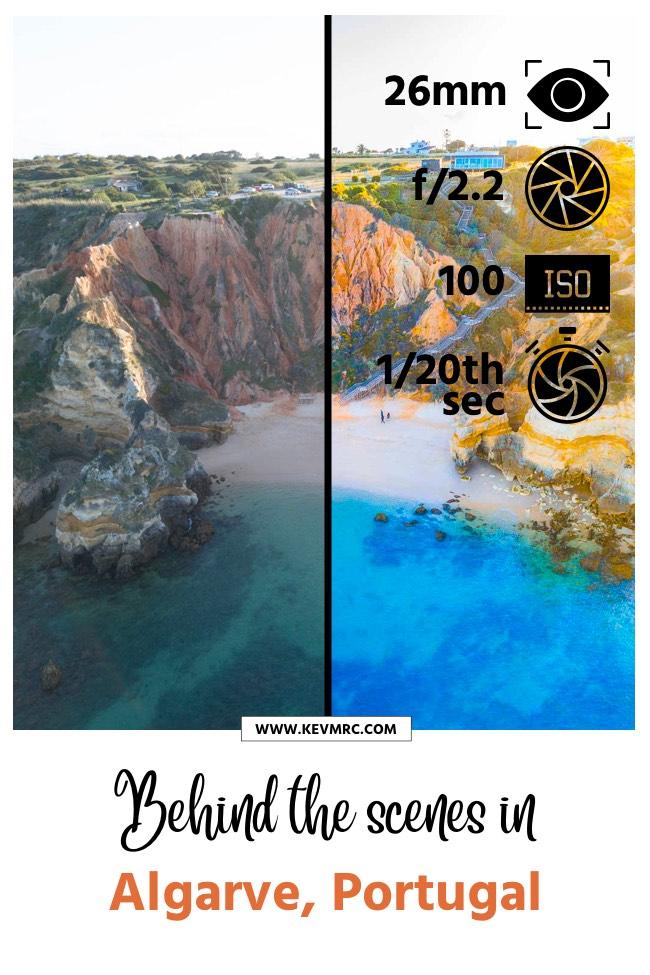
TABLE OF CONTENTS
The Behind the Scenes Concept
If this is the first episode of Behind the Scenes you’re reading, let me share more about the concept of the series, and what you can expect to find in each episode.
As the title suggests, in the Behind the Scenes series I will share with you the behind the scenes of how I took the photos on location.
Whenever I travel and take photos, I share stories with you about the place, the hikes, travel guides, and photo series. As my biggest goal is to help you learn photography easily, I want to take it one step further and share the behind the scenes details of how I took the photos you can see on the blog, in the other articles (photo series or travel guides).
Behind the Scenes in Algarve Portugal
If you missed my Algarve photos/guide, you can find them here:
Algarve Travel Guide
Algarve Photo Series
Let’s get started on the first image.
#1 Algarve image
Finished Image
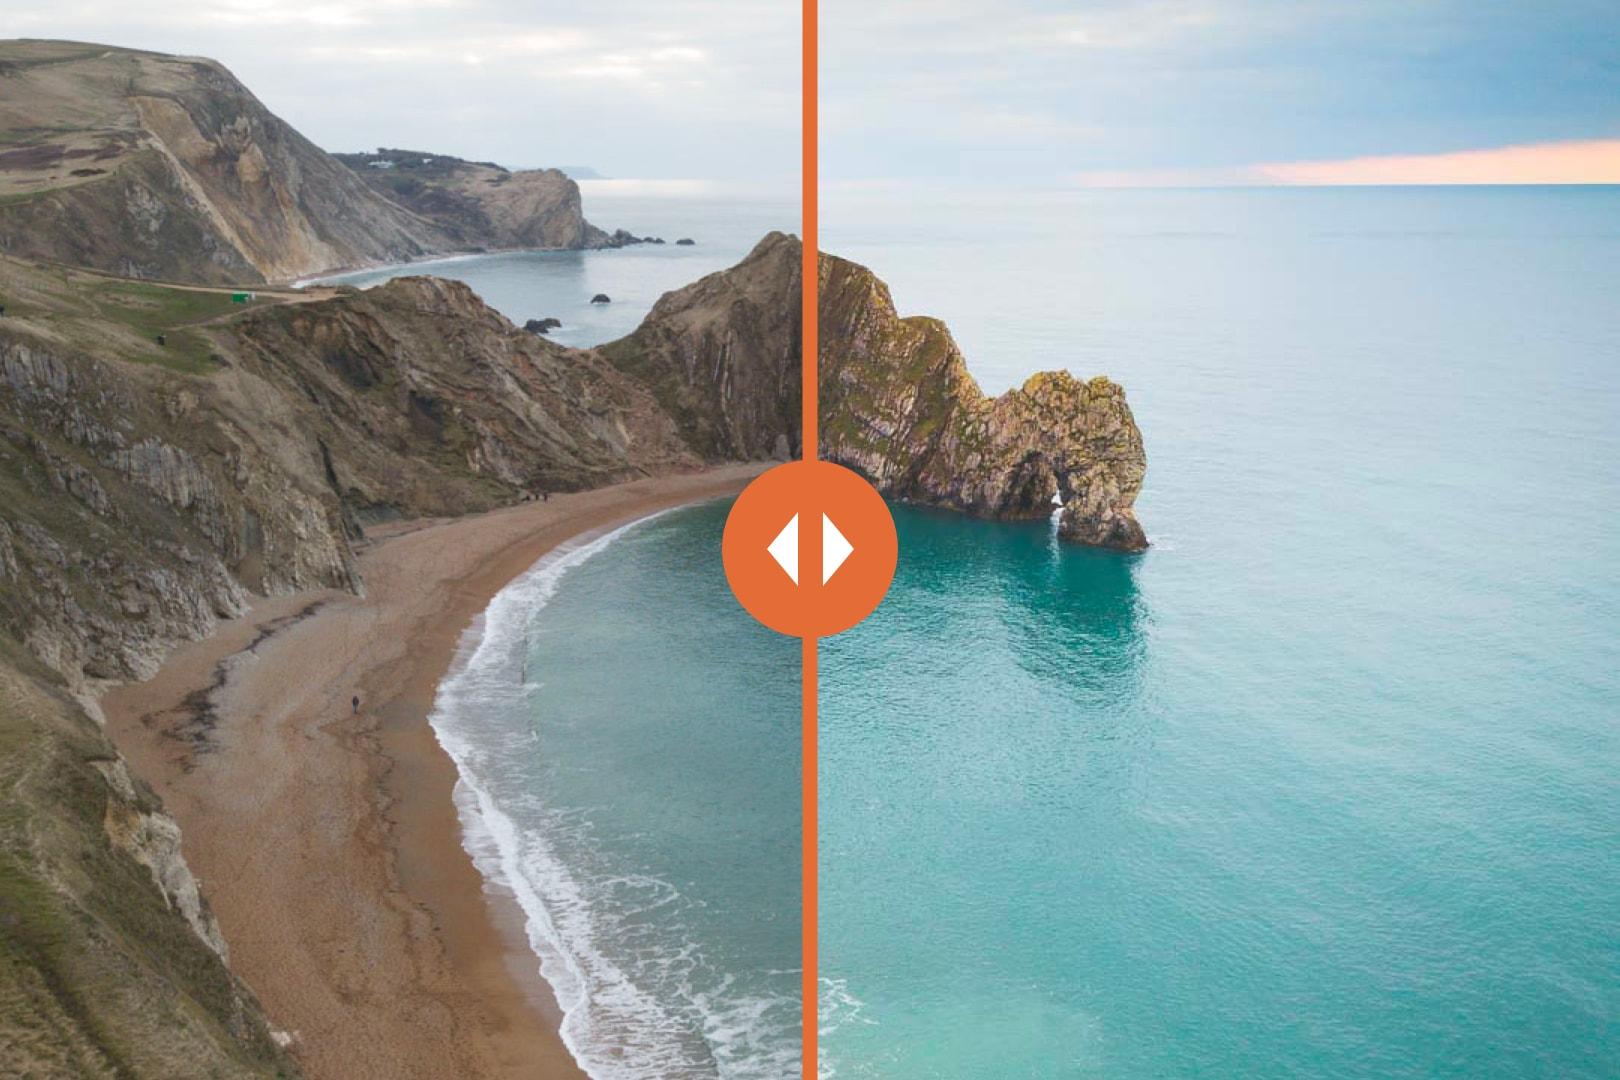
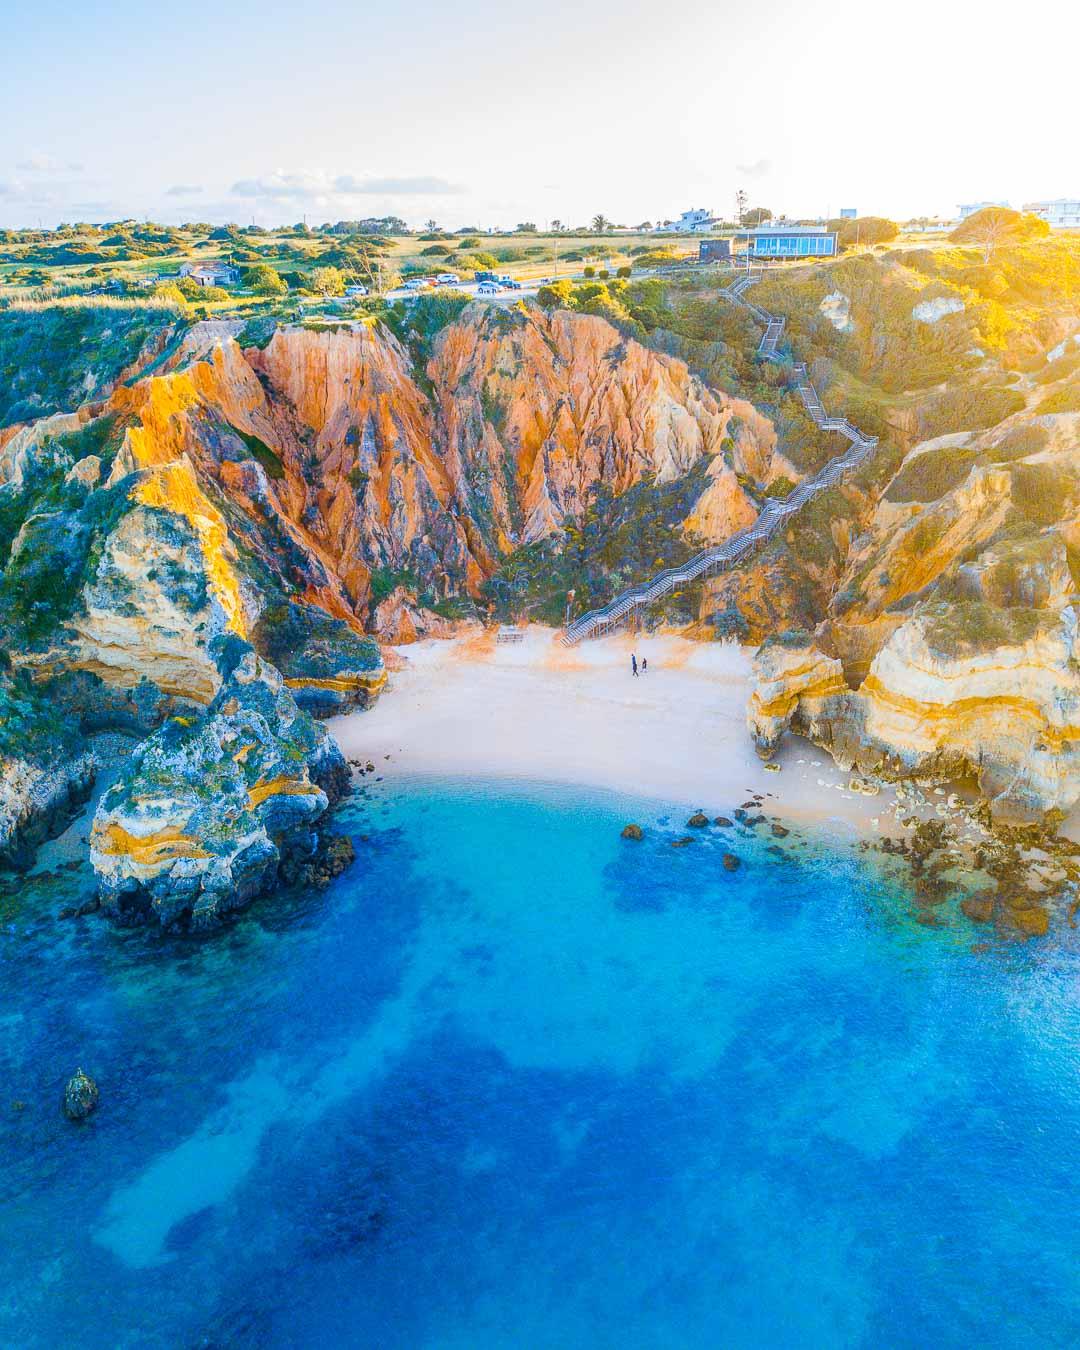
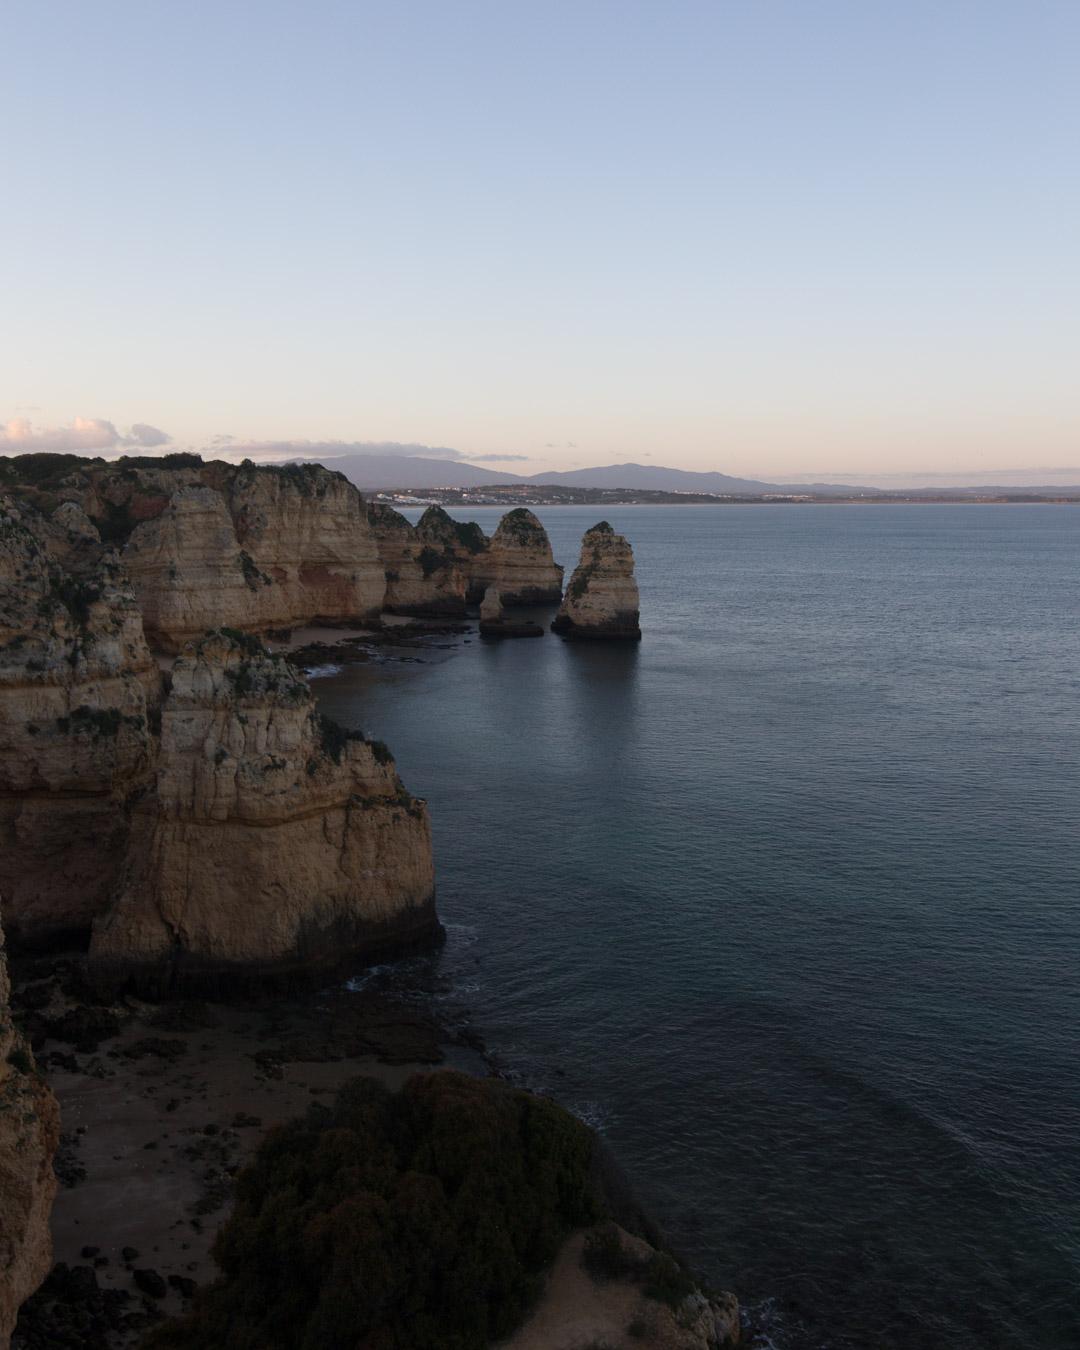
Here’s the first final image taken over Praia do Camilo that we will look at:
Camera Gear
This shot was taken with:
Camera: DJI Mavic Pro Drone
Lens: Default built-in lens
Tripod: /
Filters: none
Camera Settings
Here are the camera settings I used for this image:
Focal Length: 26mm (default on mavic pro)
Aperture: f/2.2 (default on mavic pro)
Shutter speed: 1/200th sec
ISO: 100 ISO
Raw Photo
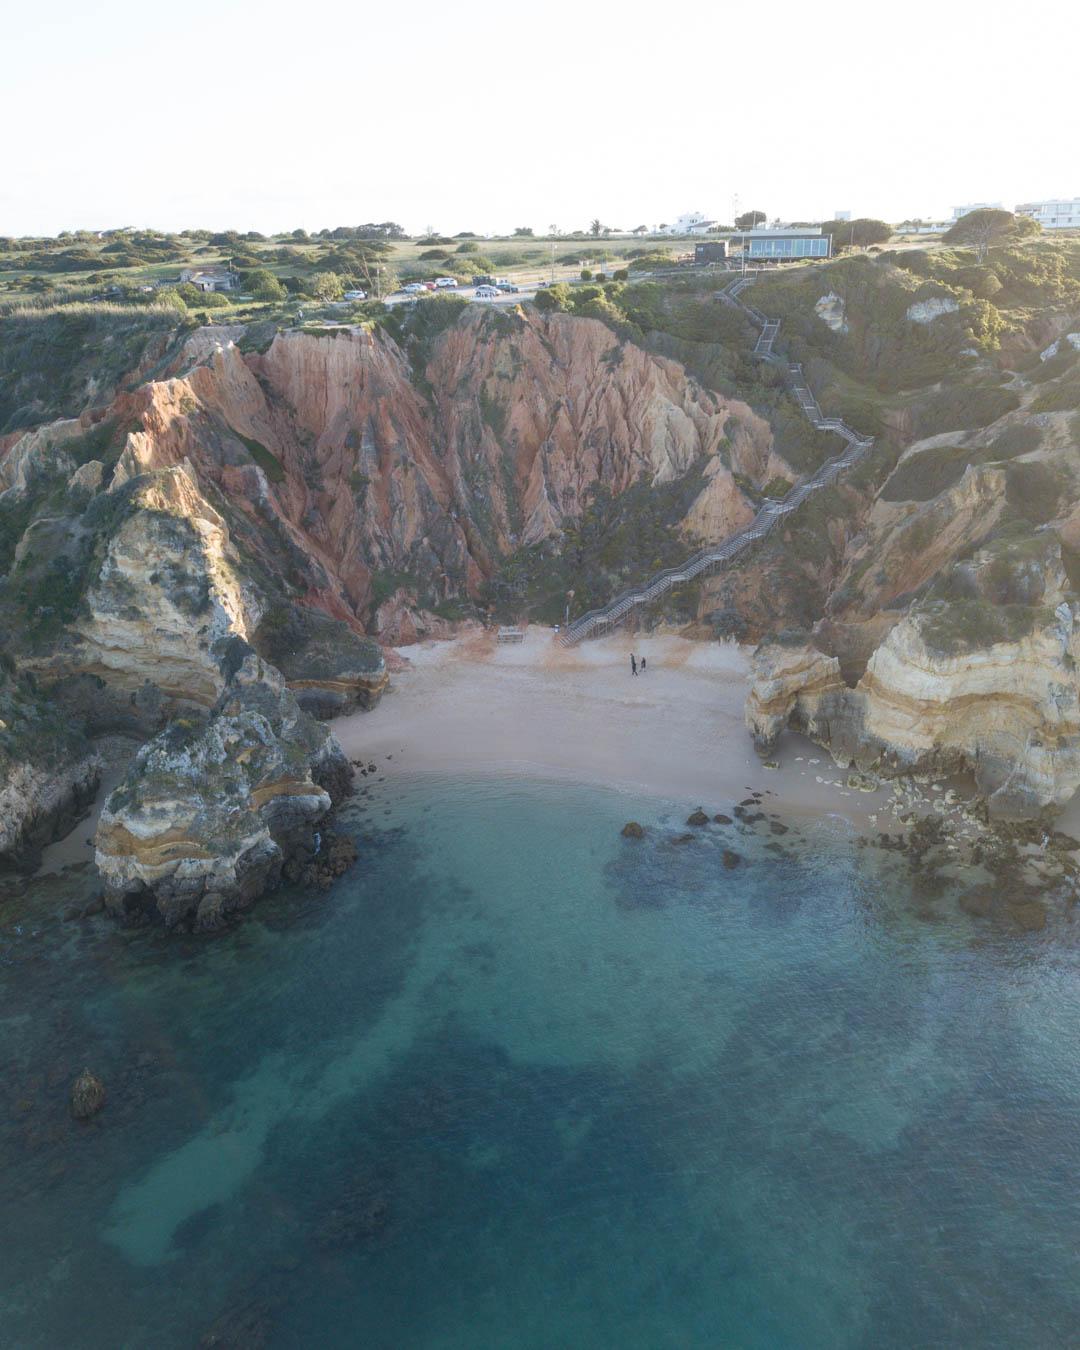
You can see below the image straight out of the camera.
Composition
That day, there wasn’t any interest in the sky. It was all blue, with almost no clouds. I choose to include more of the landscape in the image, and only a tiny bit of sky.
I used the rule of thirds to compose my shot, and positioned the camera so that the sky would take 1/3rd of the image. I later cropped the image for Instagram and decided to crop out the sky rather than the sea, which is why the photo you’re seeing above doesn’t really respect the rule of thirds.
Before/After
Tap on the photo to see the before/after
Editing
I began by a classic edit to make the image pop: drop highlights, recover shadows, and almost clip blacks and whites. I added contrast, vibrance and saturation to make the colors pop more.
Then, I used selective adjustments to fine tune the image.
I started with the brush: I brushed the beach to make it brighter, and also added contrast to the orange cliffs.
After the brush, I used the graduated filter: one at the bottom to add some blue to the water, and some saturation.
I used a second one on the top right corner of the image, to add warm light (added warmth and increased exposure).
I finished the image by adding sharpness in Photoshop, and increased the contrast and saturation on the image back in Lightroom.
#2 Algarve image
Finished Image
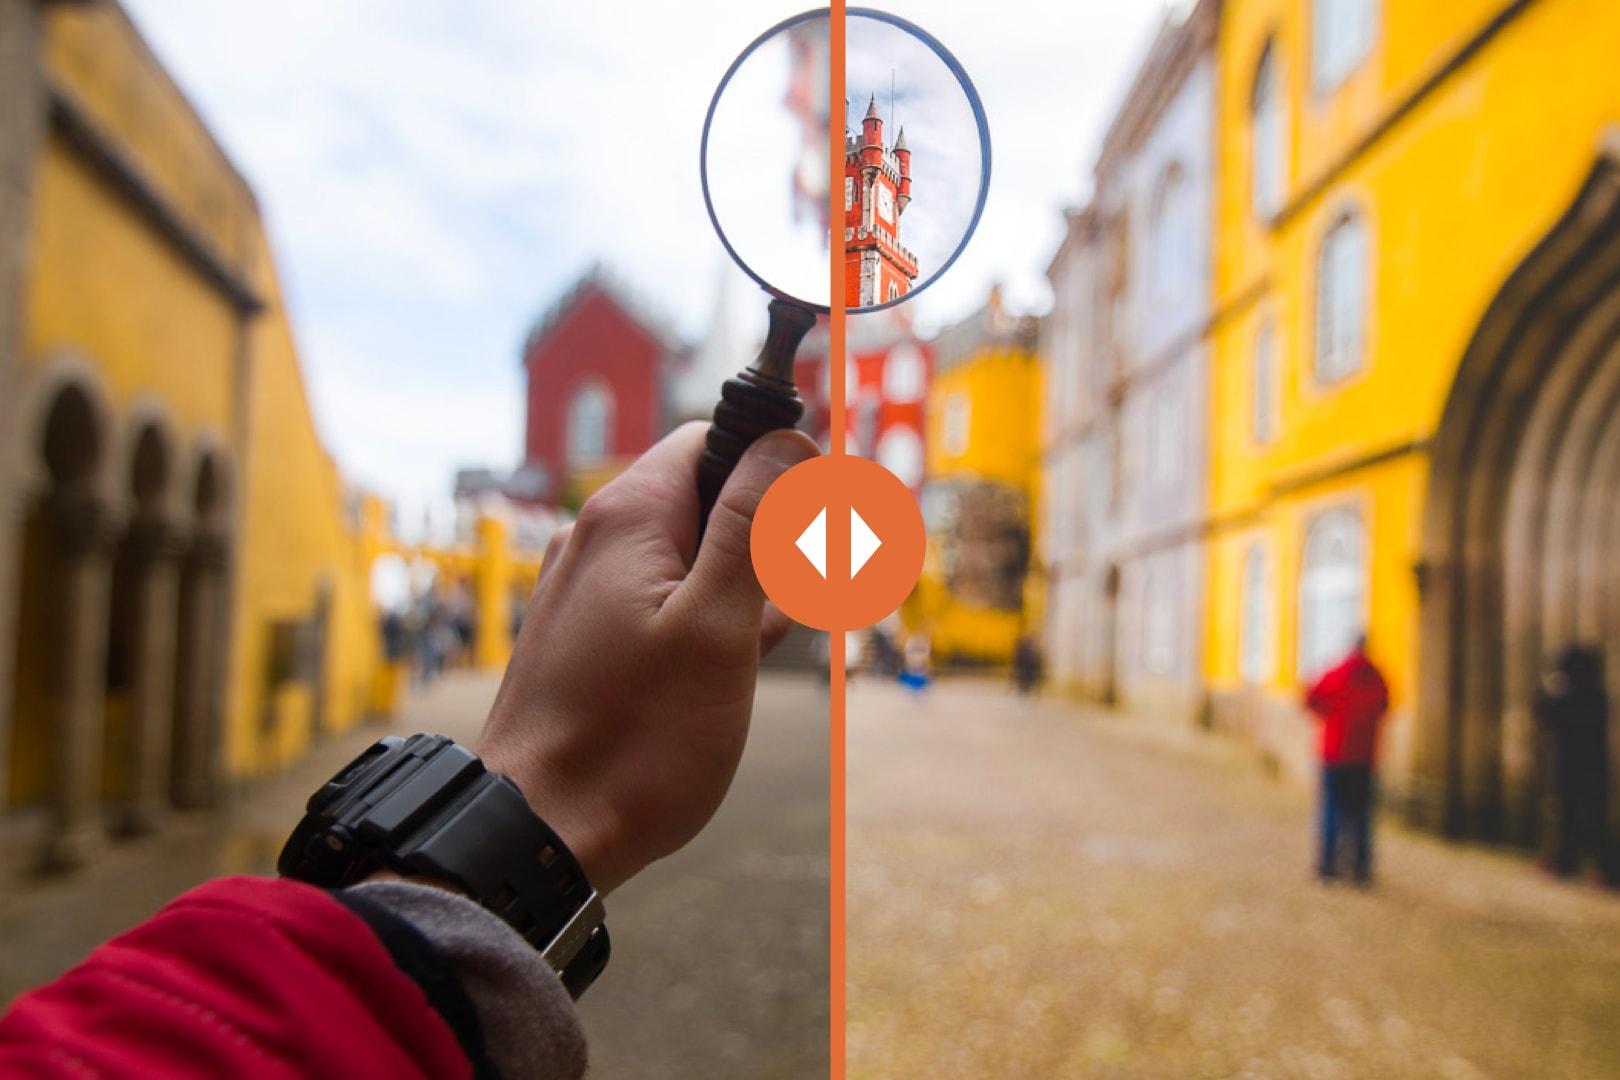
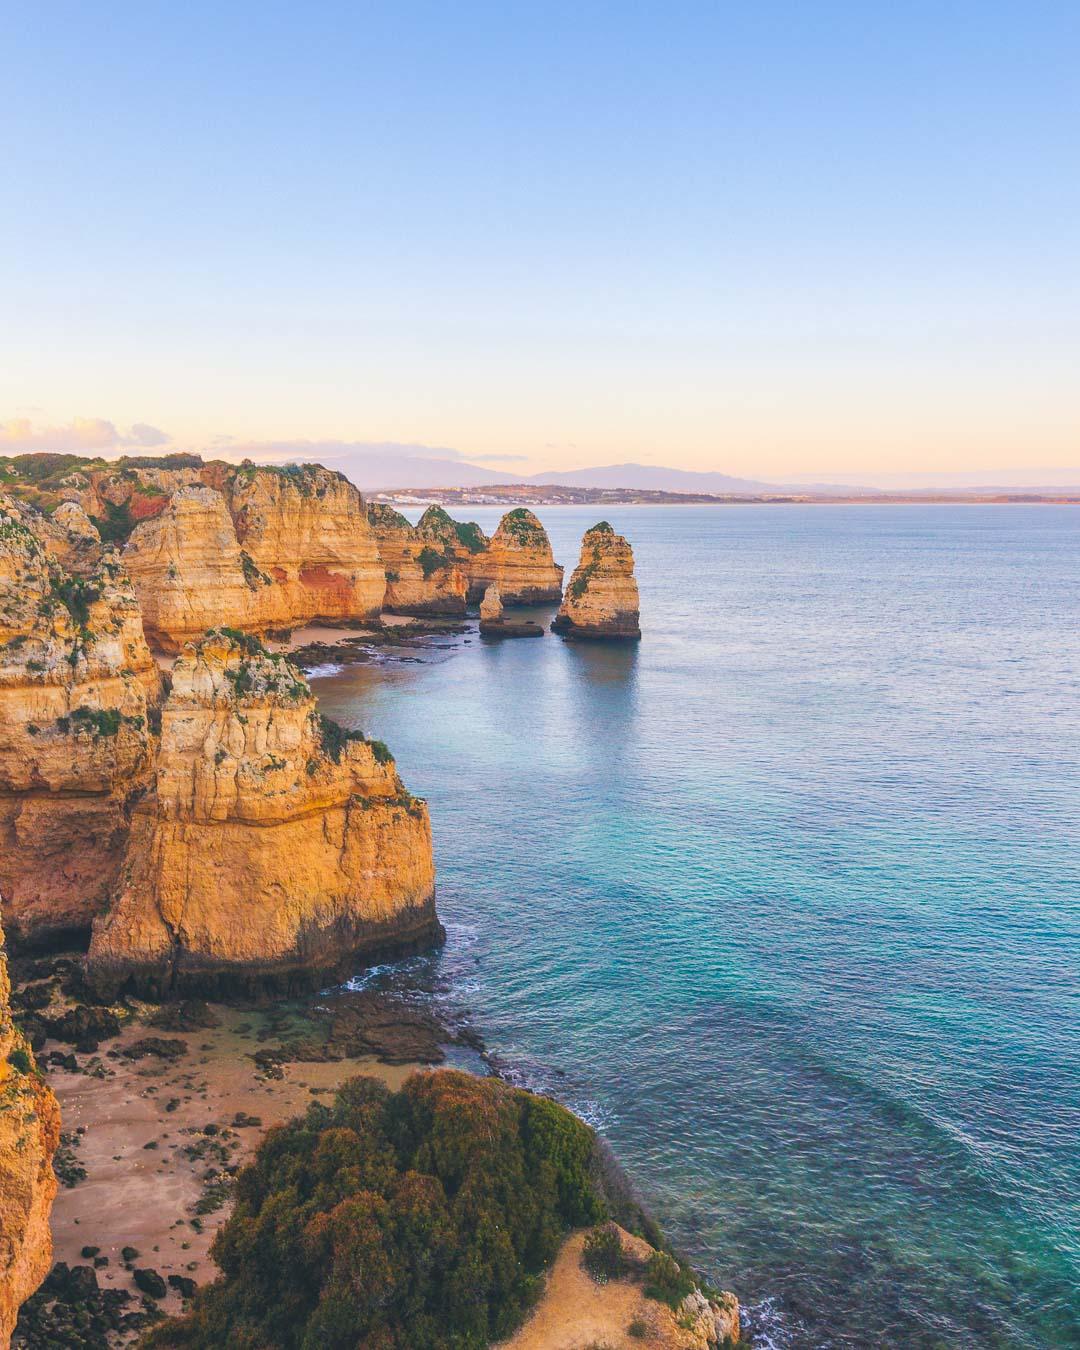
Here’s the second final image that we will look at:
Camera Gear
This shot was taken with:
Camera: Canon 6D
Lens: Tokina 16-28mm f/2.8 Pro FX wide-angle lens
Tripod: none
Filters: none
Camera Settings
Here are the camera settings I used for this image:
Focal Length: 28mm
Aperture: f/8.0
Shutter speed: 1/100th sec
ISO: 100 ISO
As most of my landscapes shot, I used an aperture of f/8.0 to have a sharp image from front to back.
Raw Photo
You can see below the image straight out of the camera.
Composition
For this image, the composition was very simple; I used the rule of thirds and put the sky on the top third of the image.
Before/After
Tap on the photo to see the before/after
Editing
Very simple edit for this image, as I didn’t tweak the colors at all. Simply brightened the image (recover shadows and increase exposure) and added punch to the image (add vibrance, saturation, and contrast).
The finishing touch was a graduated filter on the sky. Originally the sky was very boring, almost all white without any interest. I used a graduated filter and added blue to the sky, to match the water and balance the overall image.
Do you want to learn how to take photos like these? You can start by checking my free 24 pages ebook on mastering digital photography basics: download the eBook for free!
#3 Algarve image
Finished Image
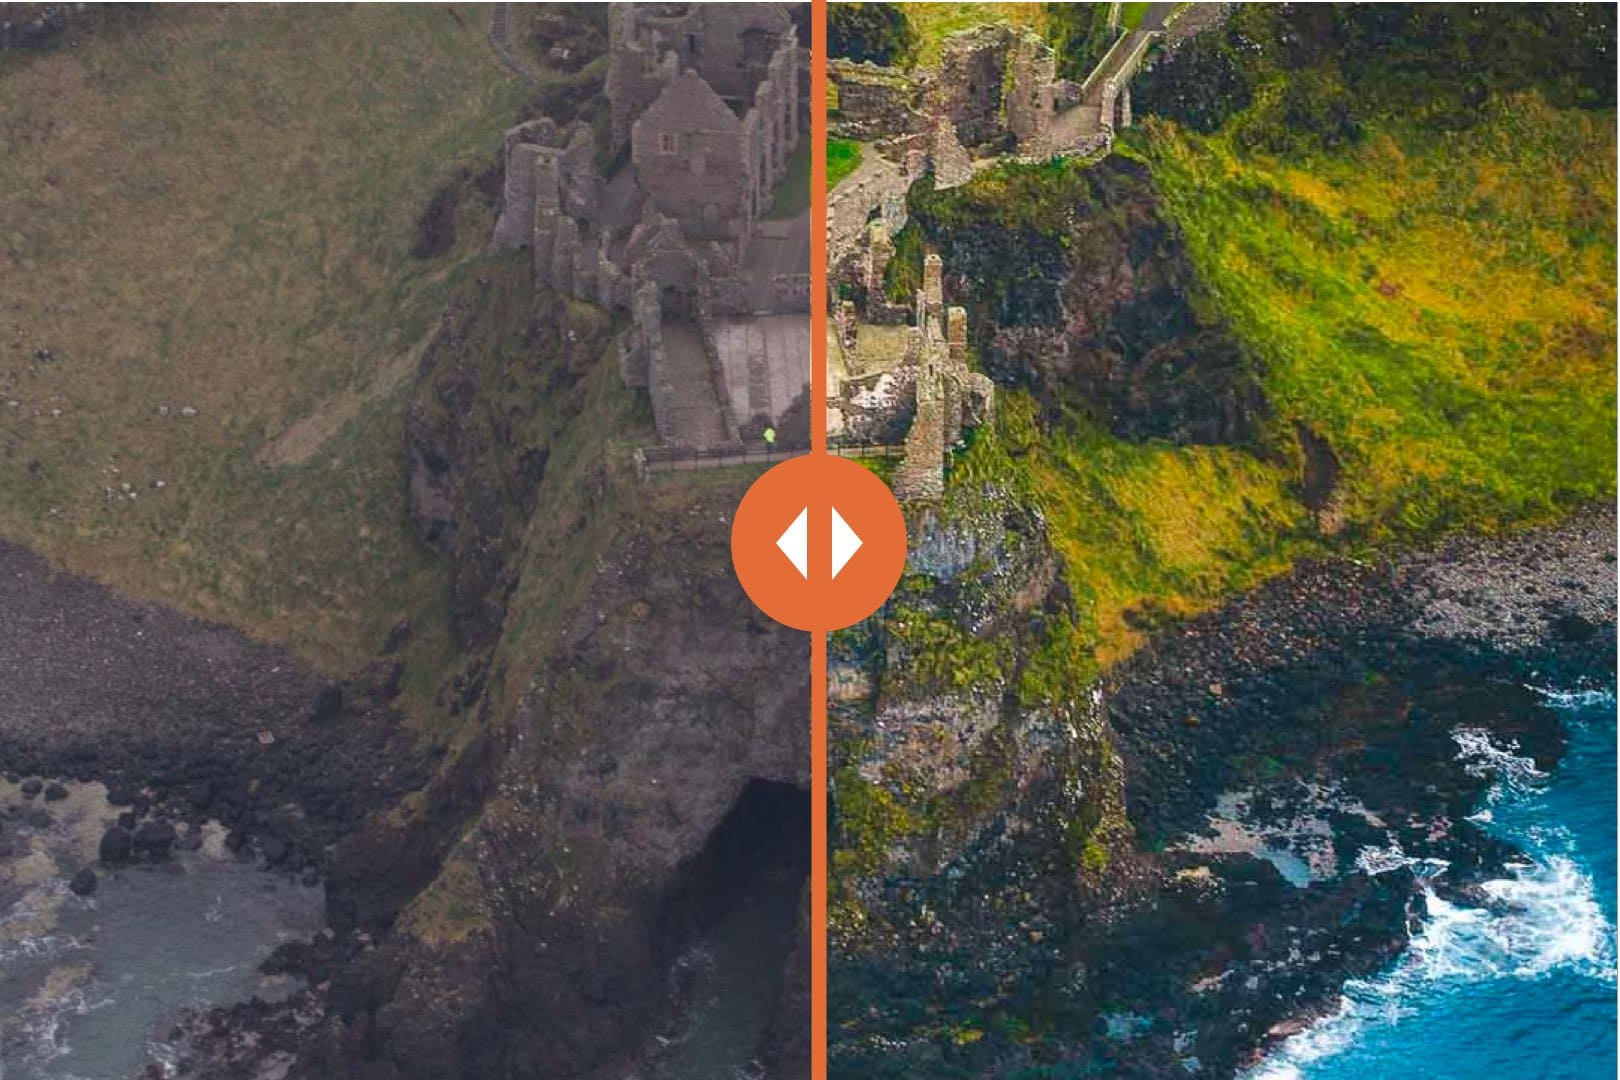
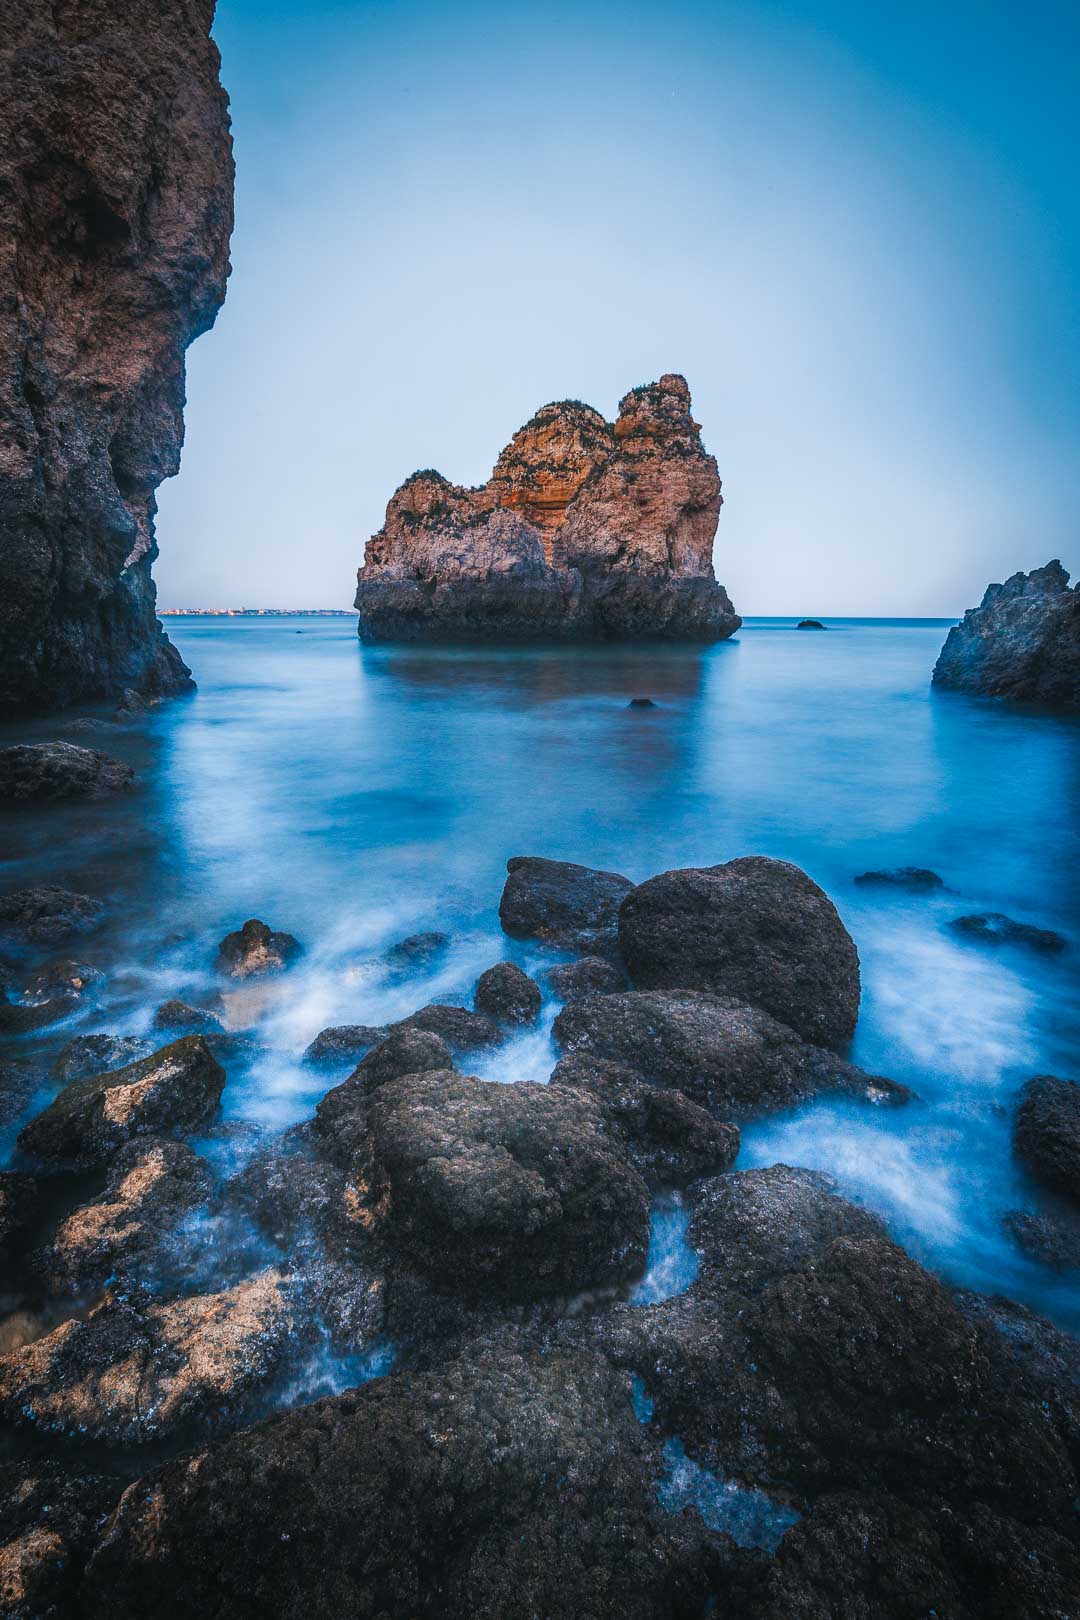
Here’s the last final image taken in Ponta da Piedade, that we will look at:
Camera Gear
This shot was taken with:
Camera: Canon 6D
Lens: Tokina 16-28mm f/2.8 Pro FX wide-angle lens
Tripod: Davis & Sanford TR553-P228 Traverse Super Compact Tripod with Ball Head
Filters: none
Camera Settings
Here are the camera settings I used for this image:
Focal Length: 16mm
Aperture: f/18 (closed down the aperture to reduce the amount of light coming in)
Shutter speed: 20 seconds (used a long exposure to capture the motion in the water)
ISO: 100 ISO (lowest ISO I can have to allow for longest shutter speed)
Raw Photo
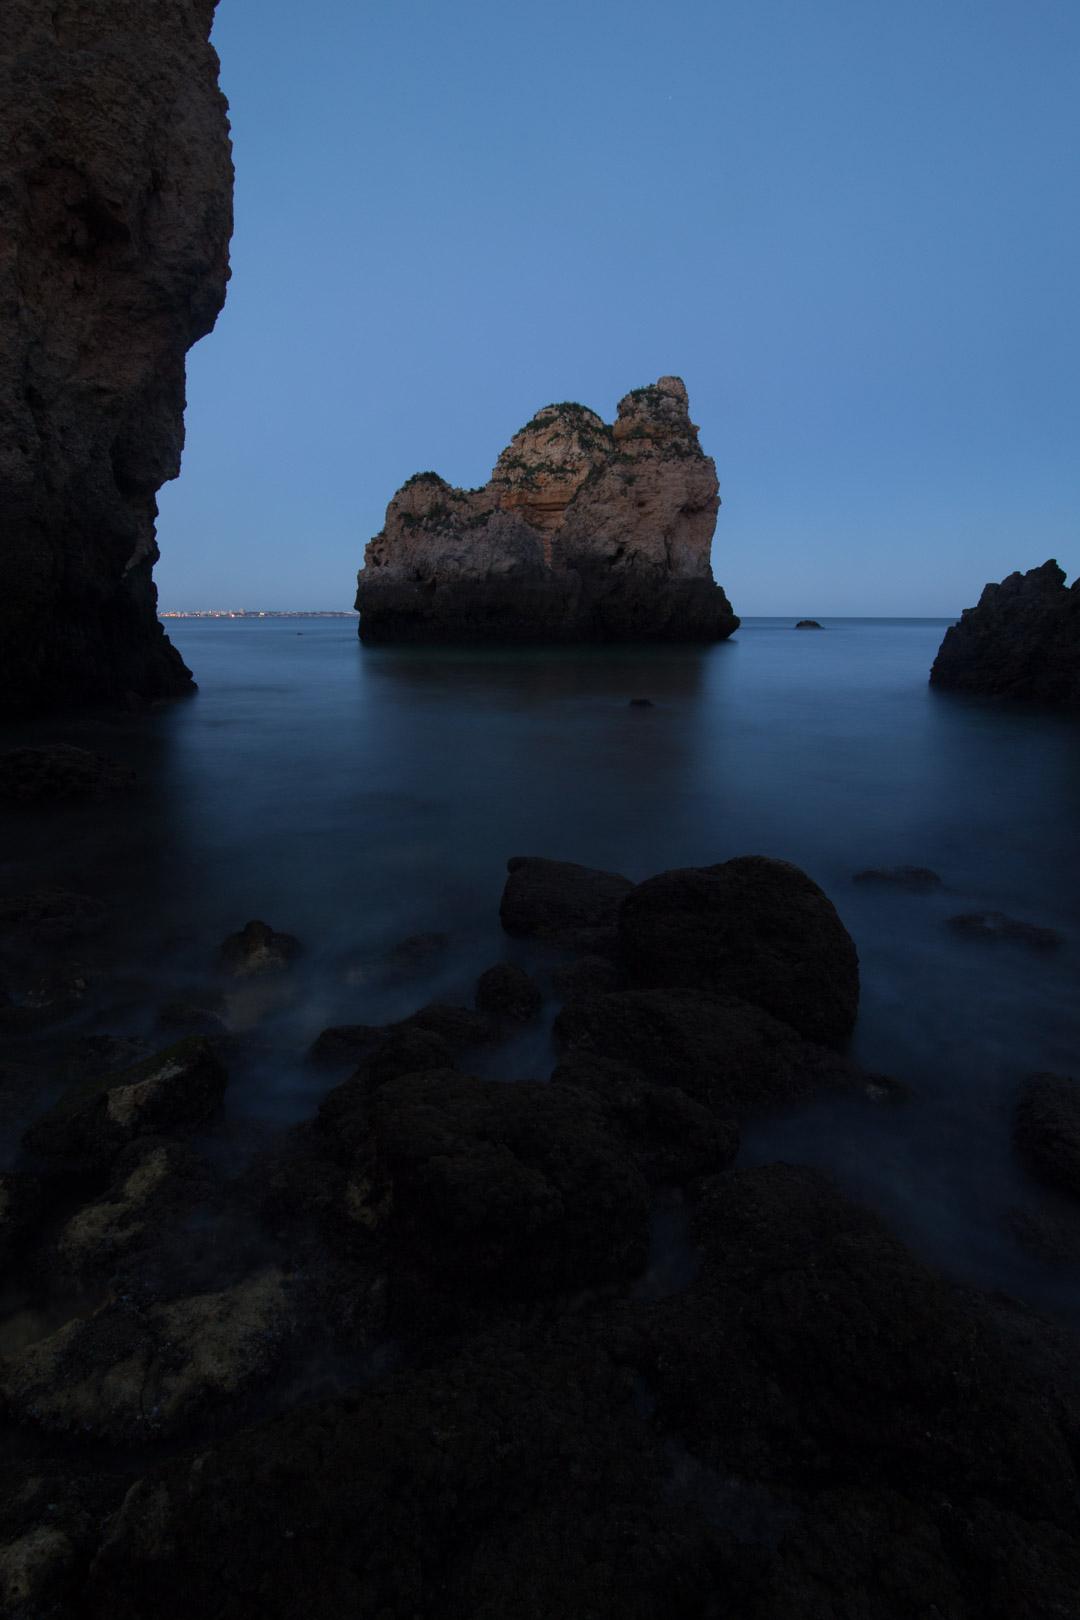
You can see below the image straight out of the camera.
Composition
The main focus here is the rock formation in the sea. I positioned it in the center of the frame. To draw more attention to it, I added the rocks in the foreground, with the motion in the water, all leading the eye to the big rock in the middle of the image.
Before/After
Tap on the photo to see the before/after
Editing
The raw image was very dark; I add to increase the exposure a lot (+1,15) and pushed the shadows almost to the max to recover the details in the foreground.
The colors were very strong after adding contrast, and I wanted a more subtle look; I decreased the saturation of all colors, except for orange (for the main rock) and blue (for the sea).
The key to bringing this image to live was the brush. I started by brightening the foam in the sea, and adding clarity to make it pop. I wanted to draw a lot of attention to the motion of the water.
Then, to finish it off, I dodged and burned: accentuated the light on the bright part of the rocks, and darkening the spots in the shadows.
And that concludes this episode of Behind the Scenes. I hope that you enjoyed learning more about how I took the image, from the gear used to the editing process.
Most of all, I hope you will be able to use that information for your own photos, and that it will help you improve your photography.
As always, feel free to ask me any questions you have by leaving a comment below (I always reply).

Pin this to Pinterest!
Enjoyed this guide? Then help a fellow traveler and pin it! They'll most definitely love you for it, 100% guarantee.