Sharpen Photos – Learn the BEST Way to Sharpen Photos Step by Step
Whenever I edit a photo, I almost systematically apply sharpening. This subtle process will make your image stand out, and create that « WOW! » factor.
In this guide, I will show you the best way to sharpen photos, step by step, using the High Pass Filter in Adobe Photoshop.
And even better, I’ll teach you how to use a Photoshop Action to cut down your editing time!
There are many different methods you can use to sharpen photos; you can use the detail panel in Lightroom or use the sharpen tool in Photoshop, to name a few. When I started photography I was doing the entirety of my editing in Lightroom, including the sharpening. After a few months, I started to use Photoshop here and there, for minor adjustments. And one day, I discovered an amazing method to sharpen photos: the High Pass Filter.
This simple method really took my images to the next level.
The best part?
It only takes 30 seconds.
Today I decided to share EXACTLY how I use the High Pass Filter in Photoshop to sharpen photos. You’ll learn how to sharpen your photos, in a non-destructive way, in no time! You will also learn how to create a Photoshop Action to sharpen photos to save time and be able to sharpen your photos at the click of a button.
Ready to boost your editing process?
Alright, let’s dive right in!
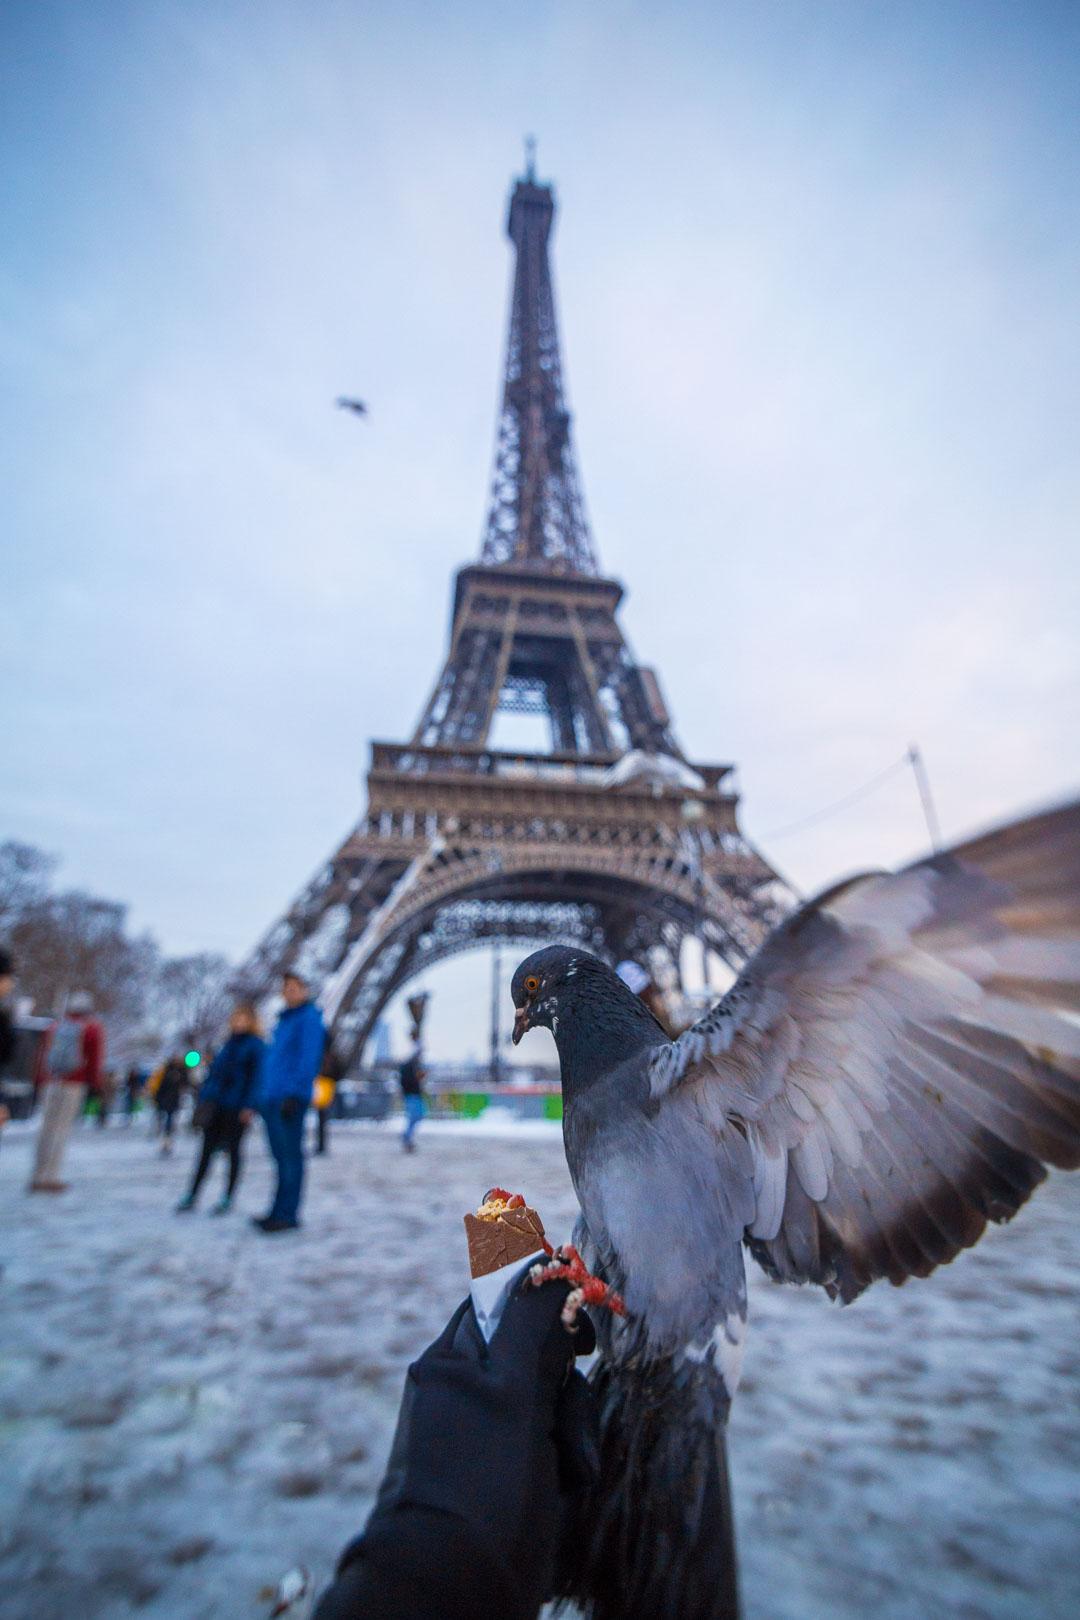
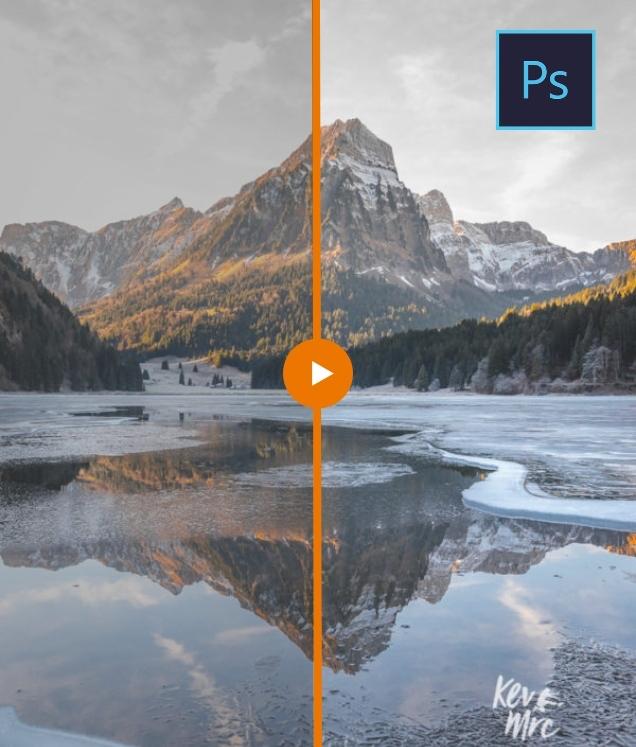
Tap on the photo to see the before/after

Before you start to sharpen your image, you need to open it in Adobe Photoshop. To do so, you can either open it through Photoshop by pressing Ctrl+O or Cmd+O on a Mac, or you can open it from Lightroom by right clicking on your photo and selecting « Edit in Photoshop »

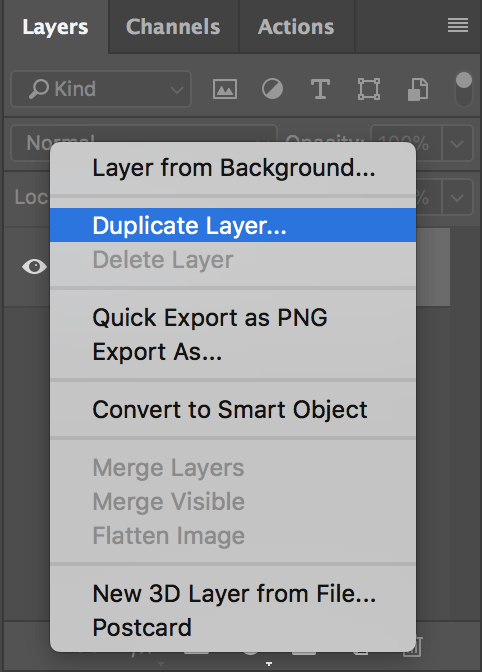
1) Duplicate Layer
To sharpen photos, we want to work in a non-destructive way. To do that, we’ll duplicate the layer to apply sharpening to a separate layer.
Select the base layer called « Background », and press Ctrl+J / Cmd+J to duplicate it. You can also right click on the layer and click on « Duplicate Layer… »
While we’re here, let’s rename our new Layer. Double-click on the layer name, and rename it to « Sharpen ». This will help us remember what this layer is for, and easily go back to it.
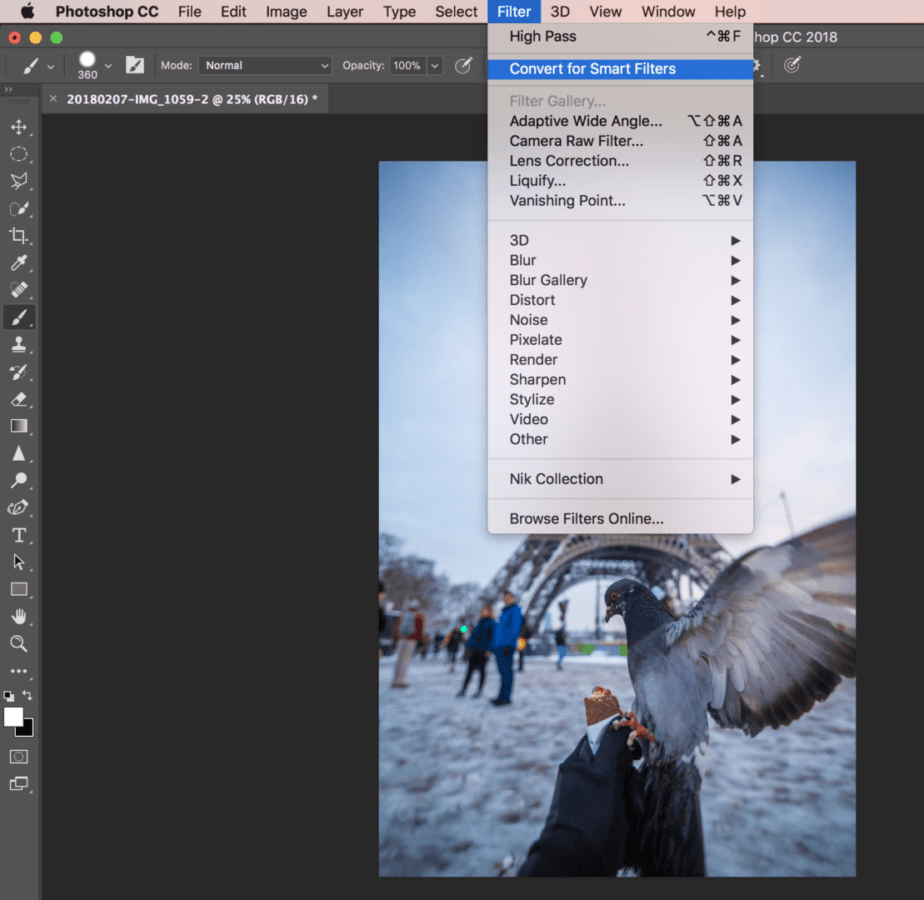
2) Convert for Smart Filters
From what I’ve seen, people tend to skip this step. But here’s why you shouldn’t skip it:
By converting the layer for smart filters, you will be able to come back and tweak the filter AFTER you’ve applied it. If you skip this step, once you apply the filter, there is no way to edit the filter and you have to delete it to re apply it again. Not very smart.
To convert for smart filters, go to « Filter » and click on « Convert for Smart Filters »
Photoshop will load for a bit; once it’s done, you will see the Smart Filter icon on your layer

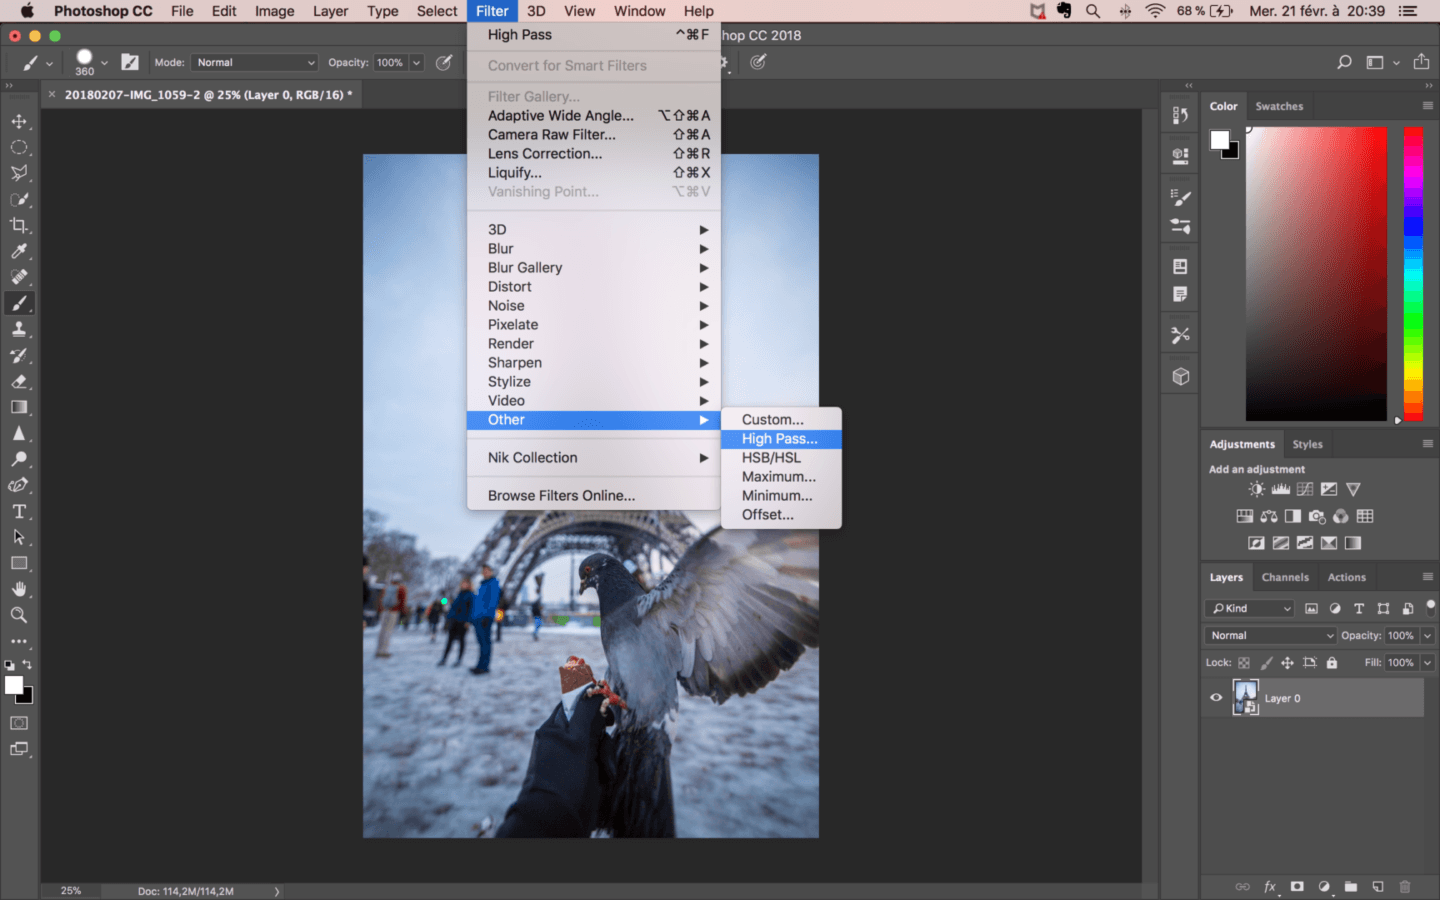
3) Apply the High Pass Filter
To apply the High Pass Filter to sharpen photos, go to Filter > Other > High Pass…
This will open up the High Pass dialog box, where you can choose the settings for the filter and preview its effect.
In the radius box, you can input a number to decide how much sharpening you want to apply to the image. The higher the number, the more sharpening you will apply.
The amount of sharpening to apply depends on several things: your camera, your lens sharpness, the subject, … You can learn how to check your camera and lens sharpness here: Find the Best Lens for Any Camera
Overall, I find that a radius between 1 and 5 gives the best results.
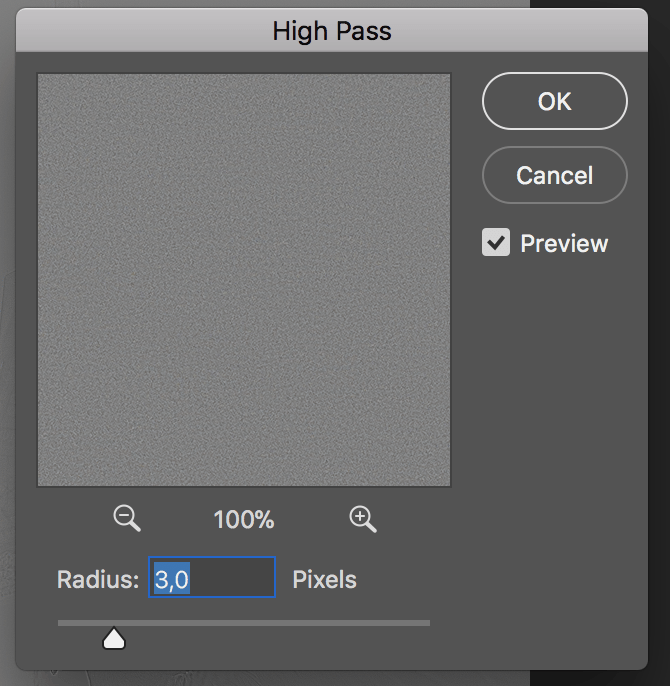
Make sure you tick the « Preview » box to see a preview of the sharpening you will apply.
When you’re done, click on « Ok »
4) Blend the Effect
You’ll notice that when you click « Ok » and apply the High Pass Filter, your image becomes gray.
In order to blend the sharpening seamlessly with the image, we will use blending modes.
On the right side of the screen, right above your layers, click on the dropdown menu named « Normal », and change the blending mode to « Overlay ».
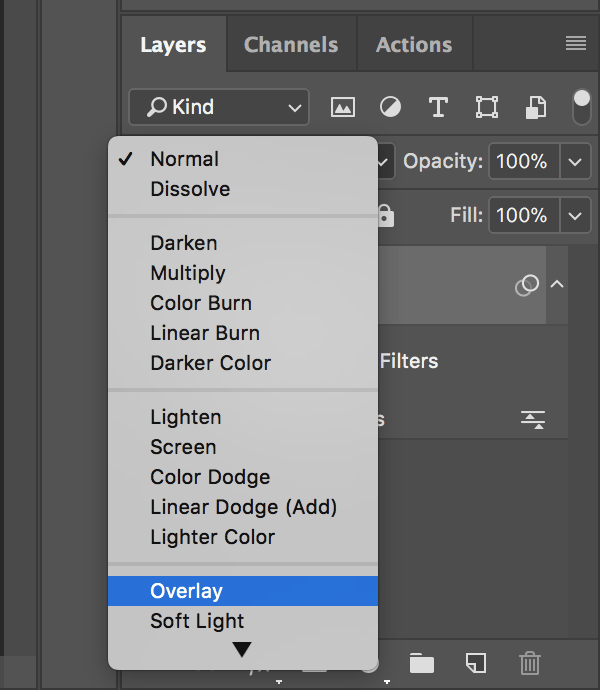
There you go, you have sharpened your image.
But let’s take it even further. Now that you have sharpened your entire image, you might notice that some part of the image don’t really benefit from sharpening. This is usually what happens with the sky or any body of water (instead of sharpening skies, learn how to make them more dramatic: How to Create Dramatic Skies in Lightroom in 3 Clicks
How do we go back and sharpen photos only targeting specific areas of the image?
Well, here’s how:
In order to apply sharpening to specific part of the image rather than to the entire image, we will use Layer Masks in Adobe Photoshop.
I know that you might feel overwhelmed when hearing about Layer Masks; I felt the same way when I began using Photoshop. But don’t worry, the process is extremely easy; I promise. It only takes 3 clicks.
If you want to learn more about layer masks, click here
First click – Add a Layer Mask
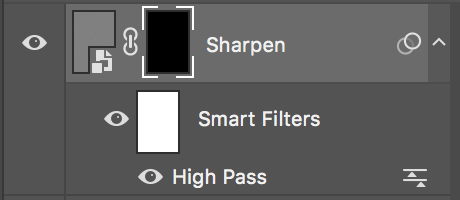
First, we need to add a layer mask to our Sharpen layer. To do so, make sure you Sharpen layer is selected (you should see white corners around your layer icon. If the white corners are on another layer, simply click on the sharpen layer to select it).

With the Sharpen layer selected, simply go to the toolbar below the layers and click on the Layer Mask Icon. If you leave your cursor over the icon, it should say « Add vector mask ».

Second click – Invert the Layer Mask
Once you’ve added the Layer Mask, you’ll notice it didn’t change anything to your image. To the right side of your Sharpen Layer, you can now see a white rectangle. This is your Layer Mask.
Regarding Layer Mask, if there’s one thing you need to remember, it’s this:
White Reveals; Black Conceals. (mnemonic tool to help you remember: « black » ends with « k », which is the first sound of « Conceals » )
What does that mean?
Everything in white on the layer mask will be visible, and everything in black will be invisible.
For now, our layer mask is white. That means that our High Pass filter is visible on the whole image; the whole image is sharpened.
To selectively sharpen photos, we will invert the layer mask:
Make sure the layer mask is selected (white corners around the rectangle icon), and press Ctrl+i / Cmd+i to invert the layer mask.
Your rectangle will turn black; at the same time, you will notice that your image is no longer sharpened. This is simply because Black Conceals: the black layer mask makes your High Pass Filter invisible.
Now that we’ve removed the sharpening from the whole image, it’s time to add it back, selectively, only to the areas that need sharpening.
Third click – Selectively Sharpen Photos with the Brush Tool
To add sharpening to the part of the image we want to sharpen, we will use the Brush Tool.
Select the Brush Tool by clicking the icon on the left sidebar, or press « B ».
As you remember, White Reveals; Black Conceals. For that reason, we want to paint white on our black layer mask, to reveal the sharpening.
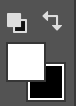
Make sure you’re painting white by pressing « X » and « D » (or click on the « Default Foreground and Background Colors » icon on the left sidebar)
Make sure you have your Layer Mask selected (white corners around the black rectangle)
Check that you have your « Opacity » and « Flow » set to a 100%

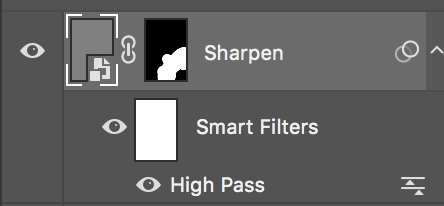
To sharpen specific part of the image, simply brush over the part you want to sharpen.
Simple as that.
Did you sharpen a part you didn’t want? Simply press « X » to change your brush color to Black and paint over the area you don’t want to be sharpened.
Now that you’ve used a Layer Mask and the Brush Tool to Selectively Sharpen Photos, you might feel like you’ve sharpened your image too much, or not enough.
Well, don’t worry. We can easily change this.
Increase or Decrease the amount of Sharpening
Remember when we converted the layer for Smart Filters? Well, this will come in handy now.
Because our layer is converted for Smart Filters, we can easily go back and edit the High Pass Filter we’ve used to sharpen our image.
To do so, go to the right side, under your Sharpen layer, and double-click on « High Pass ».
This will open the High Pass Filter dialog box, and you will be able to change the amount of sharpening you applied to your image.
You can freely change the radius number you previously chose; input a lower number if you want less sharpening, and an higher number if you want more sharpening.
So there you have it, the step by step explanation on how to sharpen photos in the best way possible using the High Pass Filter in Photoshop, combined with a smart filter to be able to go back and edit the amount of sharpening, and using a layer mask to selectively apply sharpening to your image.
This sharpening method is so powerful, I use it on almost all of my photos: after editing an image in Adobe Lightroom, I open it up in Photoshop to apply sharpening.
This process is a set of different actions and, as you can see from the steps above, is highly repetitive.
There are 2 ways you can go about it:
-you can either follow every step every time you want to sharpen your image
-or you can save time by using a Photoshop Action
I’m pretty sure you’re interested in saving time and being able to sharpen photos in almost no time. Well don’t worry, I got you covered!
Create a Photoshop Action and Sharpen Photos in 10 seconds!
Now you probably wonder, “what is a Photoshop Action? » A Photoshop Action allows you to record any task in Photoshop (such as clicking a button to create a new layer or hitting a shortcut to duplicate a layer); you can then replay all of the tasks you recorded by simply pressing Play on the chosen Action.
Do you see how awesome photoshop actions are for sharpening photos very quickly?
Instead of going through all of the steps I explained above every single time you want to sharpen an image, you will be able to record the process once, and then simply click Play on your Sharpen action to repeat all the step at once, and thus be able to sharpen photos in no time.
Alright, let’s see how to create a custom Photoshop Action to sharpen photos
How to Create the Action
To create a Photoshop Action, head over to the right side and click on the “Action” Panel.

If you don’t see the Action panel, don’t worry. Simply go to Window > Action or press Alt+ F9 / Option + F9 to open up the Action Panel.
Once you’re on the Action Panel, go to the menu bar at the bottom, and click on “Create Action”

Rename your action to “Sharpen” and click “Ok”.
In order to create the action to sharpen photos, we need to record all of the step needed for sharpening.
To do so, hit “Record”, and then simply Sharpen your image using the method I explained above:
– Select your base layer
– Duplicate your base layer by pressing Ctrl+J / Cmd+J
– Rename the new layer to “Sharpen”
– Convert the layer for Smart Filters
– Enter 2 for Radius value then hit ok
– Change the Blending mode to Overlay
– Create a Layer Mask
– Invert the layer mask by pressing Ctrl+i / Cmd+i
– Go back to the action panel and hit “Stop”
That’s it, you’re done! Congratulations, you’ve just created an awesome Sharpen Action, that will allow you to sharpen all of your photos in no time!
Sharpen Photos using the Sharpen Action
Now that you’ve created your Sharpen Action, you can very quickly sharpen your images.
Start by opening up the image you want to sharpen in Photoshop: then go to the Action panel, select your Sharpen Action, and hit Play.

Photoshop will automatically apply all of the steps you recorded: now, all you have to do is take a white brush, and brush over the part of the image that you want to sharpen.
As simple as that!
And of course, if you want to change the amount of sharpening you’re applying, you can always go back and double click on the High Pass Filter to modify the amount.
Bonus – Free Photoshop Action!
So there you go, everything you need to know to sharpen photos in the best way possible! And now you can even go and create your own photoshop action to sharpen your images in no time.
If you still hesitating about creating your own, you still can download mine for free to save you time. It’s the exact photoshop action I use for almost every single one of my images, to sharpen photos. Just enter your email to get it:
Get my FREE Photoshop Action
Too busy to take the time to create the photoshop action yourself? Afraid you'll make a mistake and mess it up? I got your back! I'm giving away my very own Photoshop sharpen action for free. Get it straight to your inbox now!
No spam, unsubscribe anytime.How to Install your Free Sharpen Photoshop Action
Once you’ve entered your email address, you will receive an email with exclusive access to a Dropbox folder containing the resource.
- Simply click on the file “Sharpen – kevmrc.atn” to download it.
- Open Adobe Photoshop
- Drag the file to Photoshop, and it will automatically be installed in your Actions or
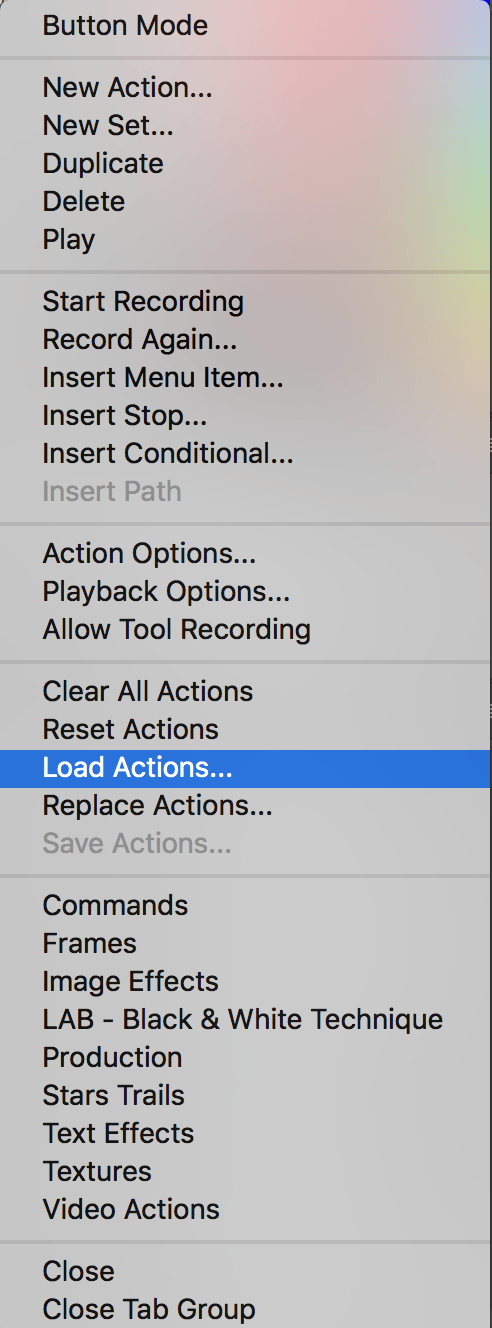
- Click on the dropdown menu on your Action Panel
- Click on Load Actions…
- Select the file and hit Enter
That’s it, your Sharpen Photoshop Action is now installed! I hope you will enjoy your new quick and awesome way to sharpen your photos.

Pin this to Pinterest!
Enjoyed this guide? Then help a fellow traveler and pin it! They'll most definitely love you for it, 100% guarantee.