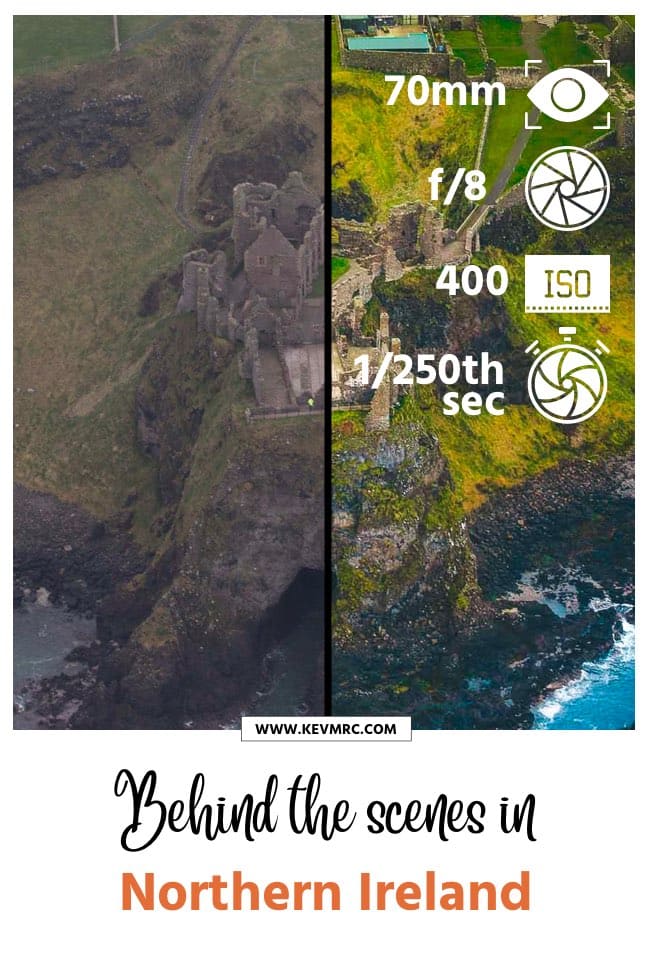
Behind the Scenes in Northern Ireland
Welcome to the sixth episode of Behind the Scenes, where you’ll learn how I took the photos on location, to help you improve your own photos.
If you’re already familiar with the Behind the Scenes series, you can skip straight to the Behind the Scenes in Algarve Portugal episode by clicking here: skip the intro
TABLE OF CONTENTS
The Behind the Scenes Concept
If this is the first episode of Behind the Scenes you’re reading, let me share more about the concept of the series, and what you can expect to find in each episode.
As the title suggests, in the Behind the Scenes series I will share with you the behind the scenes of how I took the photos on location.
Whenever I travel and take photos, I share stories with you about the place, the hikes, travel guides, and photo series. As my biggest goal is to help you learn photography easily, I want to take it one step further and share the behind the scenes details of how I took the photos you can see on the blog, in the other articles (photo series or travel guides).
Behind the Scenes in Northern Ireland
If you missed my Northern Ireland photos/guide, you can find them here:
Let’s get started on the first image.
#1 Northern Ireland image
Finished Image
Here’s the first final image taken over Dunluce Castle that we will look at:

Camera Gear
This shot was taken with:
Camera: Canon 6D
Lens: Canon 70-200mm f/2.8L USM Telephoto Zoom Lens
Tripod: none
Filters: none
Camera Settings
Here are the camera settings I used for this image:
Focal Length: 70mm
Aperture: f/8
Shutter speed: 1/250th sec
ISO: 400 ISO
Raw Photo
You can see below the image straight out of the camera.

Composition
I took this photo from the helicopter, with my zoom lens; it was pretty hard to take the photo, as the helicopter was flying by, and I had limited room in the cockpit. I made sure to place the castle in the middle of the shot, while leaving enough room at the bottom to show all of the cliffs, and the sea at the bottom.
Before/After
Tap on the photo to see the before/after
Editing
I began by a classic edit to make the image pop: drop highlights, recover shadows, and almost clip blacks and whites. I added contrast, vibrance and saturation to make the colors pop more.
I added a lot more saturation and vibrance than usual, because the image was looking very flat.
Because the image was taken from the air, there was a bit of clouds in the air; I used the dehaze tool in Lightroom to boost the contrast.
#2 Northern Ireland image
Finished Image
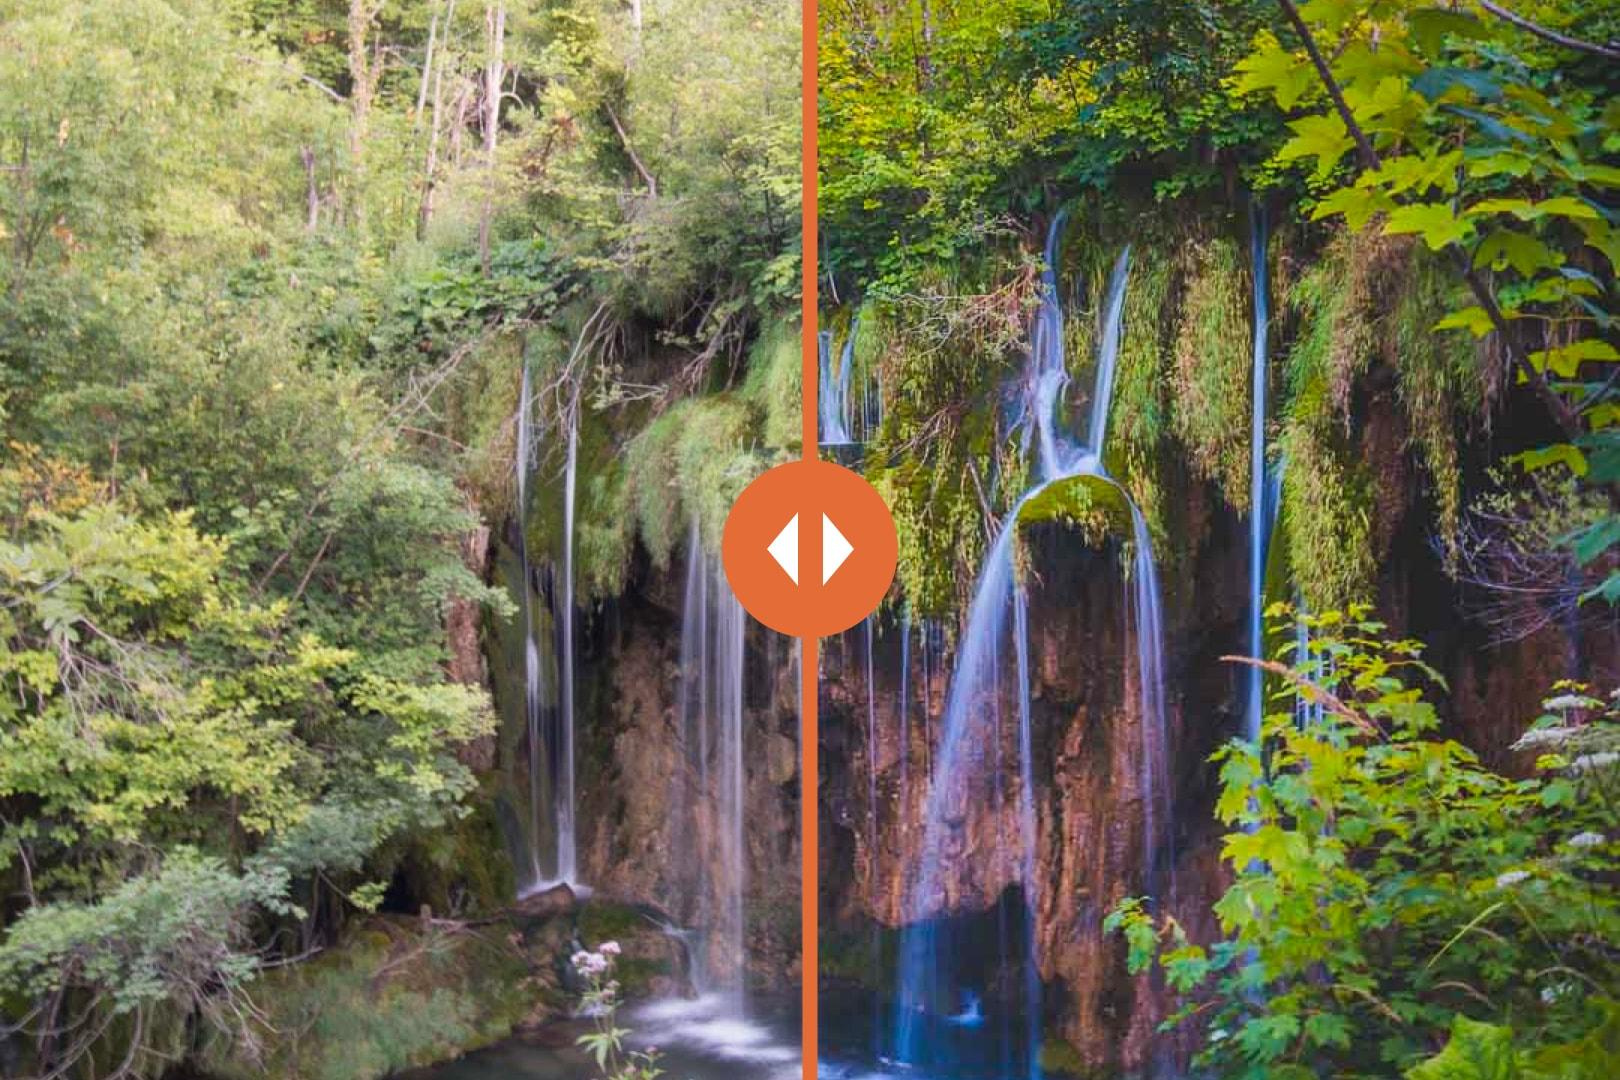
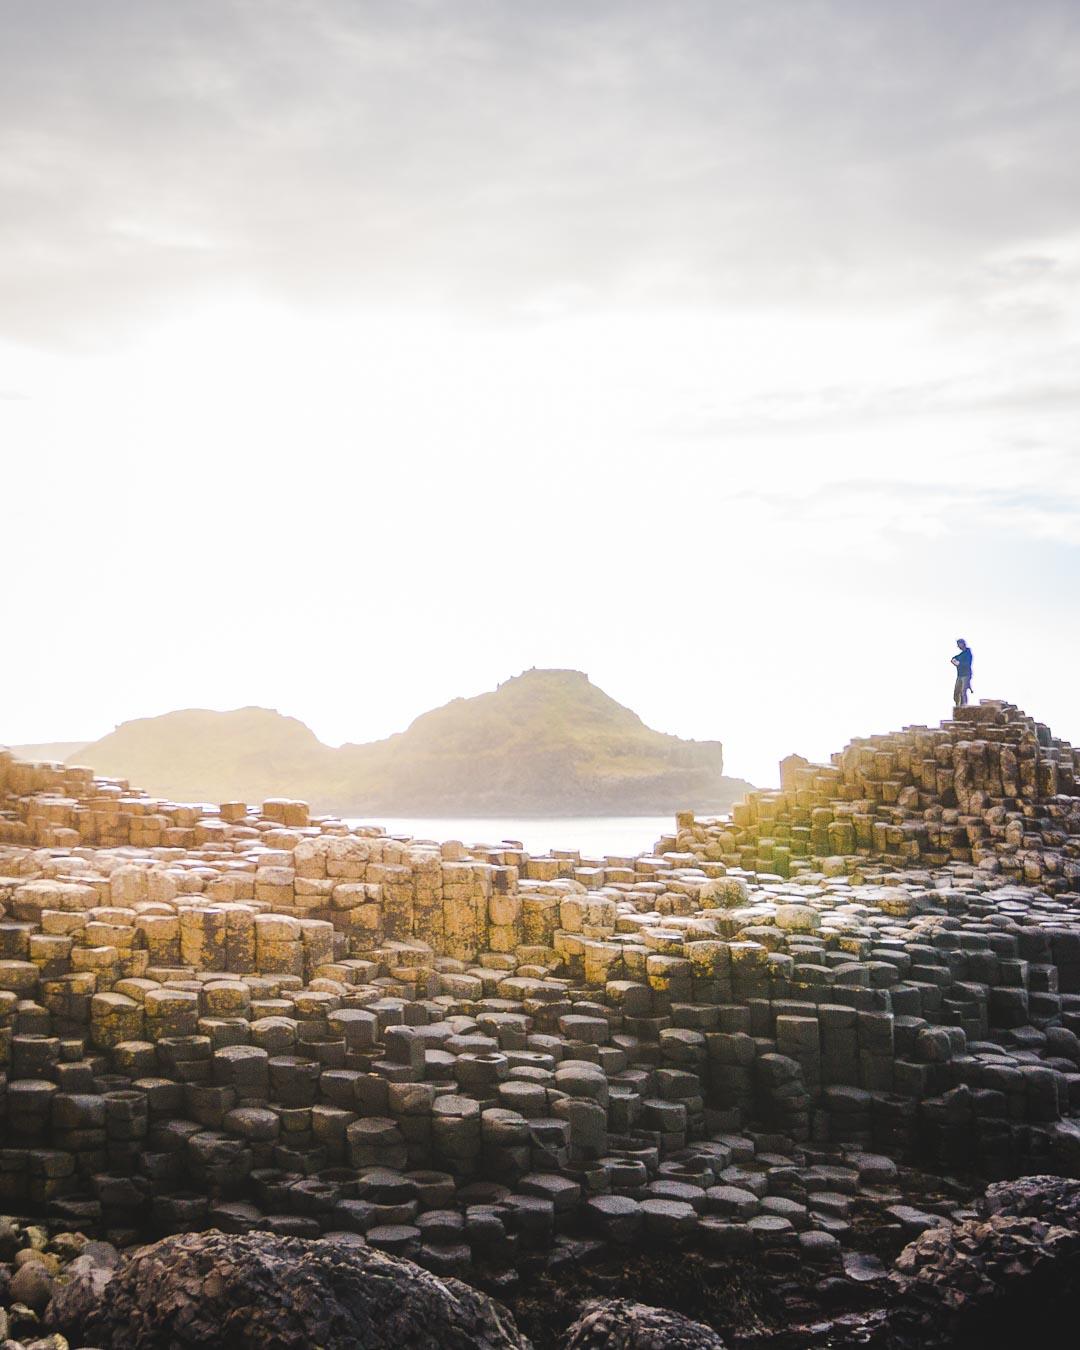
Here’s the second final image that we will look at, taken at the Giant’s Causeway:
Camera Gear
This shot was taken with:
Camera: Canon 6D
Lens: Tokina 16-28mm f/2.8 Pro FX wide-angle lens
Tripod: none
Filters: none
Camera Settings
Here are the camera settings I used for this image:
Focal Length: 28mm
Aperture: f/2.8
Shutter speed: 1/1600th sec
ISO: 100 ISO
I used a wide open aperture of 2.8 to get that nice glow, to make the most out of the light.
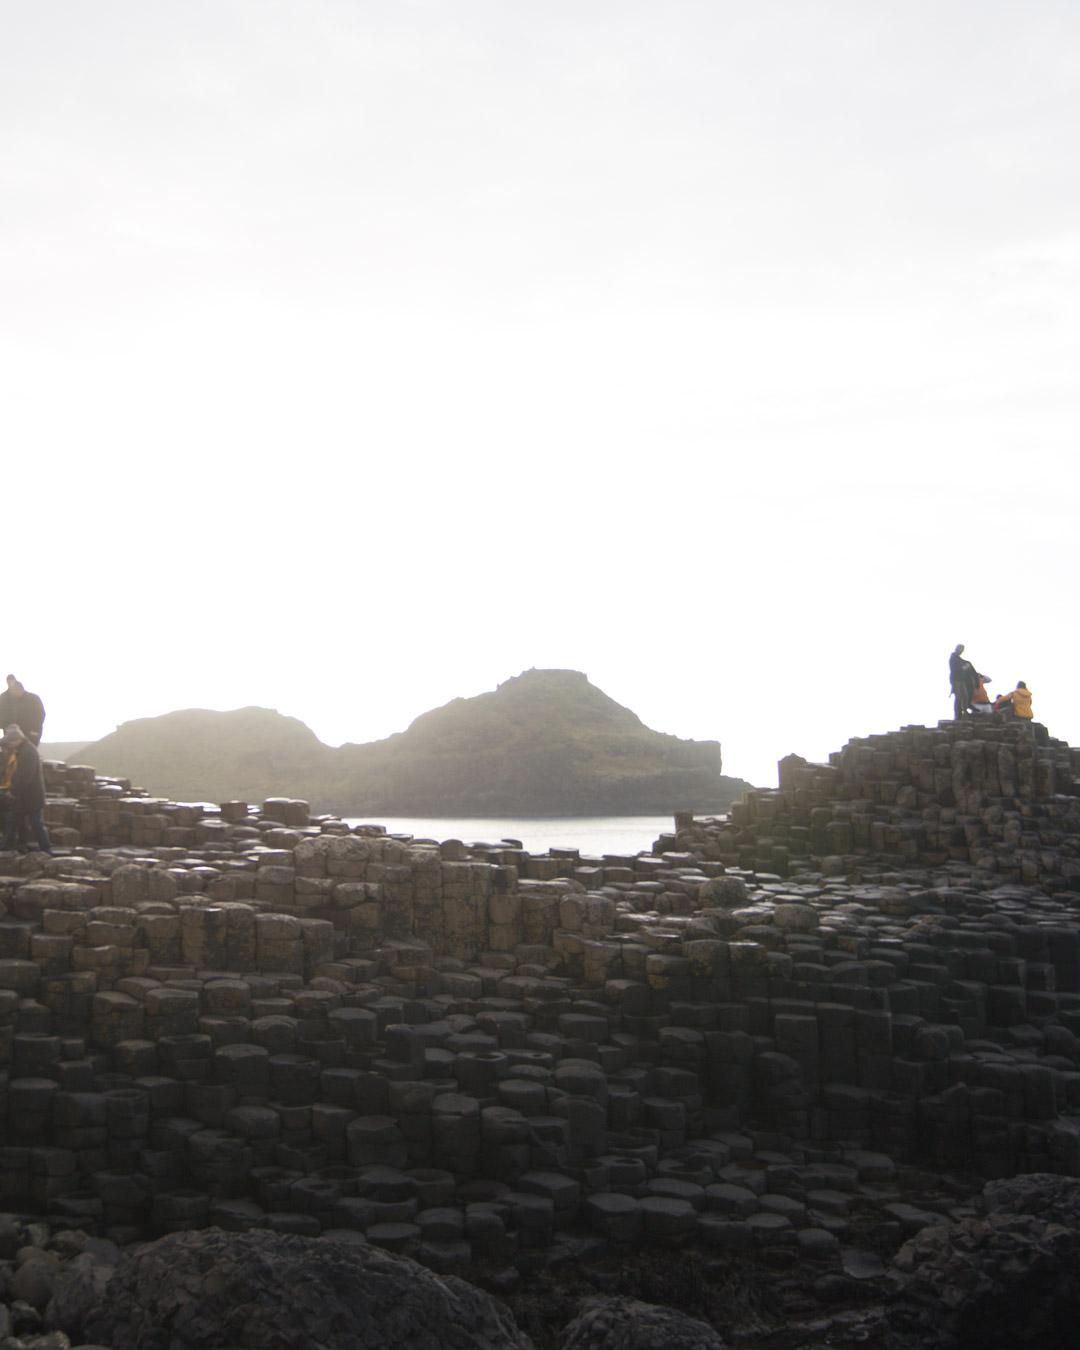
Raw Photo
You can see below the image straight out of the camera.
Composition
In that place, I loved the mountain in the background. I wanted to show the unique feature of the pillars in the foreground, but also the mountain. I chose a spot where the mountain was clearly visible, and didn’t take the attention away from the foreground.
Before/After
Tap on the photo to see the before/after
Editing
The main part of the edit was recovering the shadows, to really draw attention to the foreground, which should be the main focus in the image.
I increased the temperature a bit to warm up the light.
And finally I used a graduated filter on the sky to recover the highlights, and darken the clouds up top to focus the attention of the viewer to the center of the frame.
Do you want to learn how to take photos like these? You can start by checking my free 24 pages ebook on mastering digital photography basics: download the eBook for free!
#3 Northern Ireland image
Finished Image
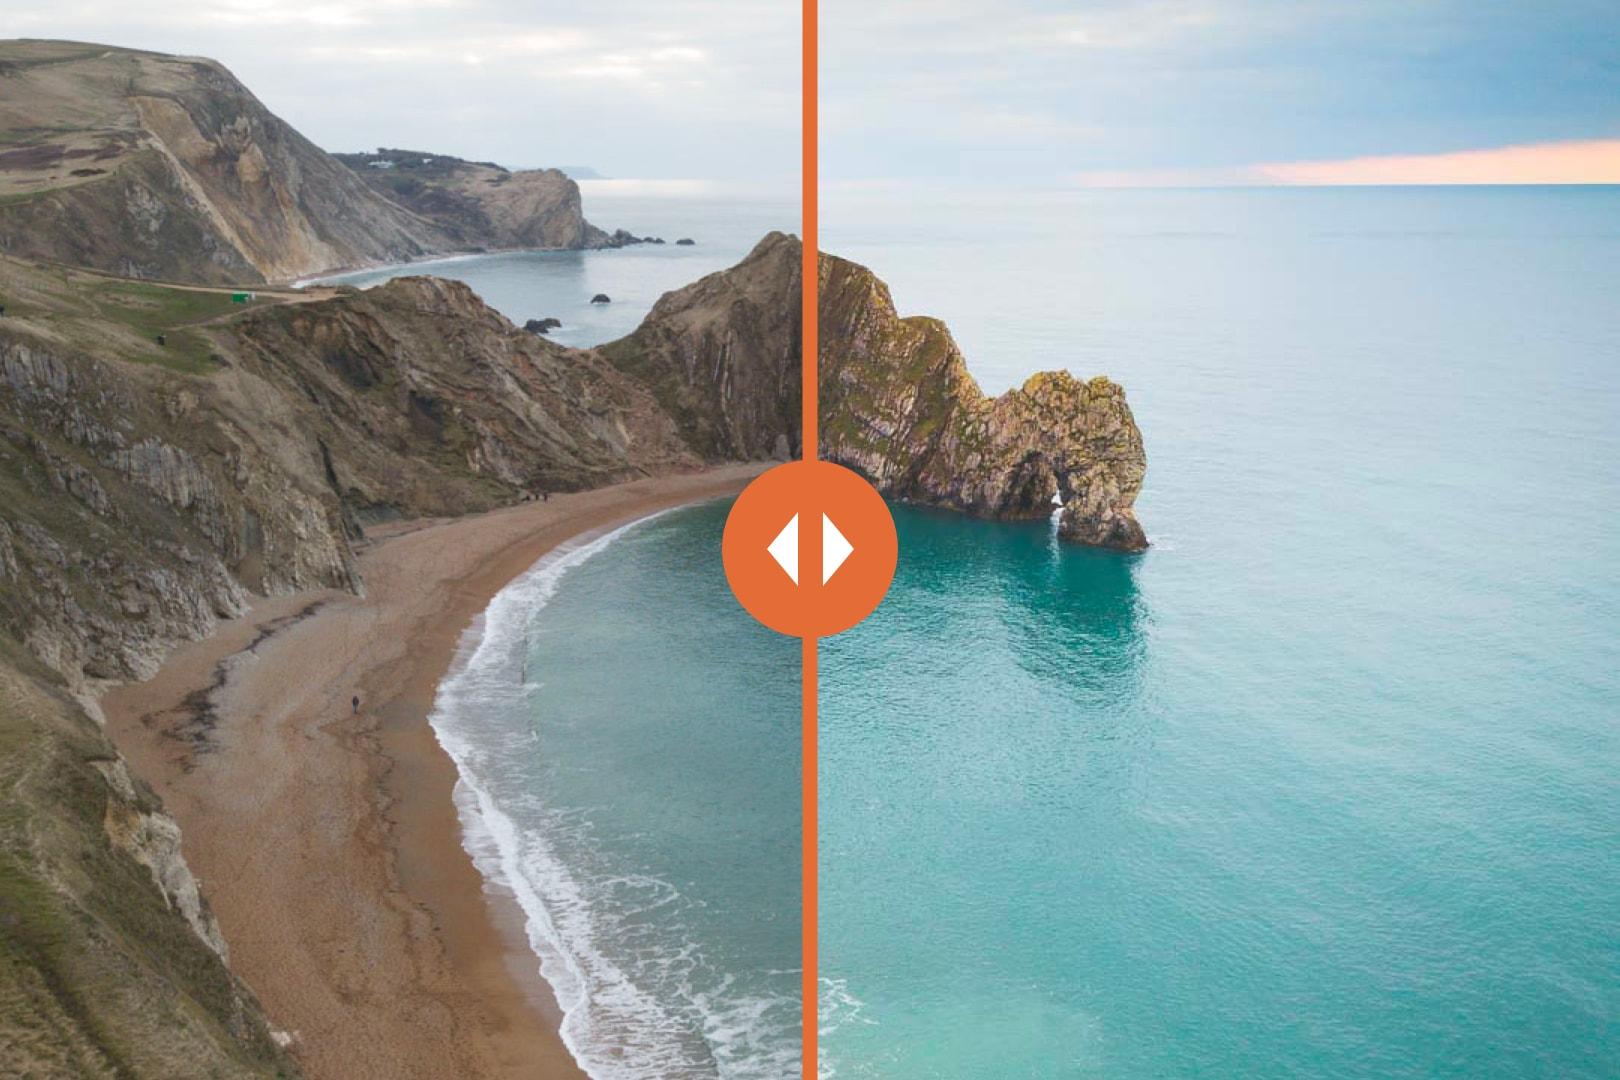
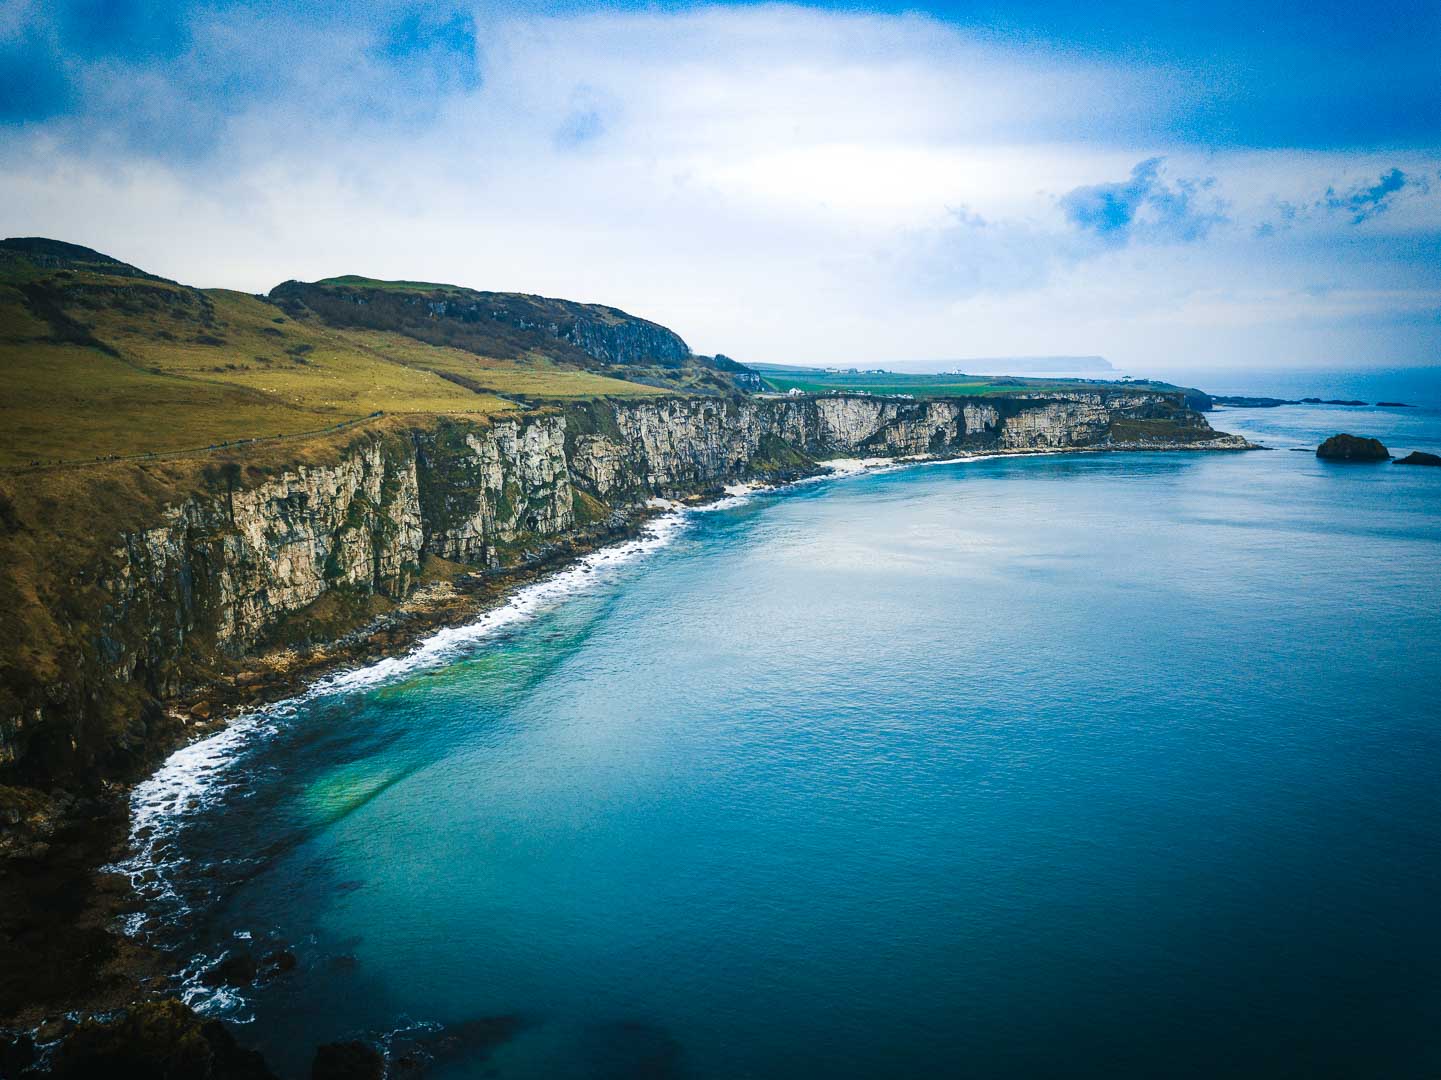
Here’s the last final image that we will look at:
Camera Gear
This shot was taken with:
Camera: DJI Mavic Pro Drone
Lens: Default built-in lens
Tripod: /
Filters: none
Camera Settings
Here are the camera settings I used for this image:
Focal Length: 26mm (default on mavic pro)
Aperture: f/2.2 (default on mavic pro)
Shutter speed: 1/400th sec
ISO: 100 ISO
Raw Photo
You can see below the image straight out of the camera.
Composition
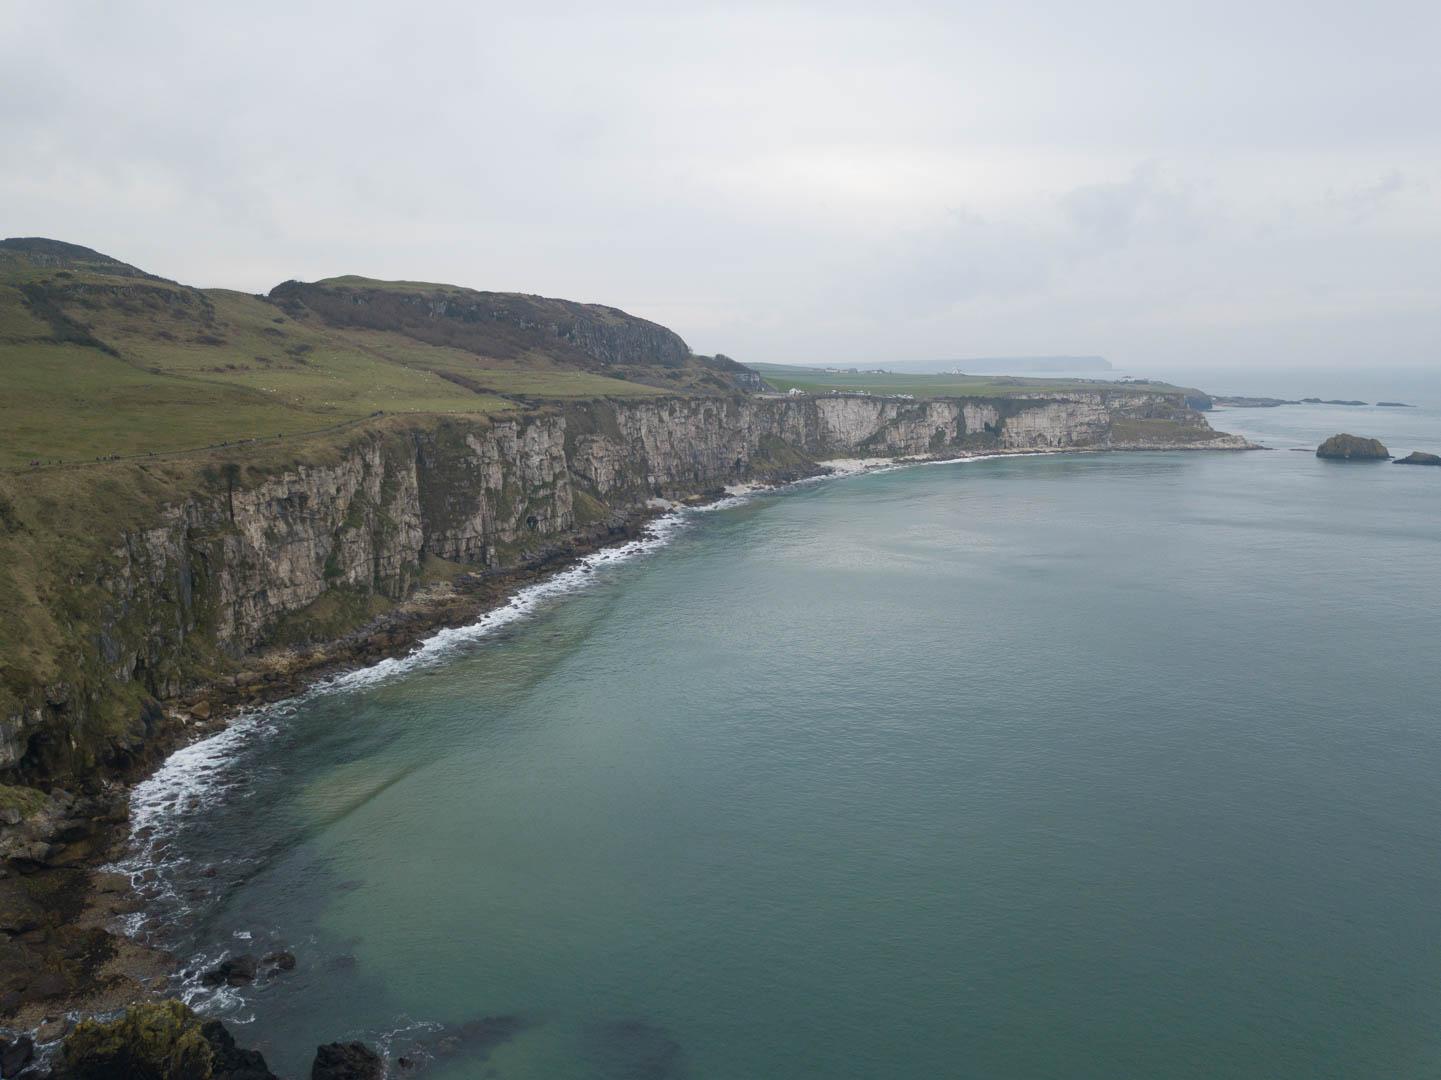
For this image, I wanted to see the whole cliff: from the left to the beginning of the cliff (you can see the beach at the bottom), to the right where the cliffs end.
I used the rule of third and placed the horizon line on the 2/3rd of the image.
Before/After
Tap on the photo to see the before/after
Editing
To give this image a powerful mood, I tweaked the colors, to change from greens/aquas to blue, using the HSL panel in Lightroom. I also changed the temperature to a bluer one.
I wanted to bring more atmosphere to the sky, so I used a graduated filter; I used the dehaze tool quite heavily (+60) to bring back the clouds.
I finished off the image with a strong vignette to focus the attention to the cliffs.
And that concludes this episode of Behind the Scenes. I hope that you enjoyed learning more about how I took the image, from the gear used to the editing process.
Most of all, I hope you will be able to use that information for your own photos, and that it will help you improve your photography.
As always, feel free to ask me any questions you have by leaving a comment below (I always reply).

Pin this to Pinterest!
Enjoyed this guide? Then help a fellow traveler and pin it! They'll most definitely love you for it, 100% guarantee.