Behind the Scenes in Plitvice Lakes National Park
Welcome to the third episode of Behind the Scenes, where you’ll learn how I took the photos on location, to help you improve your own photos.
TABLE OF CONTENTS
The Behind the Scenes Concept
If this is the first episode of Behind the Scenes you’re reading, let me share more about the concept of the series, and what you can expect to find in each episode.
As the title suggests, in the Behind the Scenes series I will share with you the behind the scenes of how I took the photos on location.
Whenever I travel and take photos, I share stories with you about the place, the hikes, travel guides, and photo series. As my biggest goal is to help you learn photography easily, I want to take it one step further and share the behind the scenes details of how I took the photos you can see on the blog, in the other articles (photo series or travel guides).
Location
Each episode will be the behind the scenes for a specific location. For example, behind the scenes of Durdle Door, England ; or behind the scenes of Algarve, Portugal.
Photos
I will select 3 photos for each destination. The 3 photos will be as diverse as possible, to give you the widest range of behind the scenes info.
Camera Gear
In this section you’ll find the camera gear that was used to capture the picture: camera body, lens, and optional gear used (tripod, filters, props, …)
Camera Settings
I will share with you the exact camera settings I used to capture the image: aperture, shutter speed and ISO.
Composition
The most important part of the photo to me is composition. In this part I will discuss what went through my mind when taking the photo, how I planned the shot, and how I composed my image.
Raw Photo
For each photo, you will see the raw image, straight out of the camera, with no edits.
Before/After
To give you an insight on the editing process, you’ll see a before/after for the image.
Editing
Finally, we will look into the post-processing work done on the image, to take it from the raw photo to the finished image.
Now that you know what to expect from this Behind the Scenes Series, let’s jump into the Triglav National Park Behind the Scenes episode.
Behind the Scenes in Plitvice Lakes
If you missed my Plitvice Lakes photos/guide, you can find them here:
Plitvice Lakes National Park Travel Guide
Plitvice Photo Series
Let’s get started on the first image.
#1 Plitvice Lakes National Park image
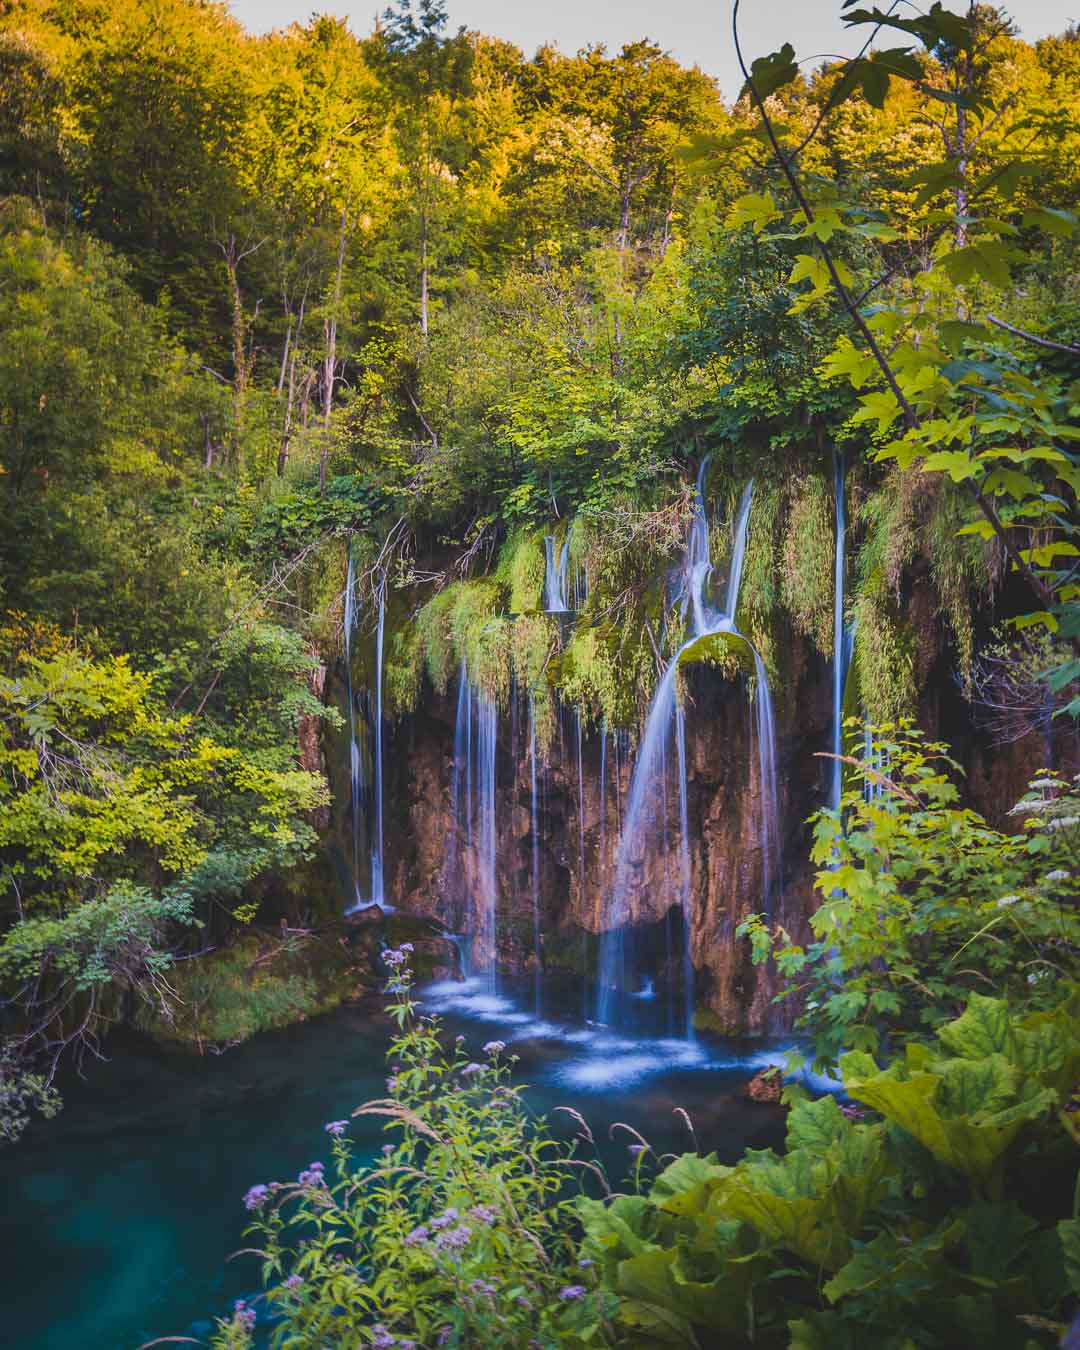
Finished Image
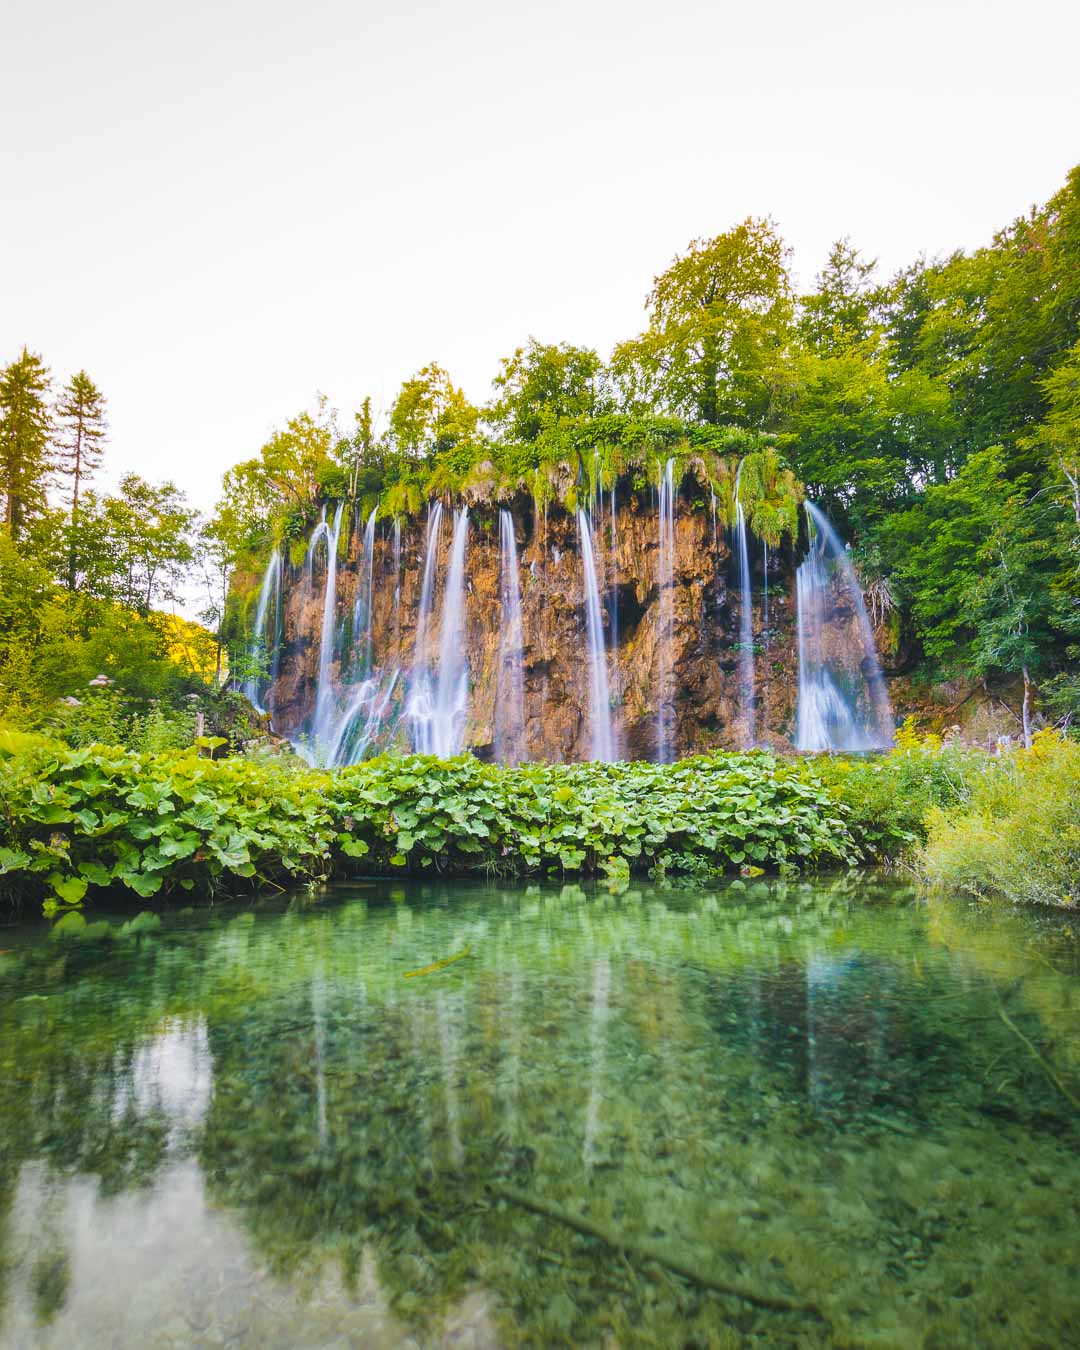
Here’s the first final image taken at Plitvice Lakes that we will look at:
Camera Gear
This shot was taken with:
Camera: Nikon D5500
Lens: Sigma 10-20mm f/3.5 wide angle lens
Tripod: none (I forgot my tripod in my airbnb!!)
Filters: none
If you want to learn how to shoot without a tripod, check this guide: 4 tips to shoot without a tripod
Camera Settings
Here are the camera settings I used for this image:
Focal Length: 18mm
Aperture: f/14 (stopped down to be able to shoot daylight long exposure)
Shutter speed: 0,6 seconds
ISO: 100 ISO
Composition
To shoot this waterfall, I wanted to have an intimate look at it, instead of the classic very wide shot. I zoomed in, and made sure to incorporate some plants and flowers in the foreground, to add interest. As the image was already pretty dense, with the waterfall, and all the plants and flowers, I wanted to let it breathe a little, and I incorporated a tiny bit of sky in the picture.
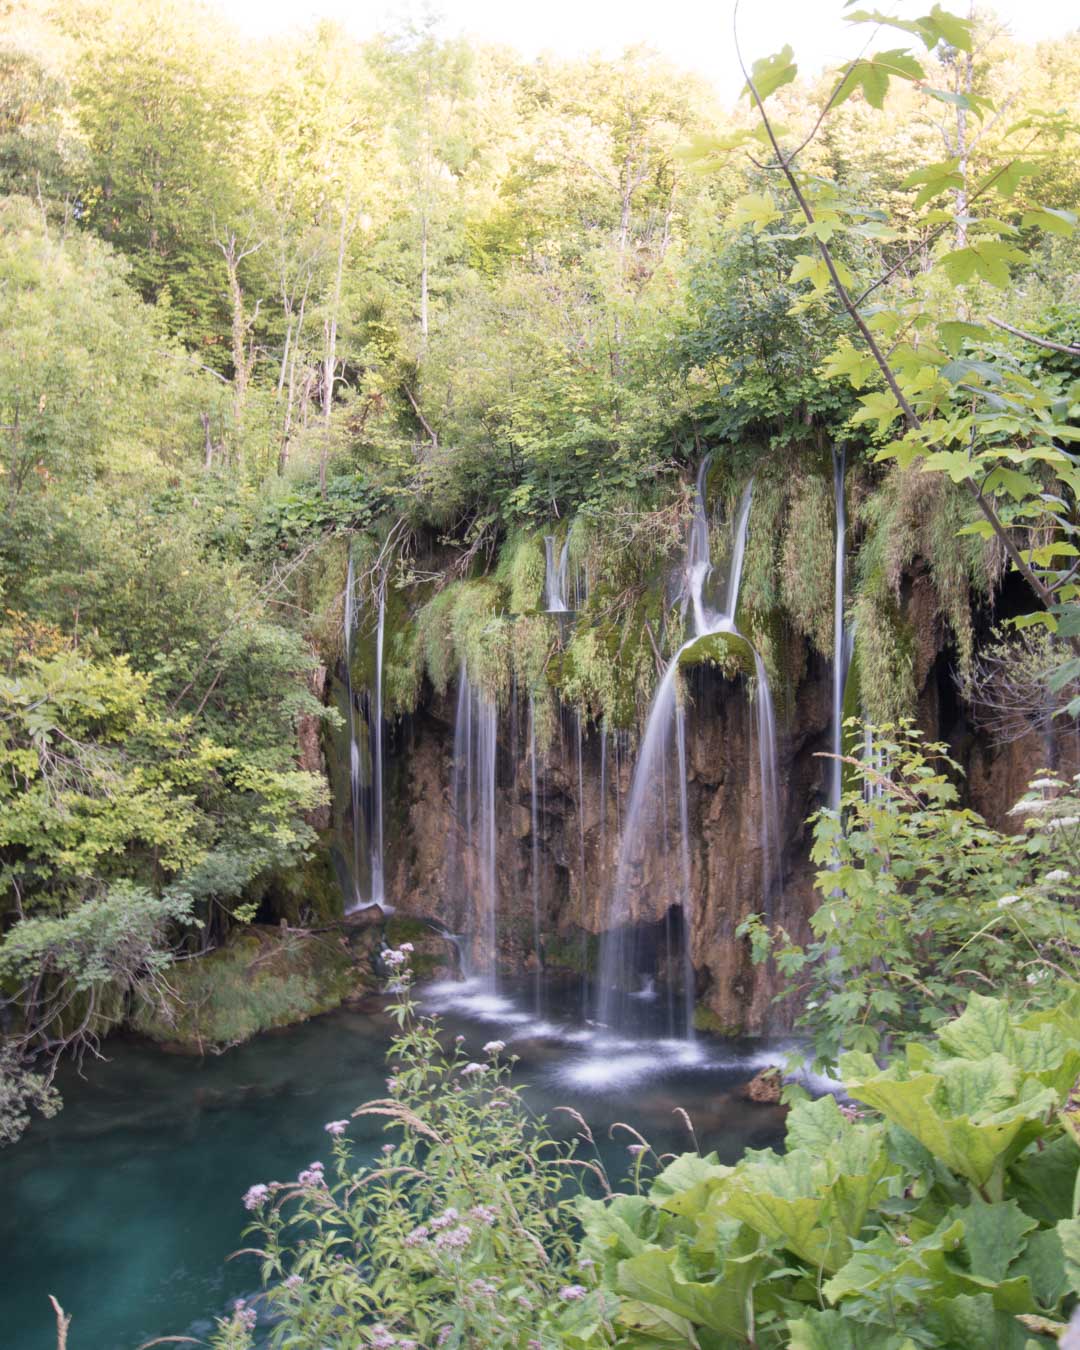
Raw Photo
You can see below the image straight out of the camera.
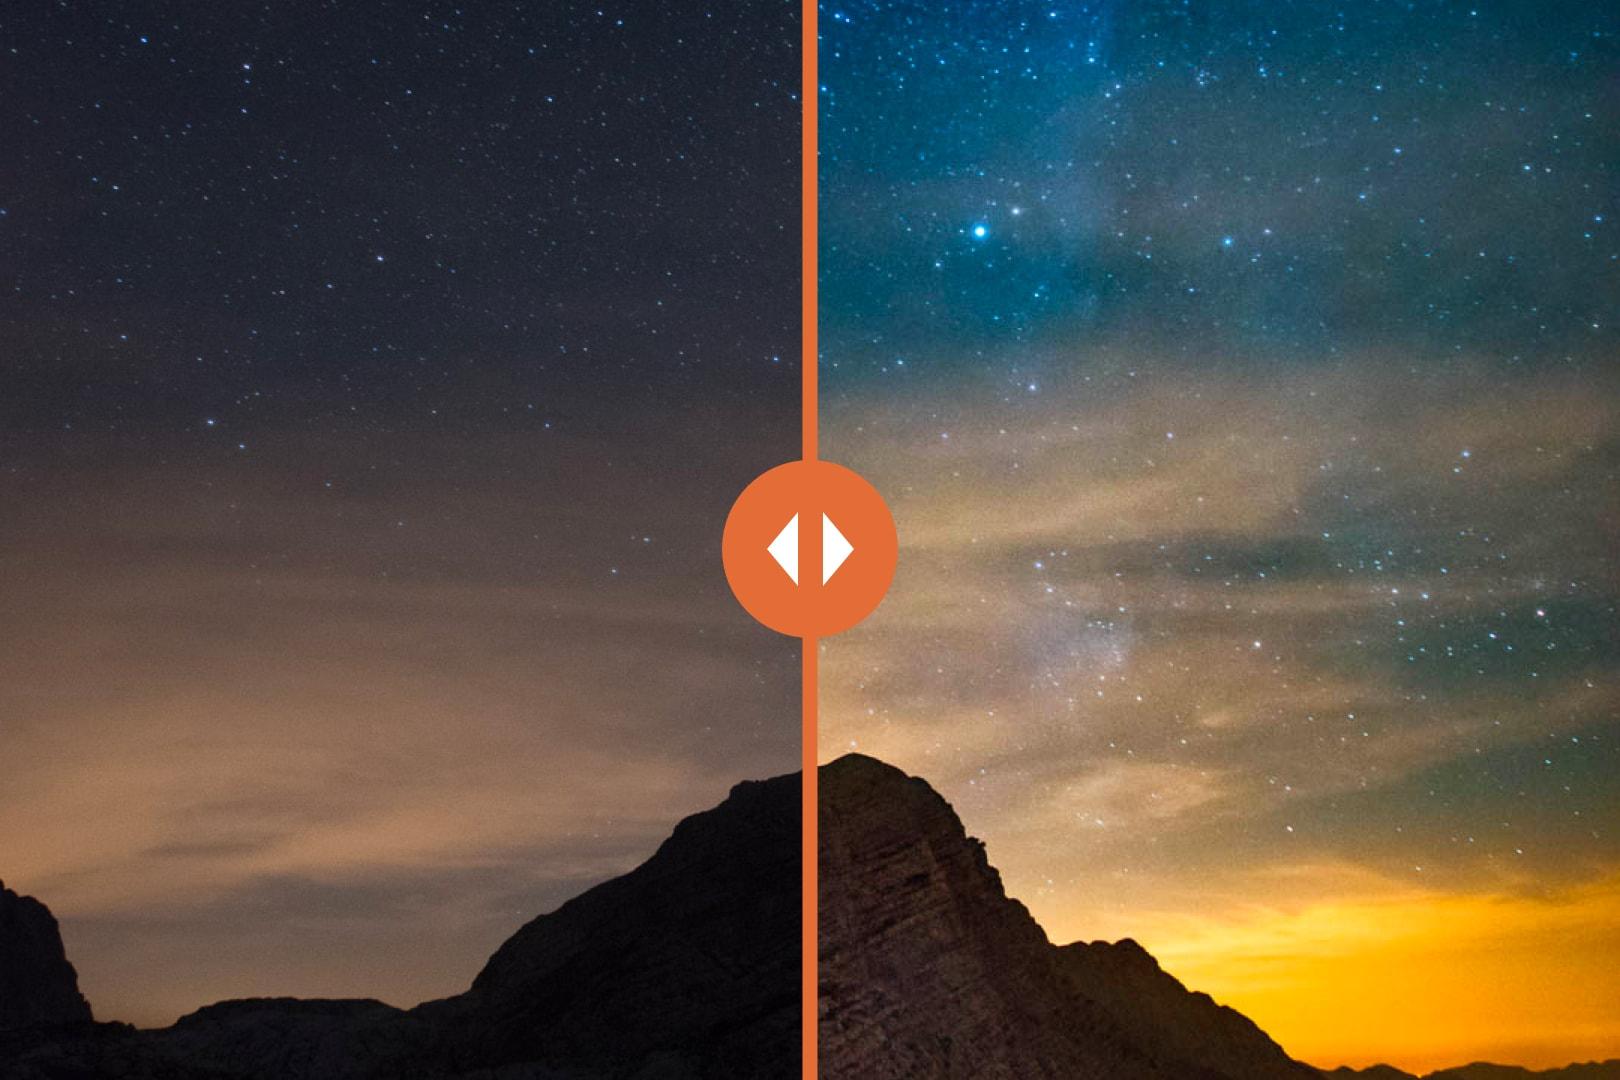
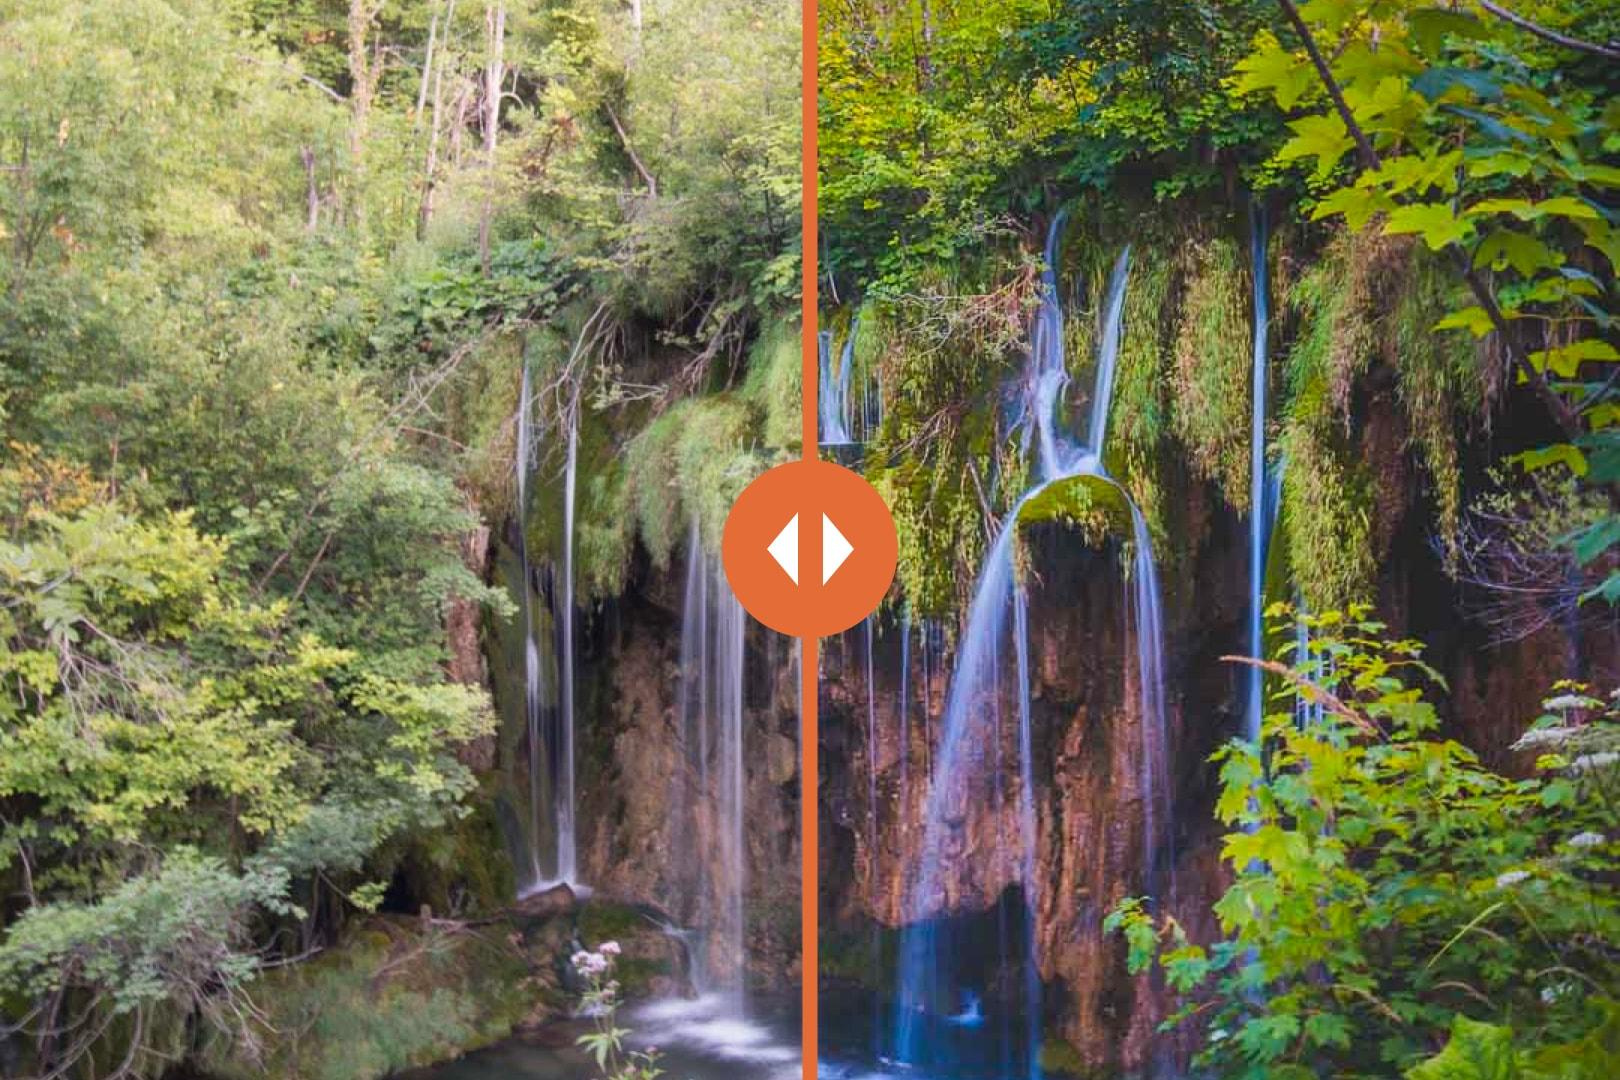
Before/After
Tap on the photo to see the before/after
Editing
Editing this photo was tough, because the raw file is pretty bad. I wanted to have a silky look to the waterfall, and for that I had to do a long exposure. I didn’t have any ND filters or grad filters to compensate for the long exposure, so as you can see the sky is blown out, and the top of the image is way too bright.
I used a lot of selective adjustments on this image. I started with a quick edit (lower highlights and whites, recover shadows and blacks), and cooled down the white balance a bit because the image looked a bit too yellow.
Then, I used selective adjustments to edit the image:
-first, I used grad filters to recover the blown out sky: lowered the exposure and brought down the highlights
-then, I used a radial filter to draw attention to the waterfall: I darkened all parts of the image except for the waterfall
-I did a bit of dodge & burn to the leaves and rocks, to accentuate the lights and shadows
-and I finished by brushing the water falling, adding exposure to make it pop
#2 Plitvice Lakes National Park image
Finished Image
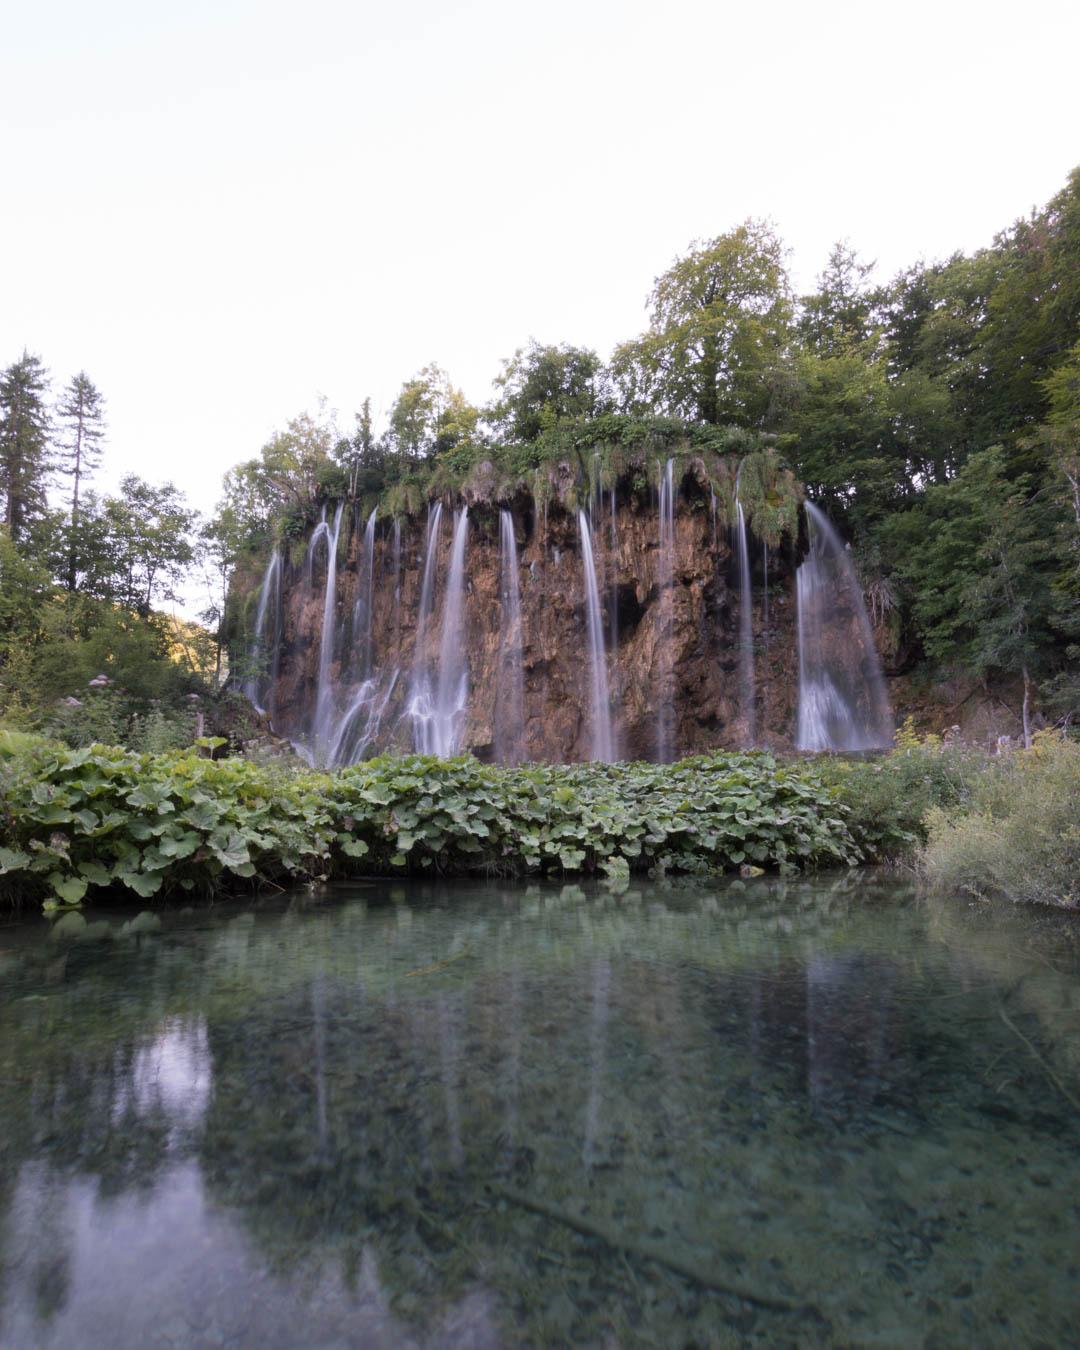
Here’s the second final image that we will look at:
Camera Gear
This shot was taken with:
Camera: Nikon D5500
Lens: Sigma 10-20mm f/3.5 wide angle lens
Tripod: none (yup, forgot the tripod)
Filters: none
Camera Settings
Here are the camera settings I used for this image:
Focal Length: 11mm
Aperture: f/18
Shutter speed: 0,6 sec
ISO: 100 ISO
Same as the image above, I used the highest f stop to allow for the longest shutter speed possible. To get the nice silky look in the water, I had to accept having a blown out sky.
Composition
To me, the most interesting part of this image is the reflection. I tried to position the ground in the middle of the image, to split the frame in 2, with the waterfall on the upper half, and the reflection in the lower half. In the end, the reflection isn’t very visible, because the water wasn’t still enough.
Raw Photo
You can see below the image straight out of the camera.
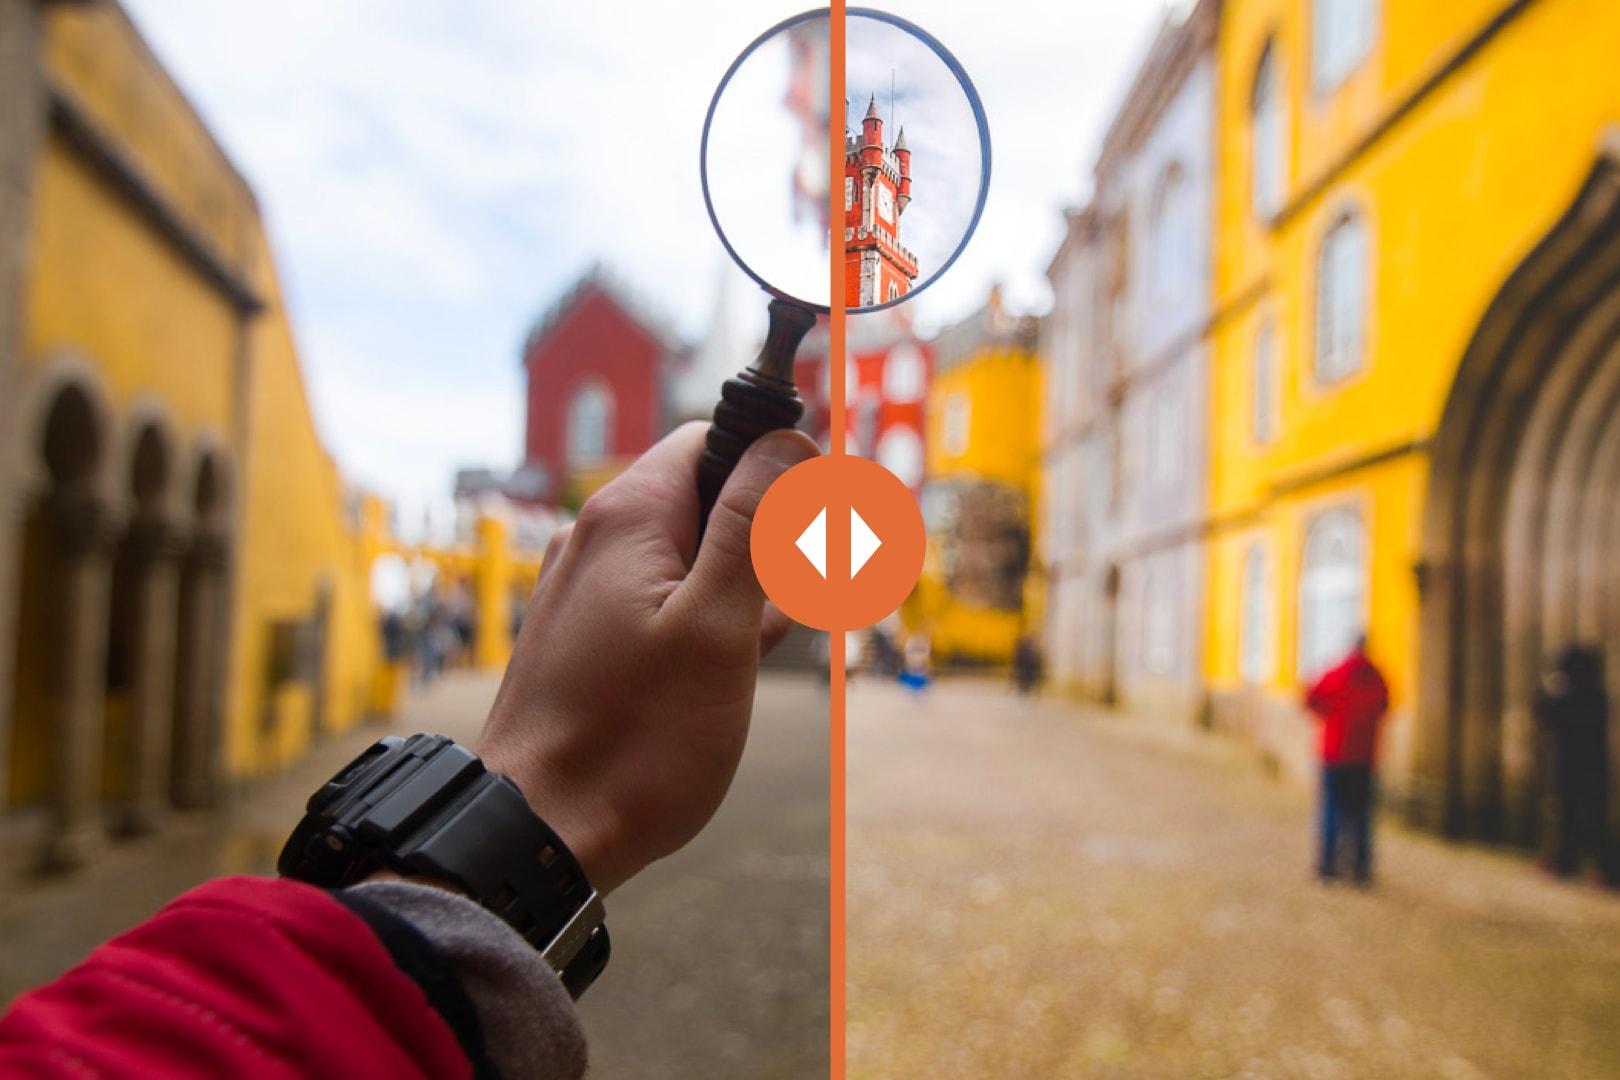
Before/After
Tap on the photo to see the before/after
Editing
After recovering the details, I realized the image was too green. I adjusted the tint and added more pink.
I then used graduated filters to adjust parts of the images I didn’t like:
–the sky: the sky looked too blown out, and the top of the trees in the top left corner where all blue. I used a graduated filter with a temperature of 100 (yellow) and 100 saturation to add a bit of color
–the reflection: the water looked too blue, and was contrasting with the rest of the image. I added some warmth to make it match
I took the image in photoshop to add sharpness, and did some dodge and burn on the waterfall and the rock to draw attention to it.
I then imported the image back in Lightroom, and added a lot of vibrance to add that final pop to the shot.
Do you want to learn how to take photos like these? You can start by checking my free 24 pages ebook on mastering digital photography basics: download the eBook for free!
#3 Triglav National Park image
Finished Image
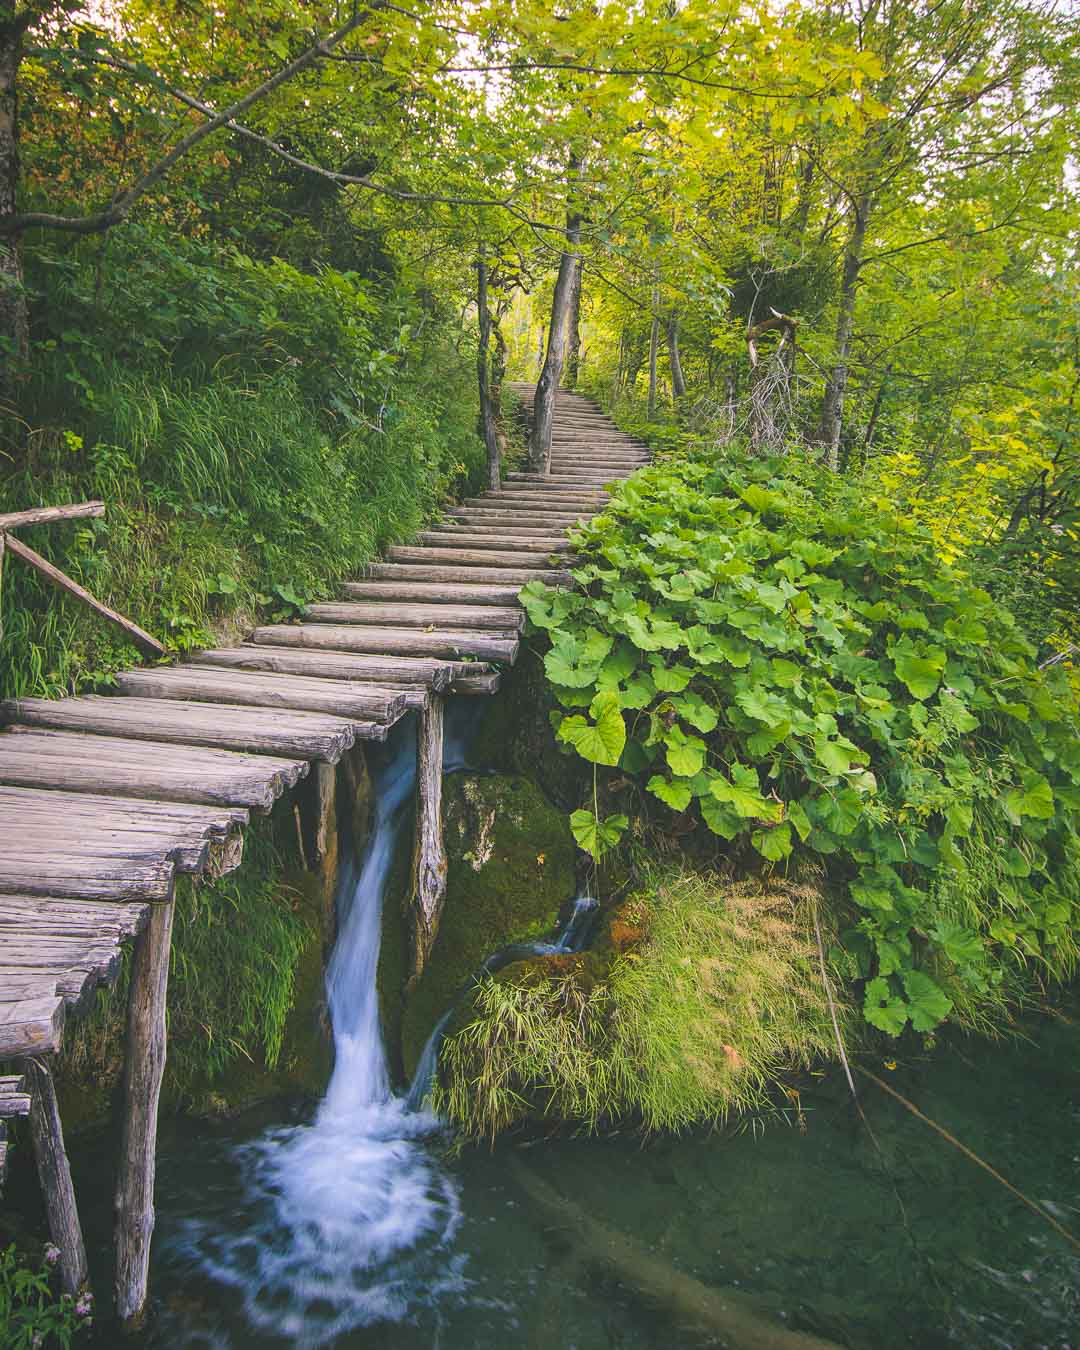
Here’s the last final image taken at Triglav National Park that we will look at:
Camera Gear
This shot was taken with:
Camera: Nikon D5500
Lens: Sigma 10-20mm f/3.5 wide angle lens
Tripod: none (you guessed it: left it at home)
Filters: none
Camera Settings
Here are the camera settings I used for this image:
Focal Length: 15mm
Aperture: f/8.0 (it was getting dark)
Shutter speed: 1/15th sec (as I had no tripod, I had to use the slowest shutter speed I could manage with an handheld shot)
ISO: 100 ISO
Composition
The composition in this image is all about the bridge. The bridge starts to the bottom left of the image, and leads the viewer’s eye all the way to the top.
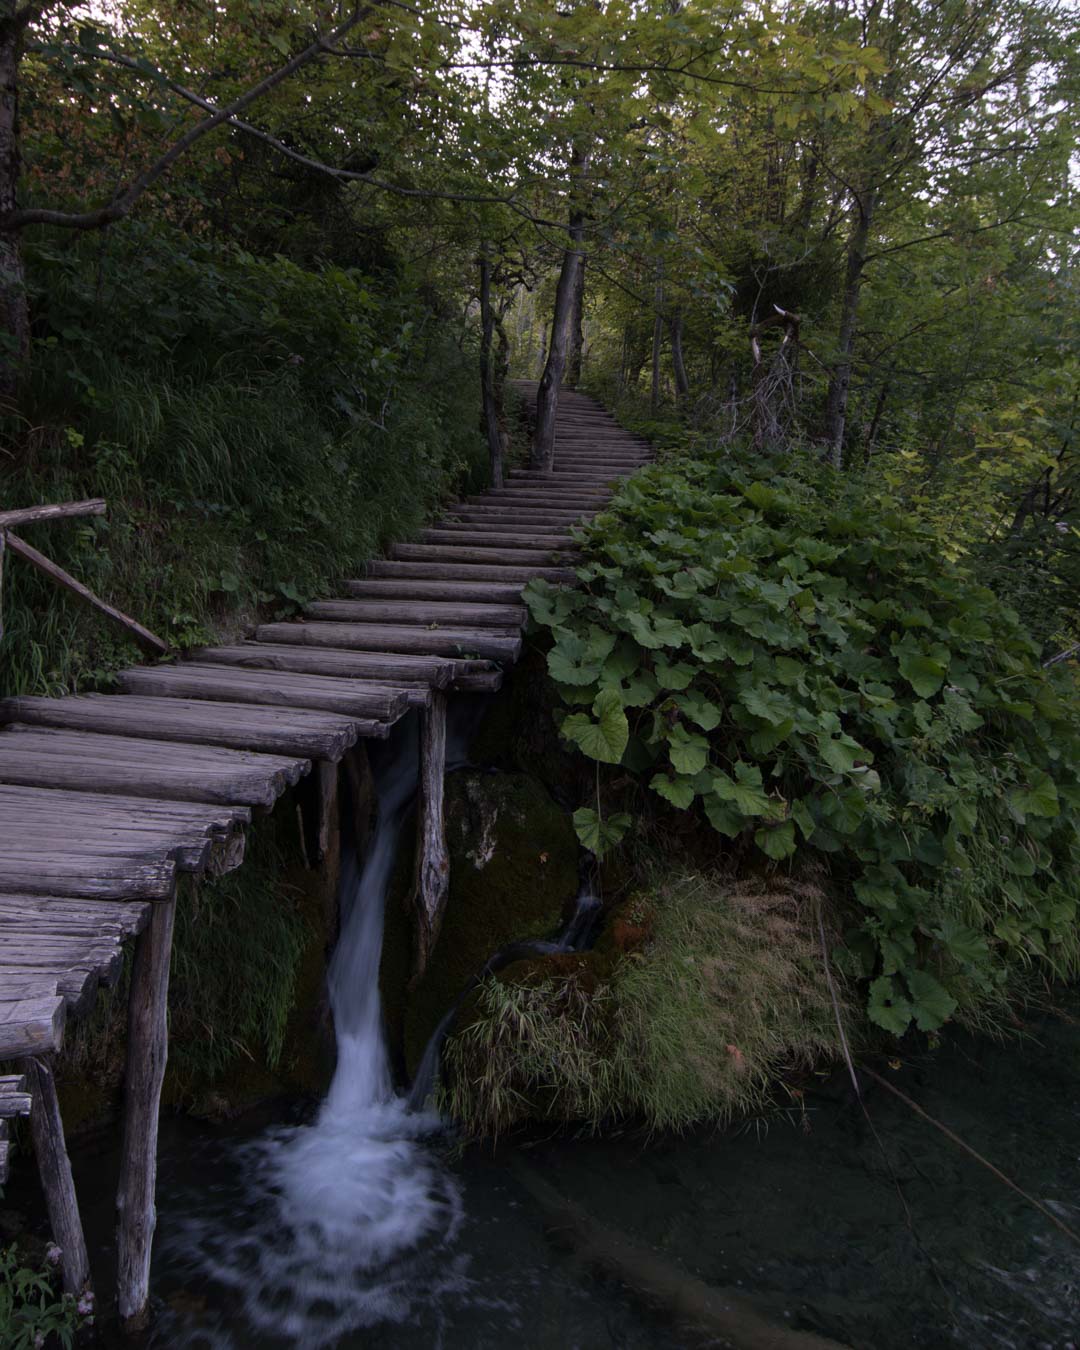
Raw Photo
You can see below the image straight out of the camera.
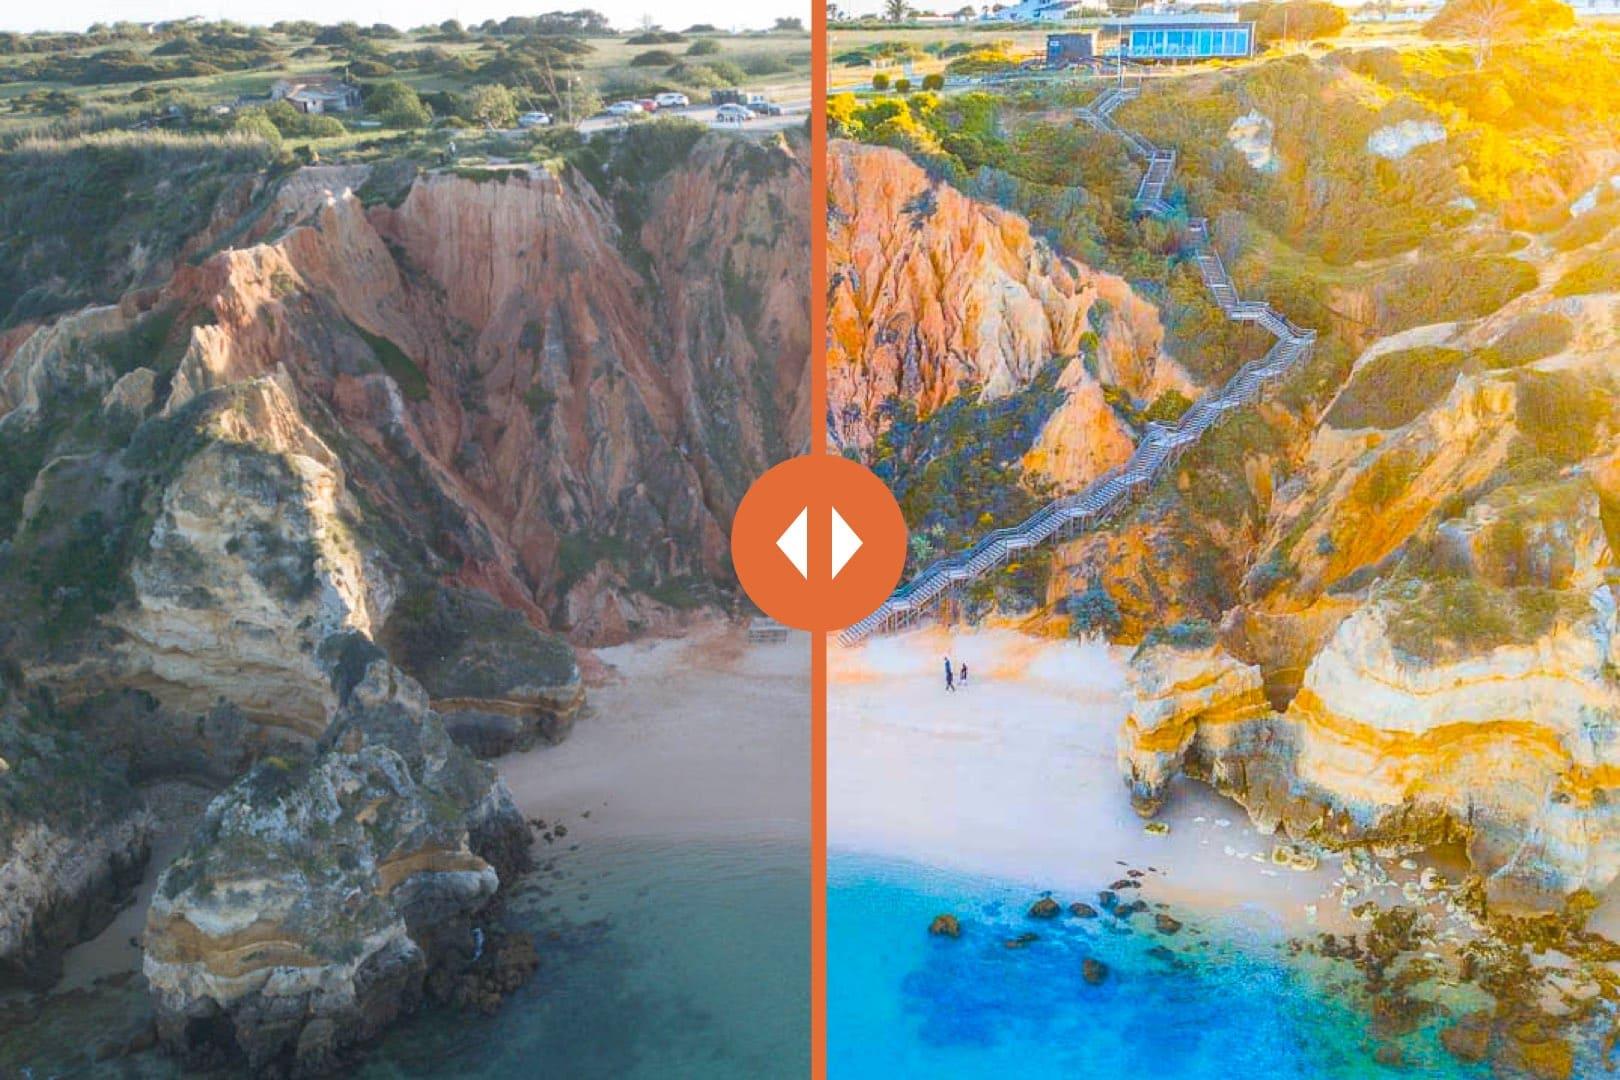
Before/After
Tap on the photo to see the before/after
Editing
The first obvious thing about this shot in Plitvice is that it’s underexposed: it’s too dark (learn more about exposure here: Exposure basics)
After bringing up the shadows and the blacks, I realized that the image was too cool (no, not like the cool kid, just too blue). I took the white balance way up, adding warmth and a pink tint.
The other important adjustment was done to the waterfall. It was not drawing enough attention, so I needed to do something. I used a brush, and brushed the waterfall to make it pop: I increased the exposure, the clarity, the saturation, and gave it a blue tone.
And that concludes this episode of Behind the Scenes. I hope that you enjoyed learning more about how I took the image, from the gear used to the editing process.
Most of all, I hope you will be able to use that information for your own photos, and that it will help you improve your photography.
As always, feel free to ask me any questions you have by leaving a comment below (I always reply).

Pin this to Pinterest!
Enjoyed this guide? Then help a fellow traveler and pin it! They'll most definitely love you for it, 100% guarantee.