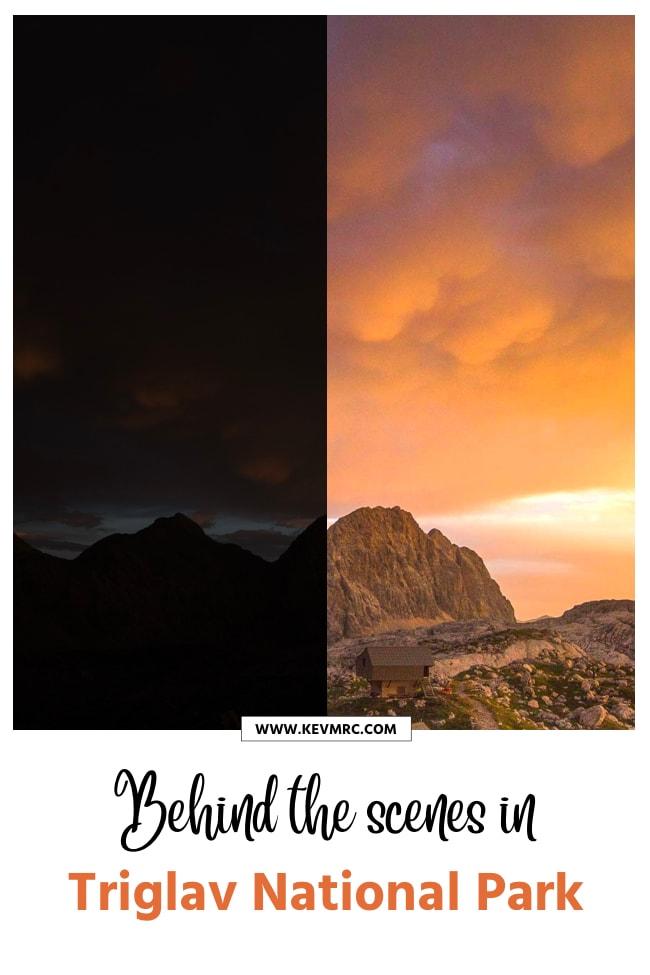
Behind the Scenes in Triglav National Park
Welcome to the second episode of Behind the Scenes, where you’ll learn how I took the photos on location, to help you improve your own photos.
The Behind the Scenes Concept
If this is the first episode of Behind the Scenes you’re reading, let me share more about the concept of the series, and what you can expect to find in each episode.
As the title suggests, in the Behind the Scenes series I will share with you the behind the scenes of how I took the photos on location.
Whenever I travel and take photos, I share stories with you about the place, the hikes, travel guides, and photo series. As my biggest goal is to help you learn photography easily, I want to take it one step further and share the behind the scenes details of how I took the photos you can see on the blog, in the other articles (photo series or travel guides).
Location
Each episode will be the behind the scenes for a specific location. For example, behind the scenes of Durdle Door, England ; or behind the scenes of Algarve, Portugal.
Photos
I will select 3 photos for each destination. The 3 photos will be as diverse as possible, to give you the widest range of behind the scenes info.
Camera Gear
In this section you’ll find the camera gear that was used to capture the picture: camera body, lens, and optional gear used (tripod, filters, props, …)
Camera Settings
I will share with you the exact camera settings I used to capture the image: aperture, shutter speed and ISO.
Composition
The most important part of the photo to me is composition. In this part I will discuss what went through my mind when taking the photo, how I planned the shot, and how I composed my image.
Raw Photo
For each photo, you will see the raw image, straight out of the camera, with no edits.
Before/After
To give you an insight on the editing process, you’ll see a before/after for the image.
Editing
Finally, we will look into the post-processing work done on the image, to take it from the raw photo to the finished image.
Now that you know what to expect from this Behind the Scenes Series, let’s jump into the Triglav National Park Behind the Scenes episode.
Behind the Scenes in Triglav National Park
If you missed my Triglav National Park photos/guide, you can find them here:
Triglav National Park Travel Guide
Triglav Photo Series
Let’s get started on the first image.
#1 Triglav National Park image
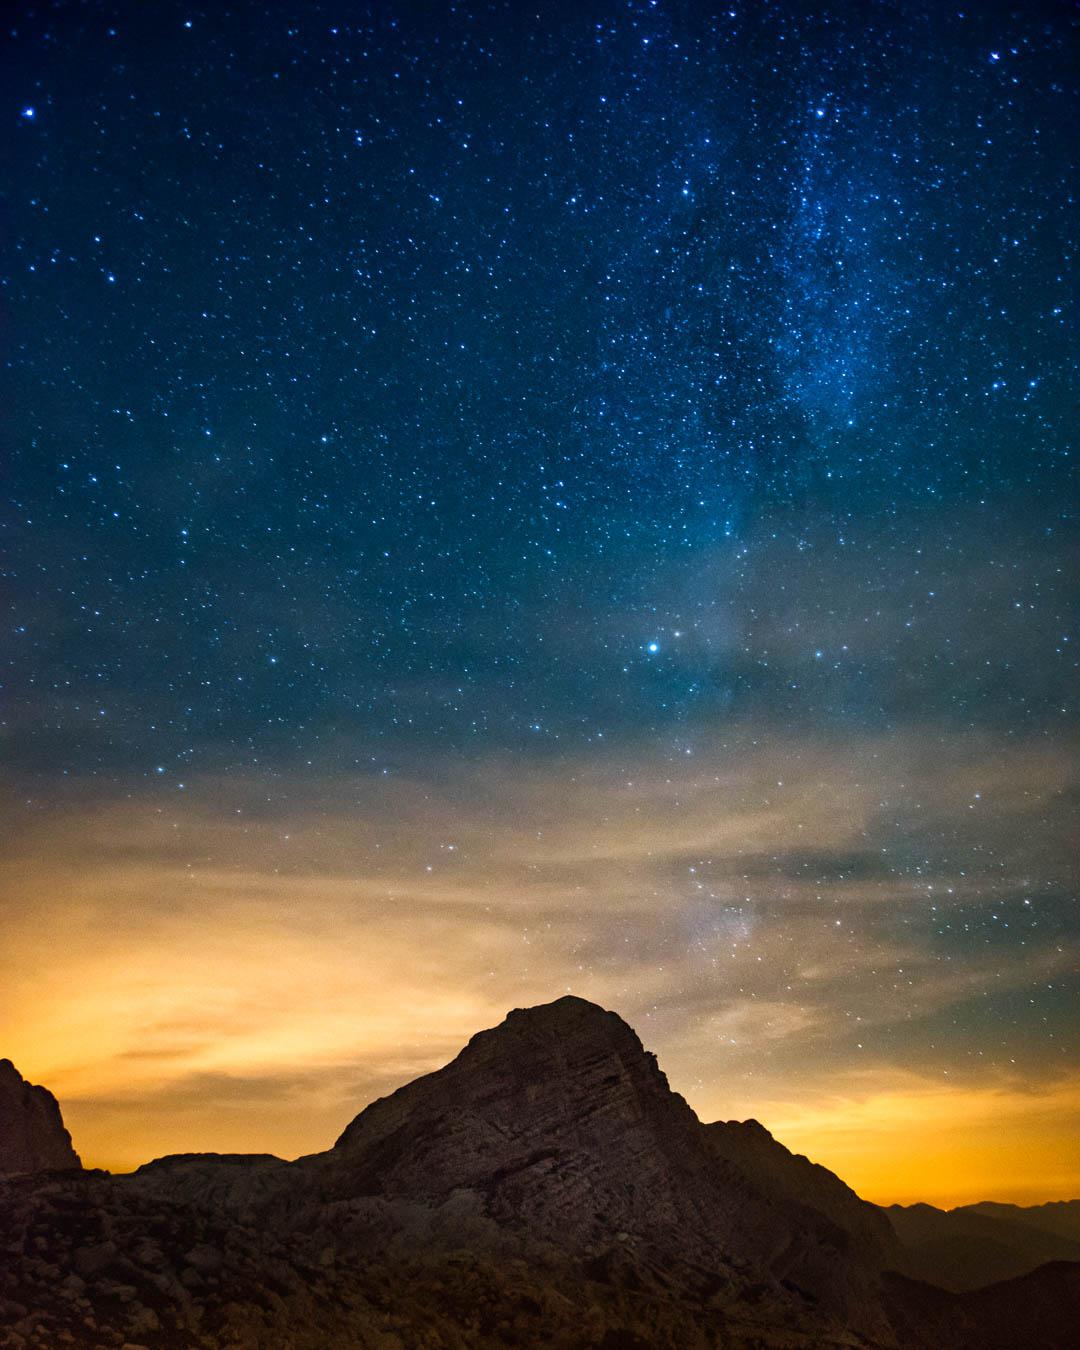
Finished Image
Here’s the first final image taken at Triglav National Park that we will look at:
Camera Gear
This shot was taken with:
Camera: Nikon D5500
Lens: Sigma 10-20mm f/3.5 wide angle lens
Tripod: Gorillapod
Filters: none
Camera Settings
Here are the camera settings I used for this image:
Focal Length: 10mm
Aperture: f/3.5 (wider I could get)
Shutter speed: 30 seconds
ISO: 2500 ISO
If you want to learn more about shooting at night, check out this guide: Best Lens for Night Photography
Composition
For this night sky photo, I first looked for an interesting foreground element. Once I found it (the mountain), I then framed the image so that the mountain would be on the lower part of the picture, with the sky taking as much space as possible.
I’ve centered the mountain in the frame, with the milky way almost right above it.
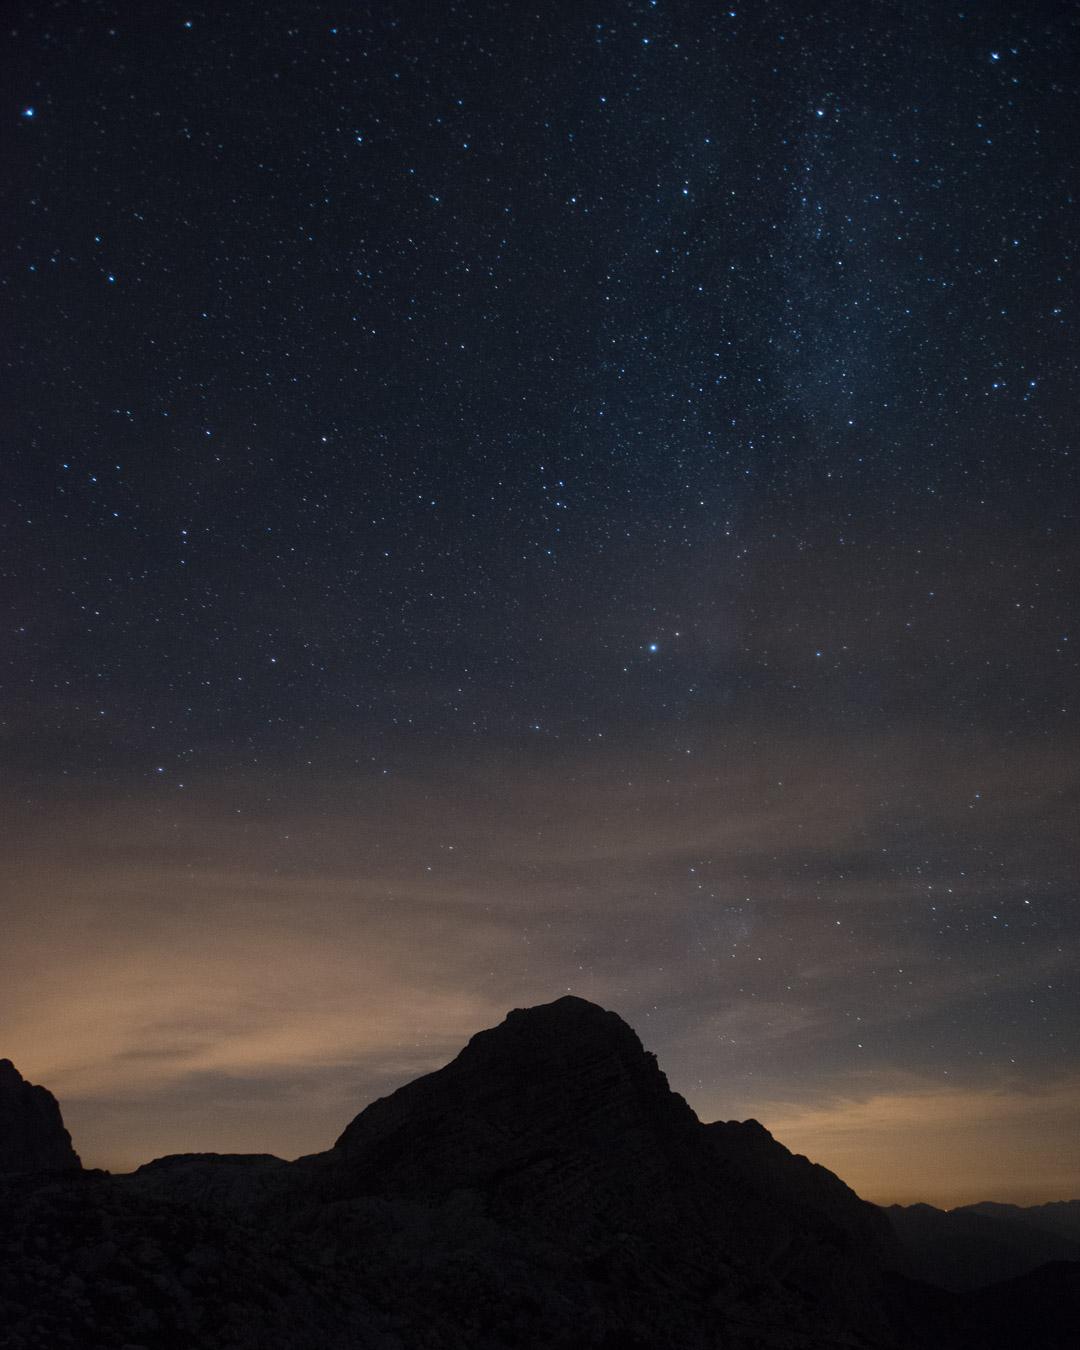
Raw Photo
You can see below the image straight out of the camera.
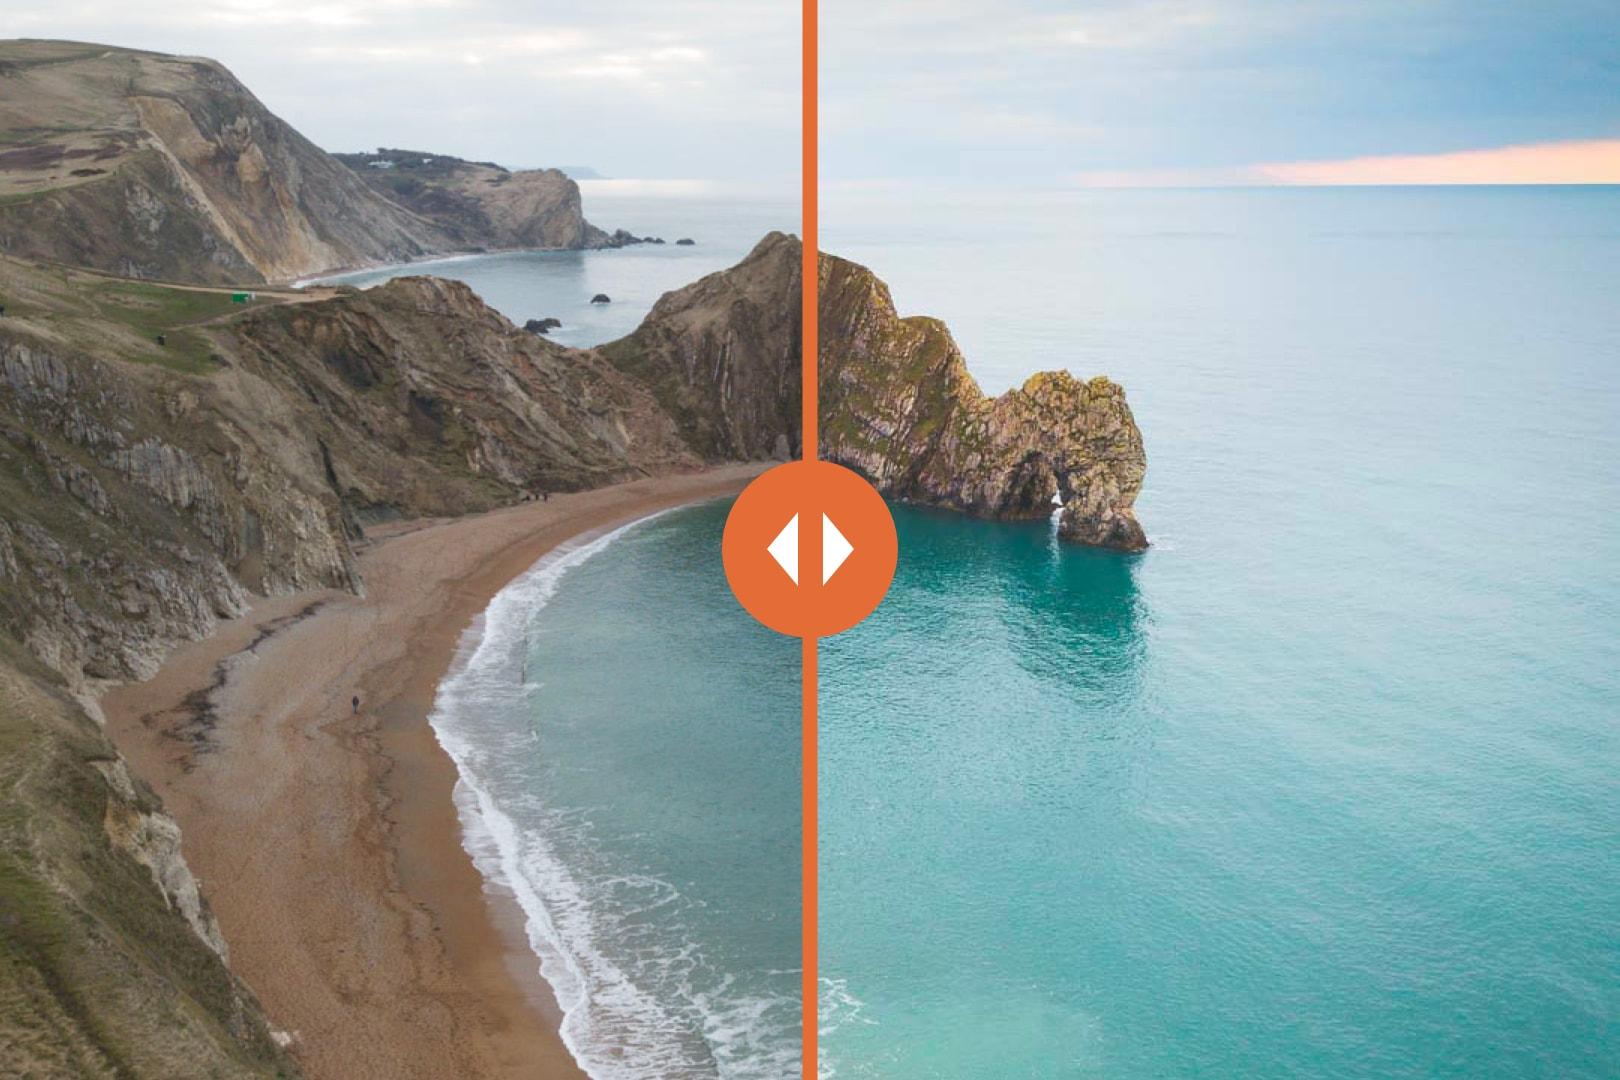
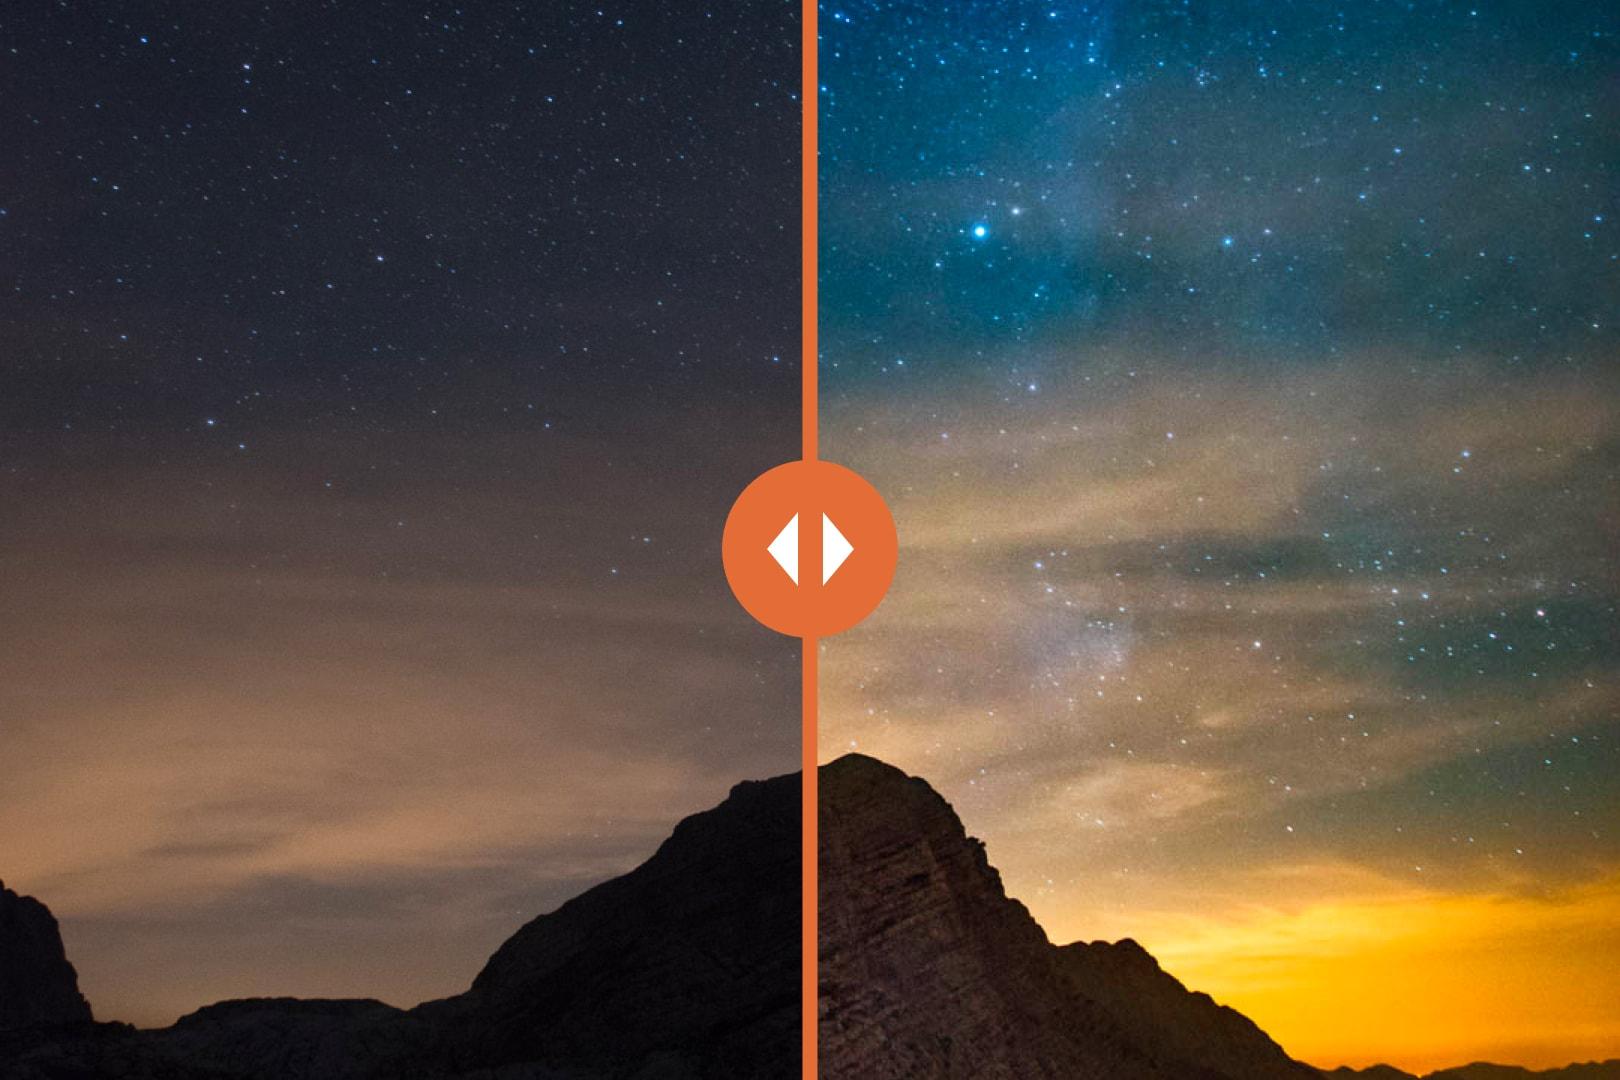
Before/After
Tap on the photo to see the before/after
Editing
Editing this photo was tough, because I didn’t do a very good job by taking the picture with the camera. As you can see on the raw file, it looks very dark, and there is barely any details.
I pulled up the blacks and the shadows almost to the maximum, to recover as much details as possible.
Then, I used selective adjustments to edit the sky:
-a first selective adjustment with the brush for the lower part of the sky, tainted orange by the sunset. I increased the exposure, and warmed the color balance
-a graduated filter for the upper part of the sky, to increase the whites, and saturation a bit
-a final local adjustment on the milky way part, where I brushed with increased clarity and exposure to make the milky way pop
#2 Triglav National Park image
Finished Image
Here’s the second final image that we will look at:
Camera Gear
This shot was taken with:
Camera: Nikon D5500
Lens: Sigma 10-20mm f/3.5 wide angle lens
Tripod: none (could have probably used one)
Filters: none
Camera Settings
Here are the camera settings I used for this image:
Focal Length: 16mm
Aperture: f/8.0
Shutter speed: 1/50th sec
ISO: 100 ISO
To be honest, I did a very bad job taking this picture. As you can see on the raw file, it’s really dark. I used ISO 100, and I could have used at least ISO 800 on the Nikon D5500, which would have gave me a way better exposed image.
Composition
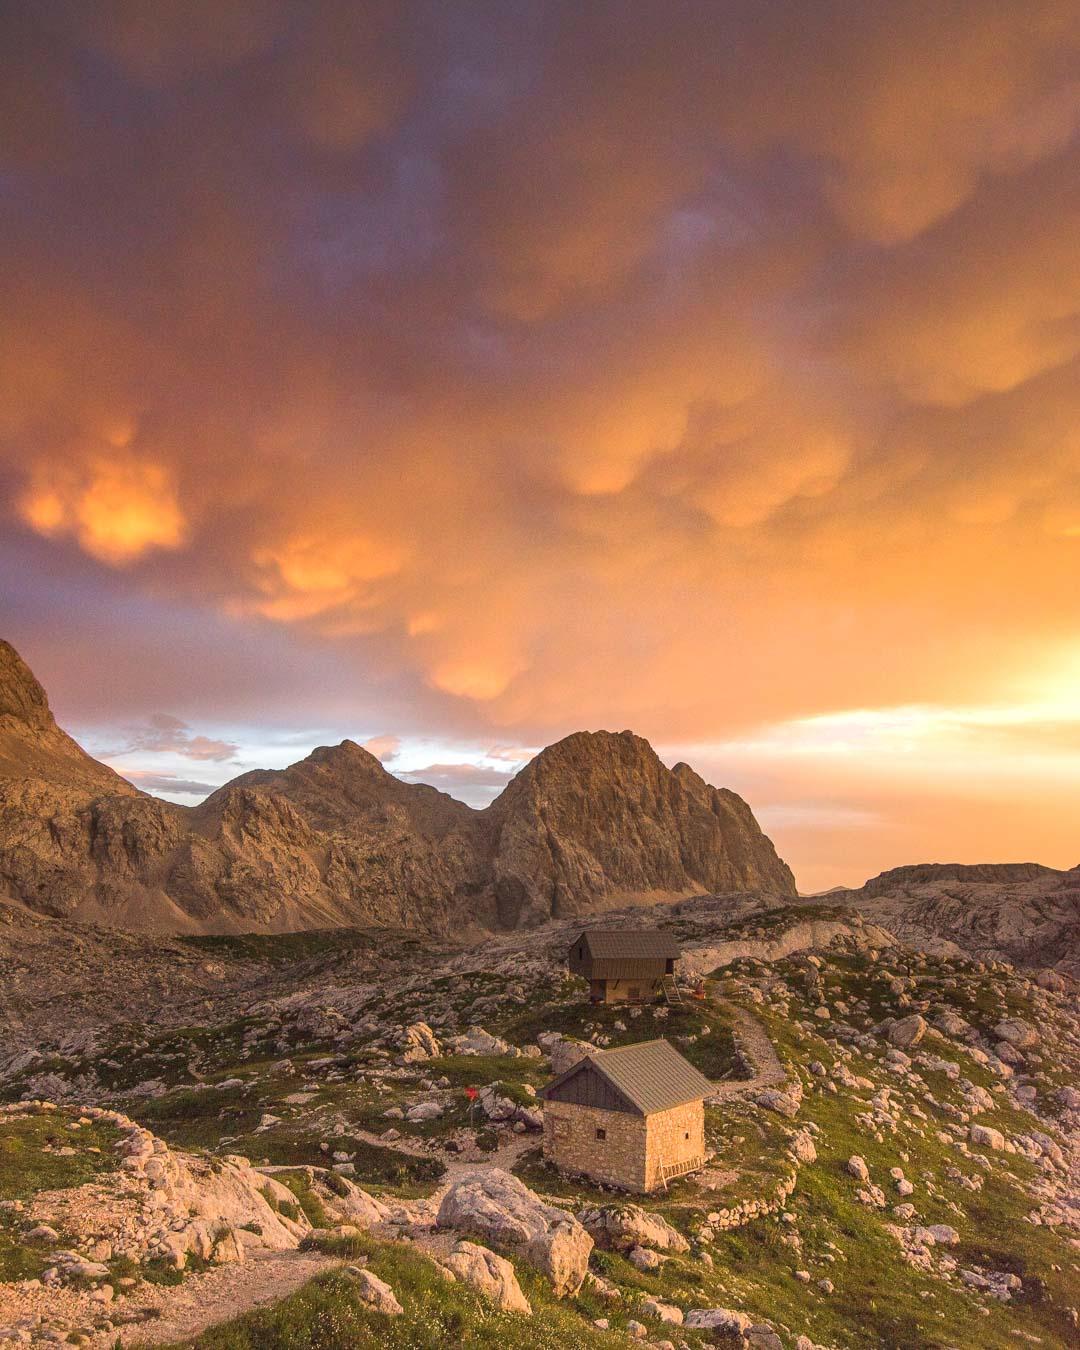
The most interesting part of what was happening was the fire sky. I composed the shot so that the sky would take 2/3rds of the picture, with the foreground in the lower third.
I then tried to get as much as the mountains as possible in the shot, while still having the 2 wooden huts where we slept that night.
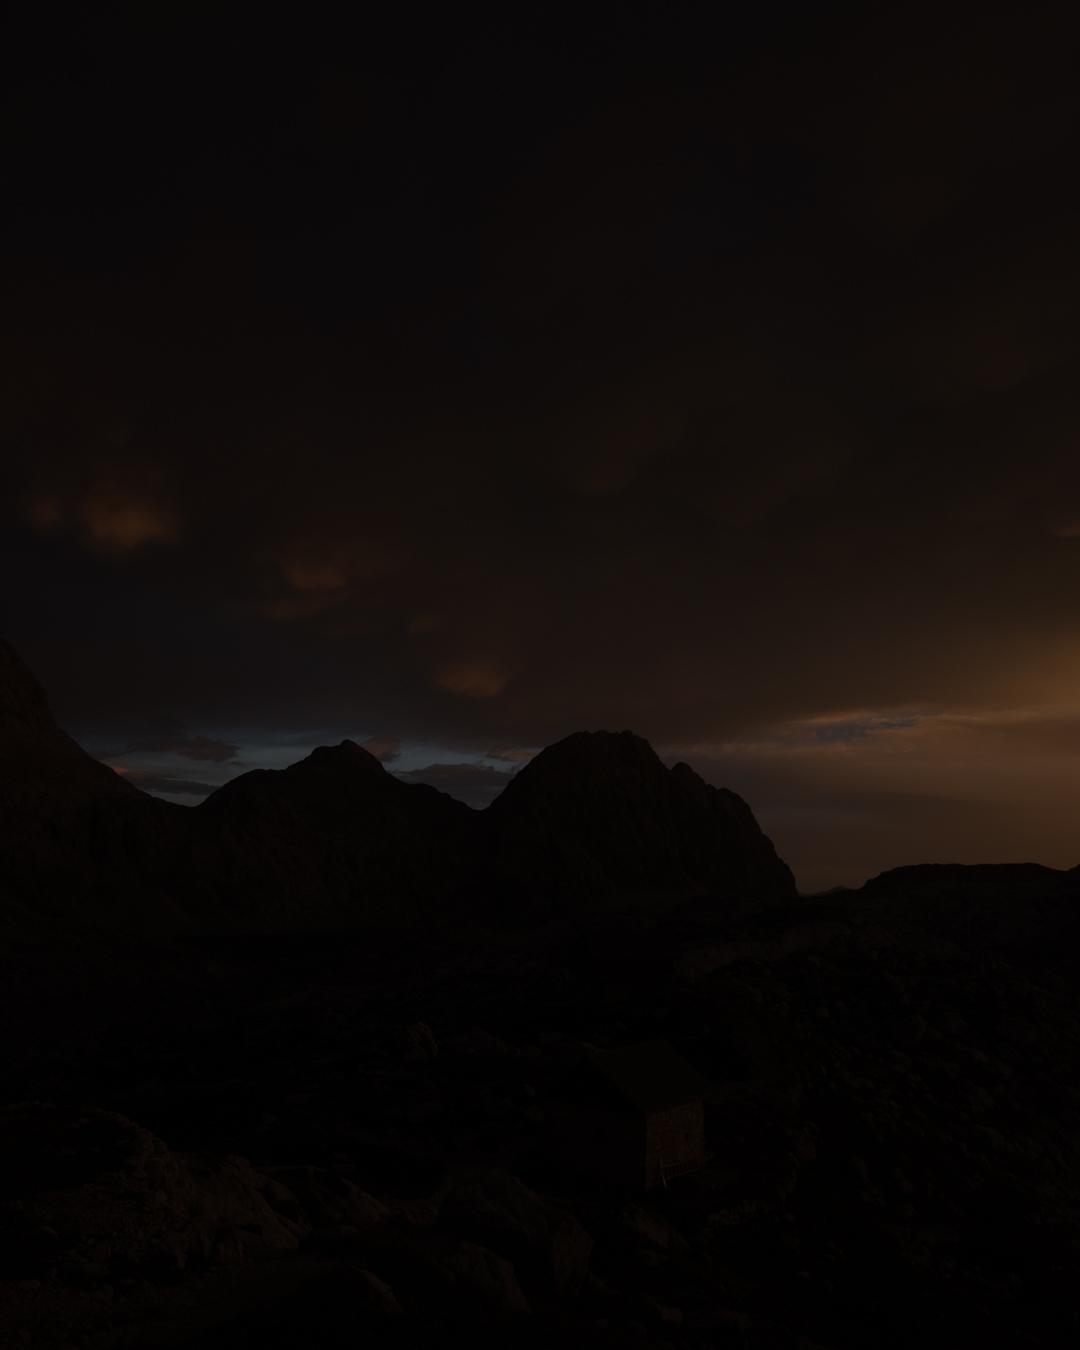
Raw Photo
You can see below the image straight out of the camera.
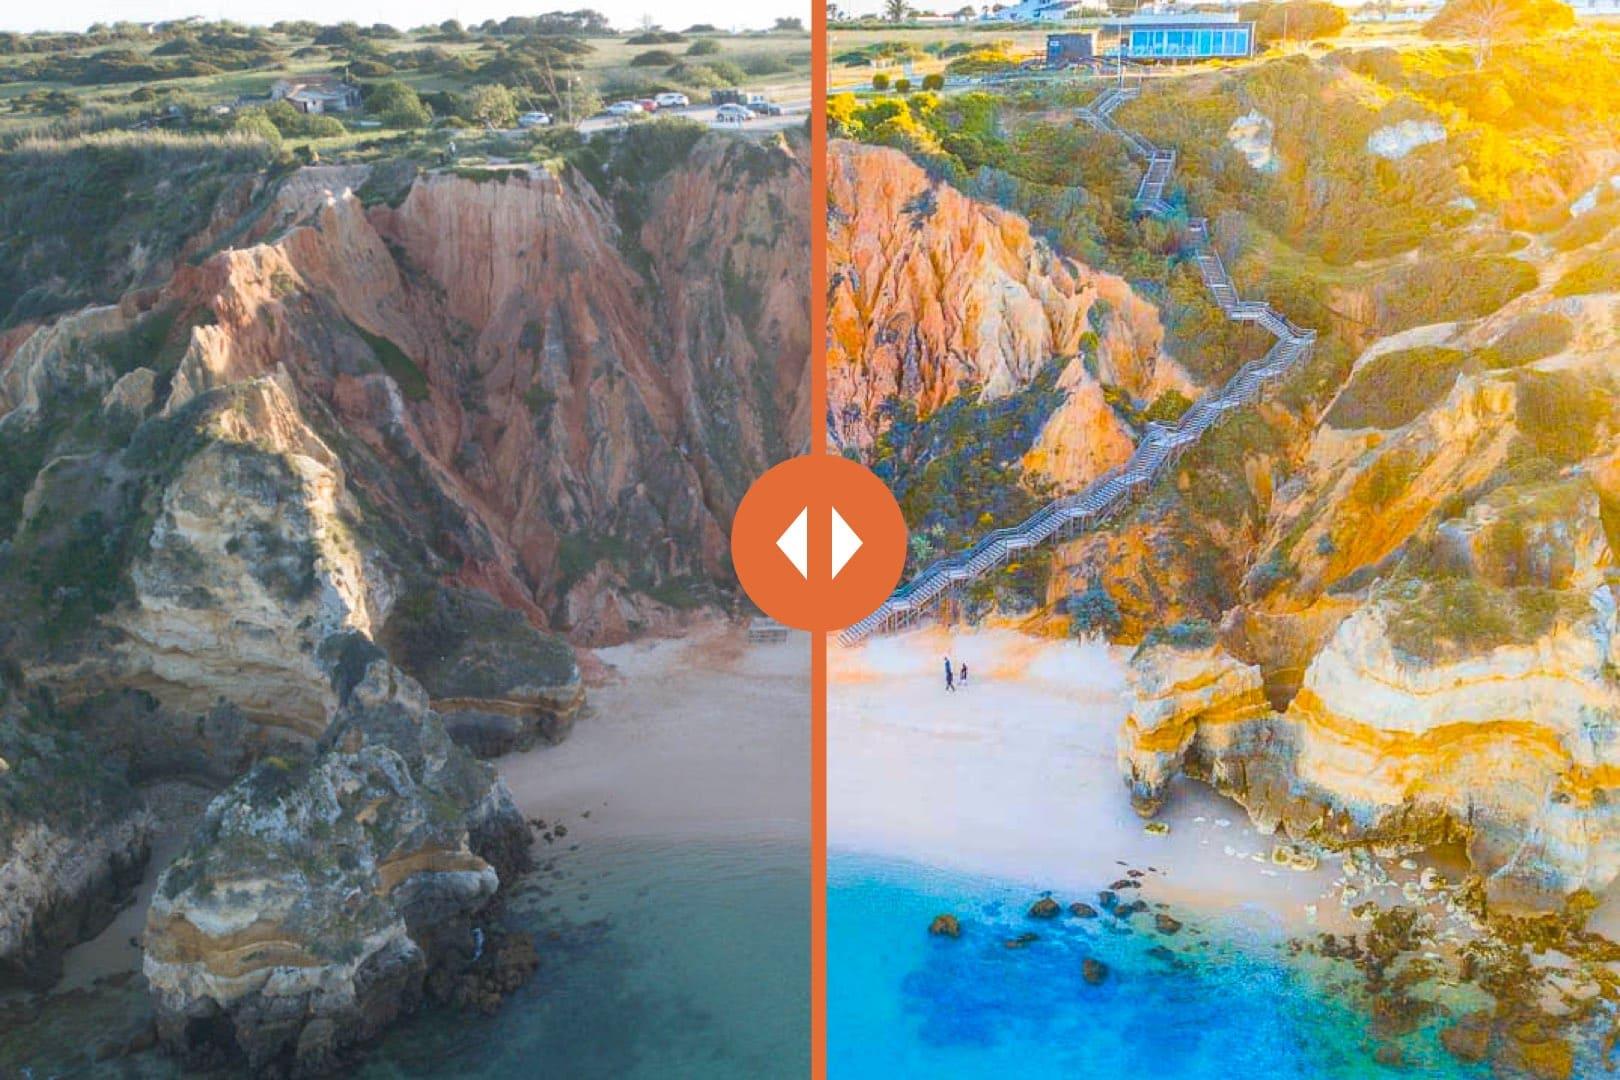
Before/After
Tap on the photo to see the before/after
Editing
The editing process was similar to the editing used on the first image, as both were very dark. I pulled the shadows, increased the blacks and the exposure a lot to correct the bad exposure I got in camera.
As a result, I get a purple fringe on the image, as you can see on the bottom left side.
I then used a first graduated filter on the sky to increase the saturation, and added some orange in there.
Finally, I pulled the image together by adding another graduated filter to the upper part of the sky, and decreasing the exposure to add a vignette to the sky.
Do you want to learn how to take photos like these? You can start by checking my free 24 pages ebook on mastering digital photography basics: download the eBook for free!
#3 Triglav National Park image
Finished Image
Here’s the last final image taken at Triglav National Park that we will look at:
Camera Gear
This shot was taken with:
Camera: Nikon D5500
Lens: Sigma 10-20mm f/3.5 wide angle lens
Tripod: none
Filters: none
Camera Settings
Here are the camera settings I used for this image:
Focal Length: 10mm
Aperture: f/8.0 (to have both the diver and the background in focus)
Shutter speed: 1/400th sec (fast enough to freeze the diver in the air)
ISO: 200 ISO
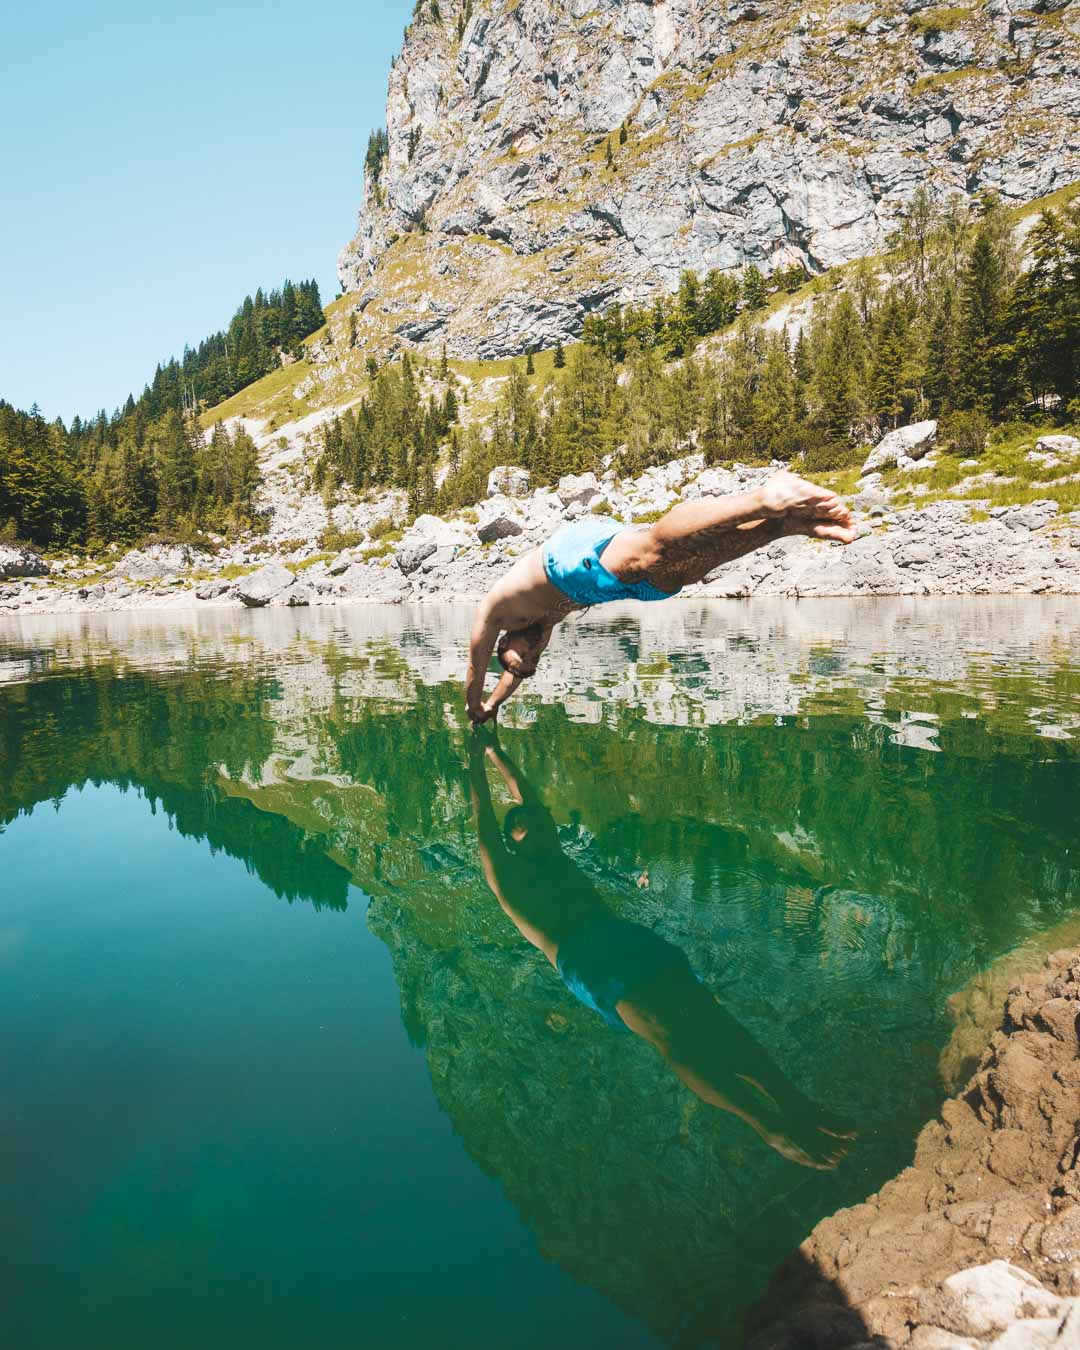
Composition
The goal was to capture the diver mid-air, when he was diving. I positioned myself so I would get him in the center of the image.
I divided the image in 2 halves, the lower half with the lake, and the upper half with the trees and mountain.
And I made sure I was low enough to capture the reflection of the diver right before he hit the water.
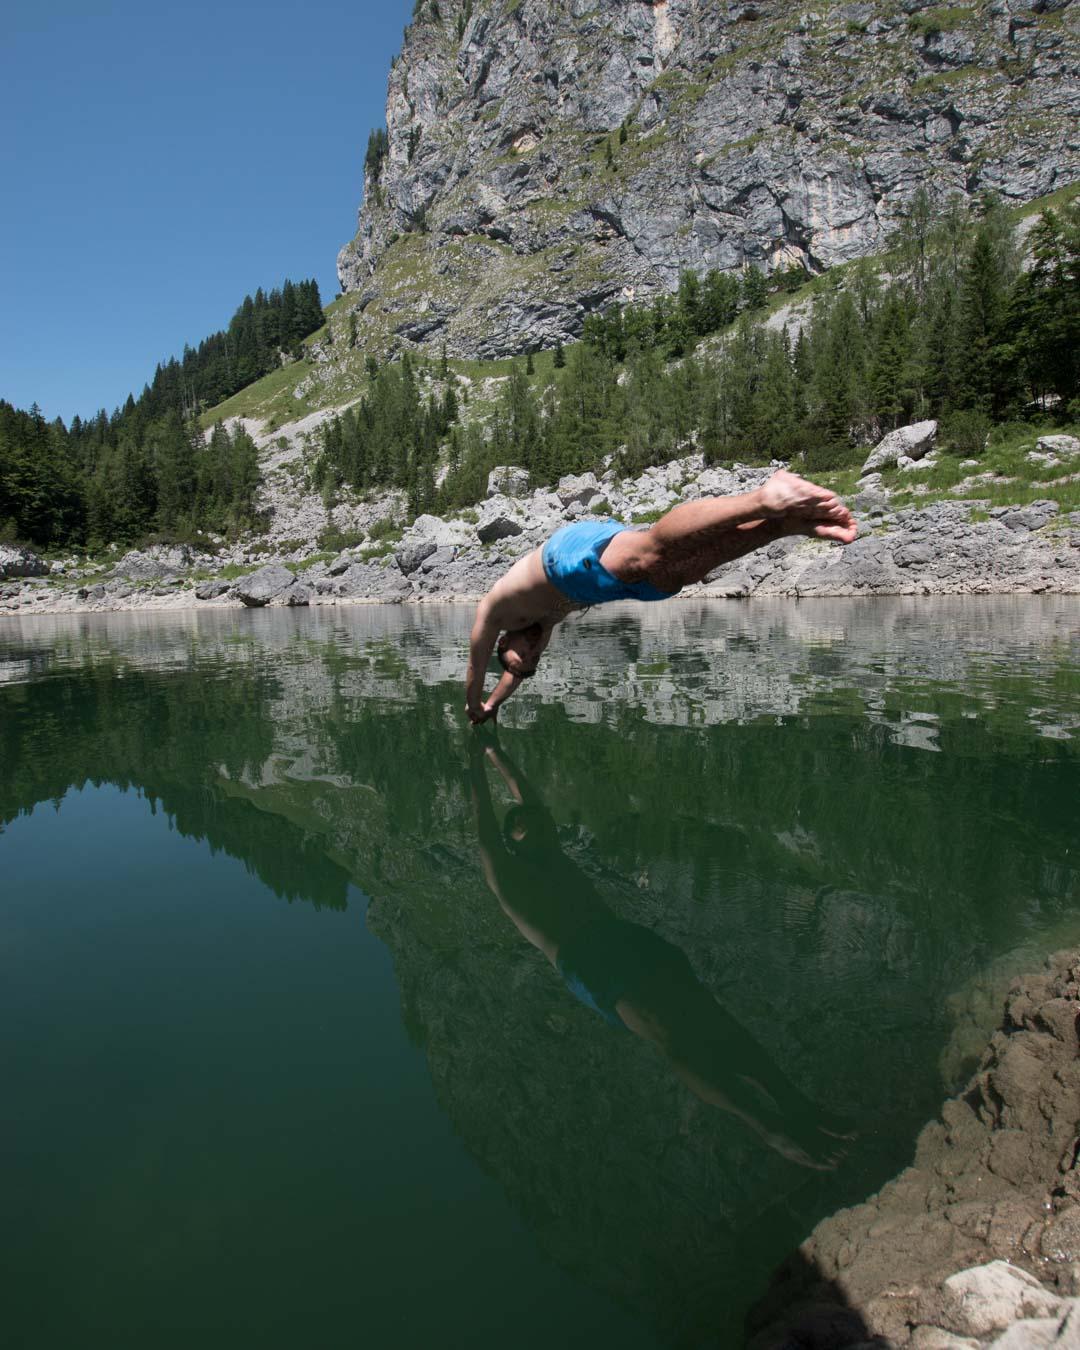
Raw Photo
You can see below the image straight out of the camera.
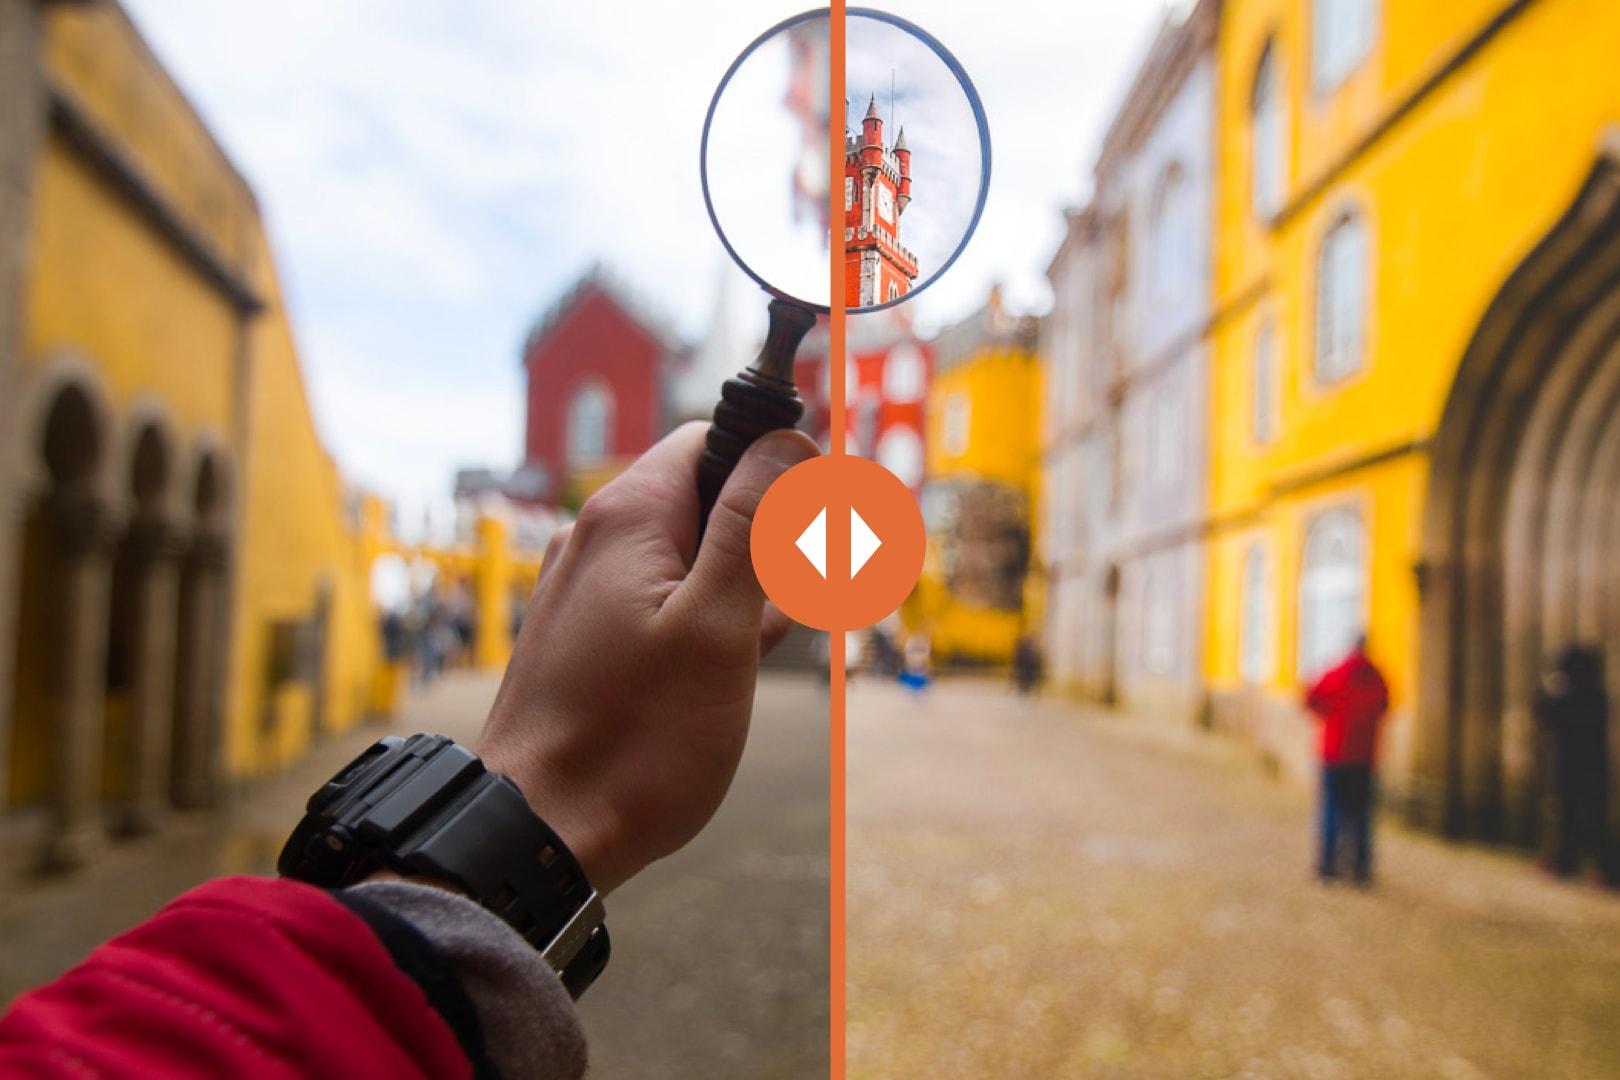
Before/After
Tap on the photo to see the before/after
Editing
In the shot the light was kind of flat, and after a few tries to go for a natural look, it wasn’t producing satisfying results.
That’s why I decided to go for a vintage look, by modifying the colors in the image.
I decreased the saturation for all colors except for blue/green, and also decreased luminance for all colors but blue/green.
I changed the deep blues to a softer teal color to make it more appealing.
To finish the edit, I added grain, to perfect that vintage look.
And that concludes this episode of Behind the Scenes. I hope that you enjoyed learning more about how I took the image, from the gear used to the editing process.
Most of all, I hope you will be able to use that information for your own photos, and that it will help you improve your photography.
As always, feel free to ask me any questions you have by leaving a comment below (I always reply).