Behind the Scenes in Sintra Portugal
Welcome to the fourth episode of Behind the Scenes, where you’ll learn how I took the photos on location, to help you improve your own photos.

TABLE OF CONTENTS
The Behind the Scenes Concept
If this is the first episode of Behind the Scenes you’re reading, let me share more about the concept of the series, and what you can expect to find in each episode.
As the title suggests, in the Behind the Scenes series I will share with you the behind the scenes of how I took the photos on location.
Whenever I travel and take photos, I share stories with you about the place, the hikes, travel guides, and photo series. As my biggest goal is to help you learn photography easily, I want to take it one step further and share the behind the scenes details of how I took the photos you can see on the blog, in the other articles (photo series or travel guides).
Behind the Scenes in Sintra Portugal
If you missed my Sintra photos/guide, you can find them here:
Sintra Travel Guide
Sintra Photo Series
Let’s get started on the first image.
#1 Sintra image
Finished Image
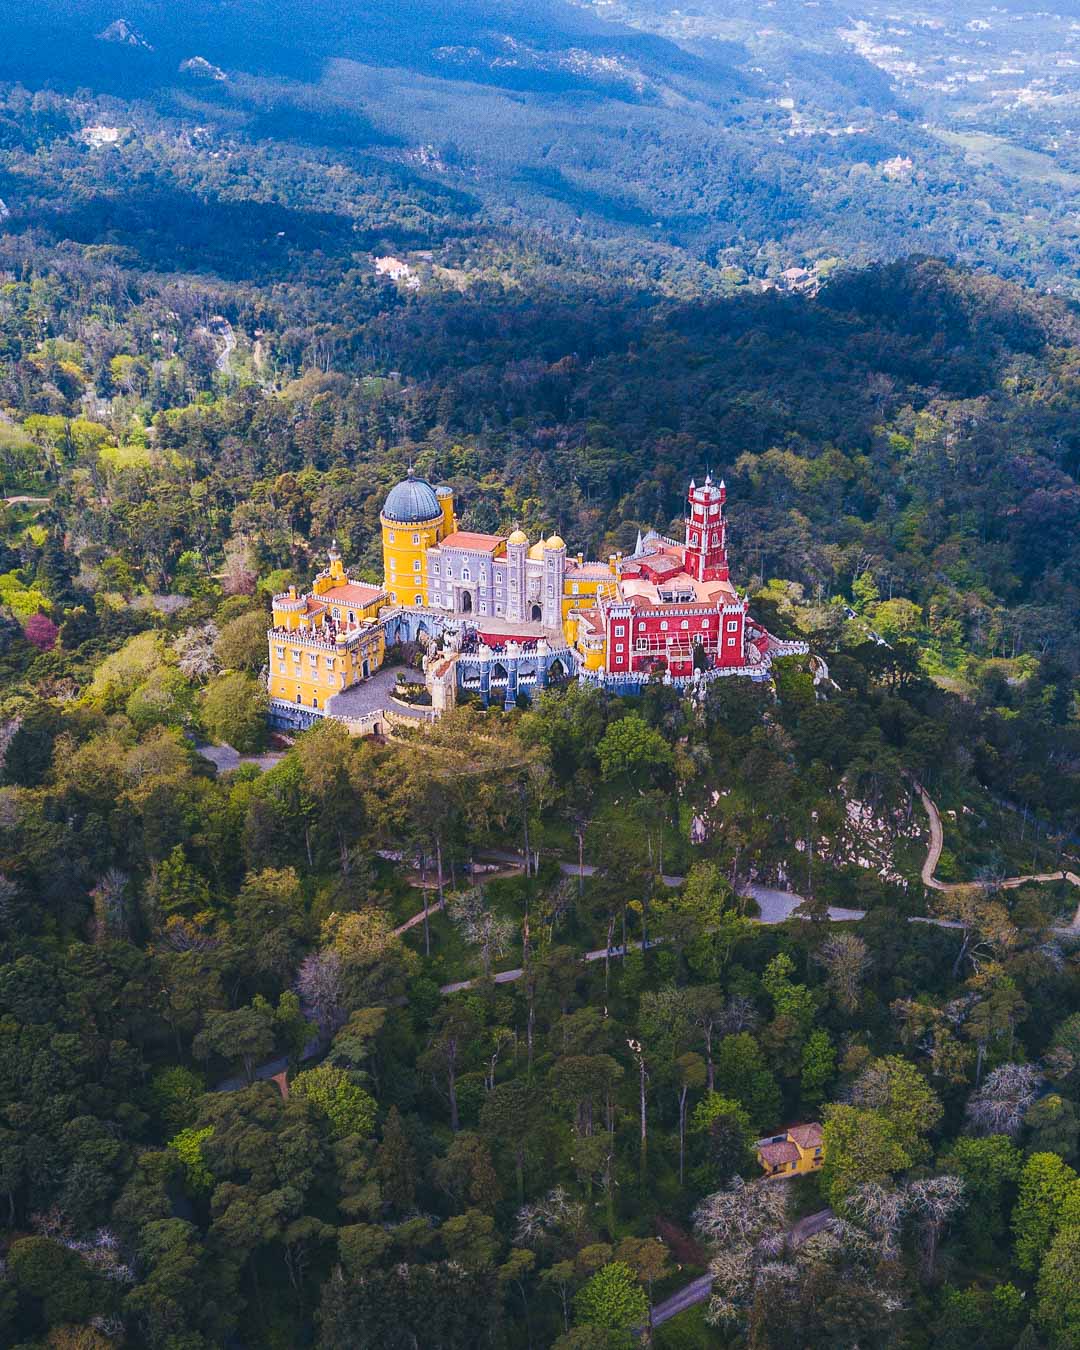
Here’s the first final image taken over Pena Palace that we will look at:
Camera Gear
This shot was taken with:
Camera: DJI Mavic Pro Drone
Lens: Default built-in lens
Tripod: /
Filters: none
Camera Settings
Here are the camera settings I used for this image:
Focal Length: 26mm (default on mavic pro)
Aperture: f/2.2 (default on mavic pro)
Shutter speed: 1/1000th sec
ISO: 100 ISO
Raw Photo
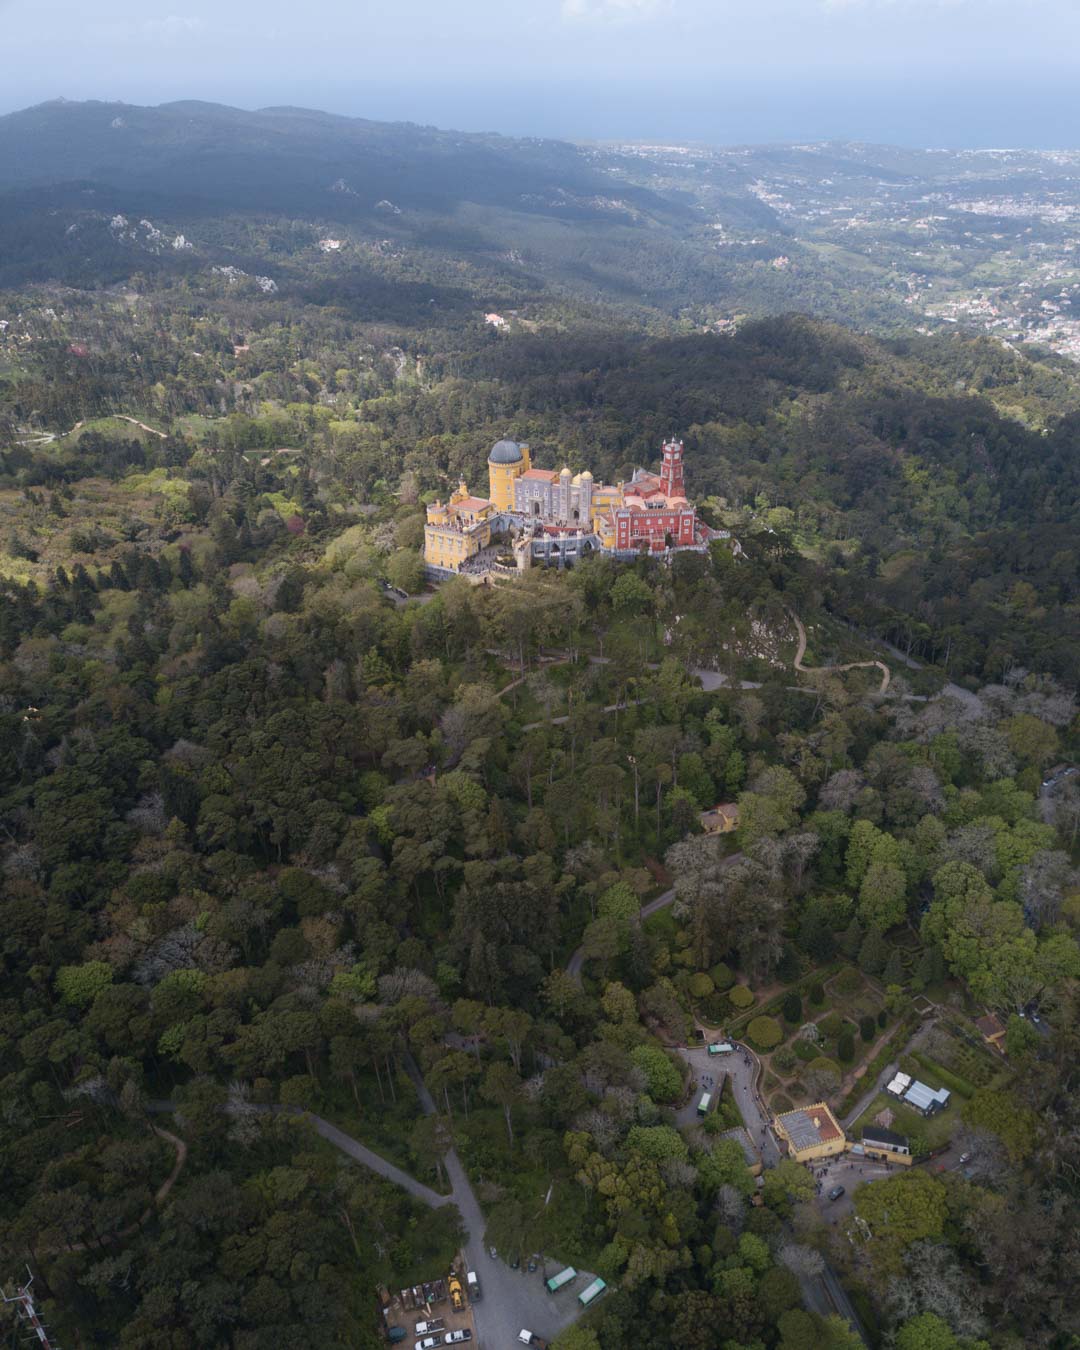
You can see below the image straight out of the camera.
Composition
While taking this shot, I wasn’t really paying attention to the composition. I was struggling to fly the drone about Pena Palace, and I was losing signal several times. I got as close as I could to the castle without losing signal, took the shot, and flew the drone back to safety.
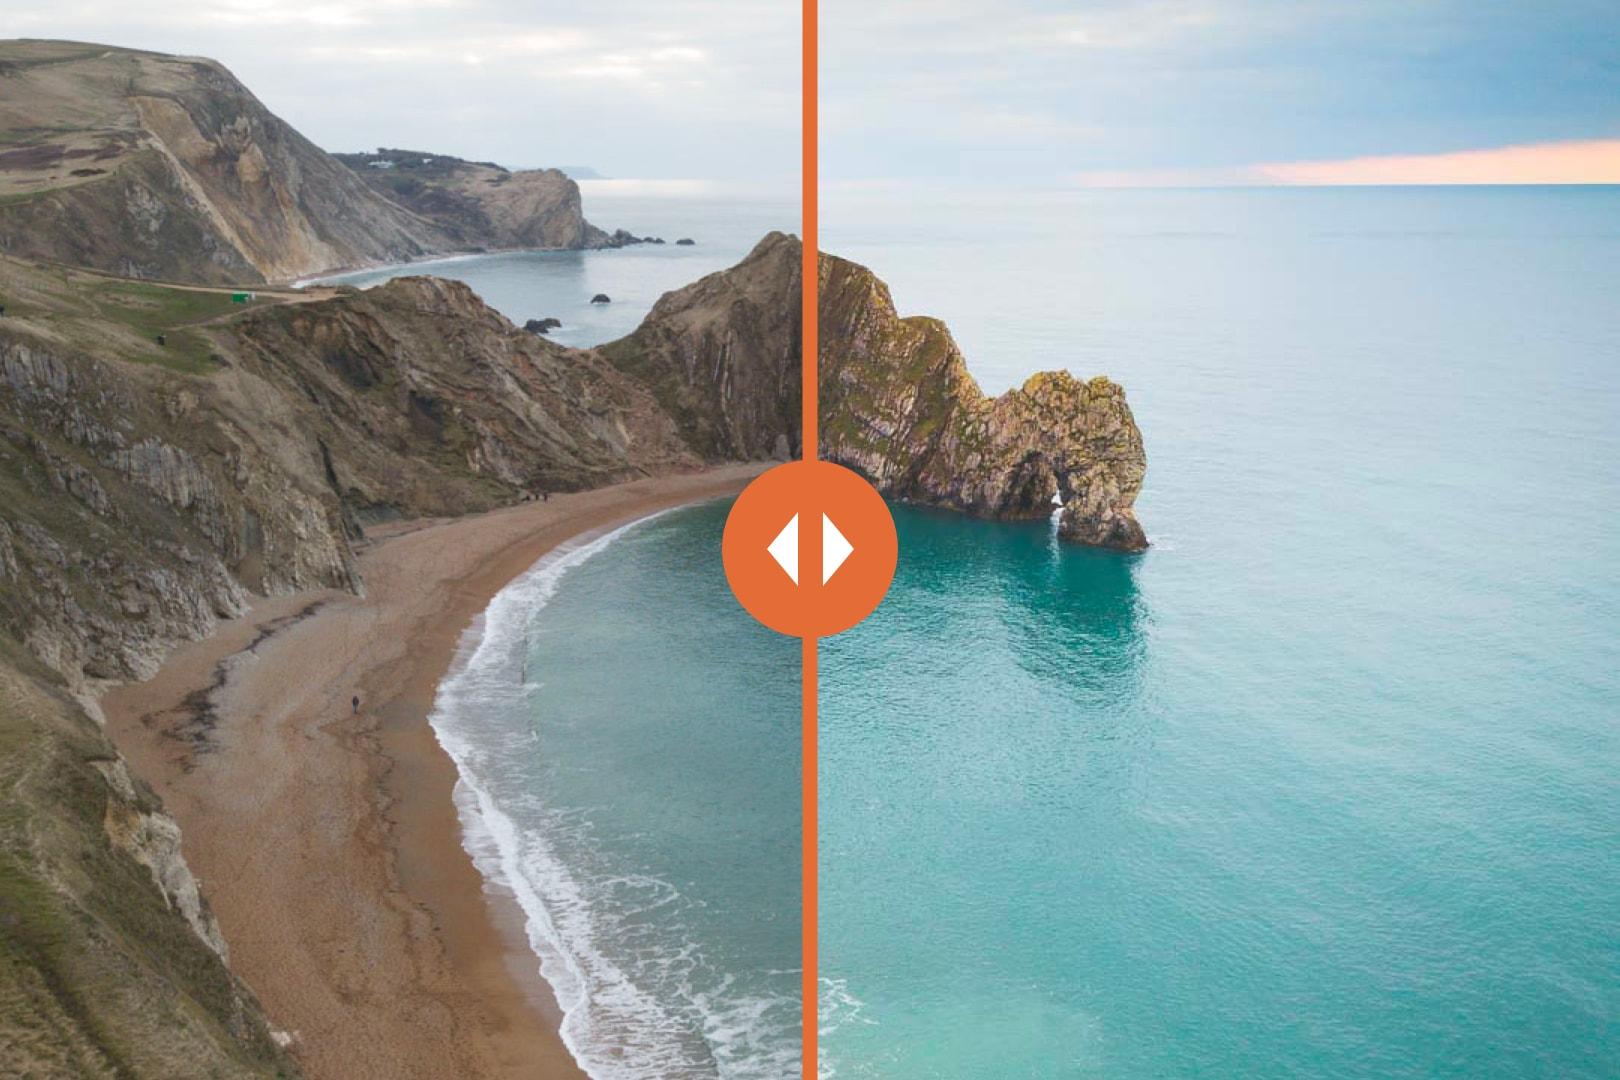
Before/After
Tap on the photo to see the before/after
Editing
The first main edit was cropping the image. I couldn’t get closer, so I had way too much of the surroundings in the image. I cropped the image to have a strong focus on the castle.
I also removed all of the people from the photo. There were so many, everywhere in the castle; it took me close to one hour to edit them all out!
As for the rest of the edit, nothing major here. I increased contrast by decreasing highlights/pulling shadows, adding contrast and vibrance to the image.
#2 Sintra image
Finished Image
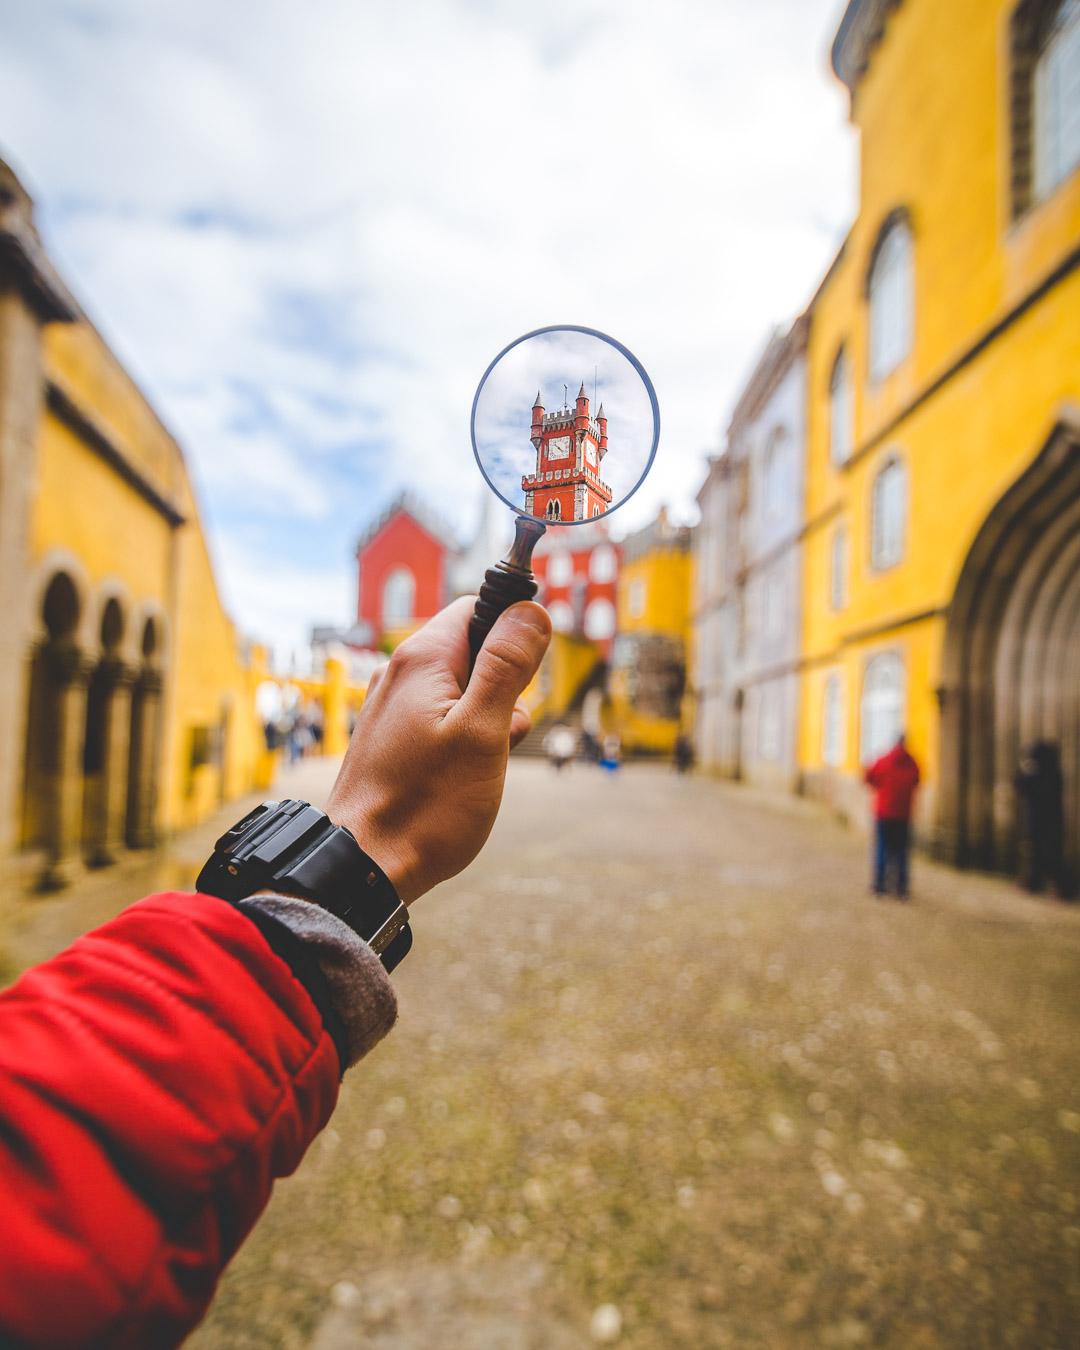
Here’s the second final image that we will look at:
Camera Gear
This shot was taken with:
Camera: Canon 6D
Lens: Tokina 16-28mm f/2.8 Pro FX wide-angle lens
Tripod: none
Filters: none
Camera Settings
Here are the camera settings I used for this image:
Focal Length: 16mm
Aperture: f/2.8
Shutter speed: 1/800th sec
ISO: 100 ISO
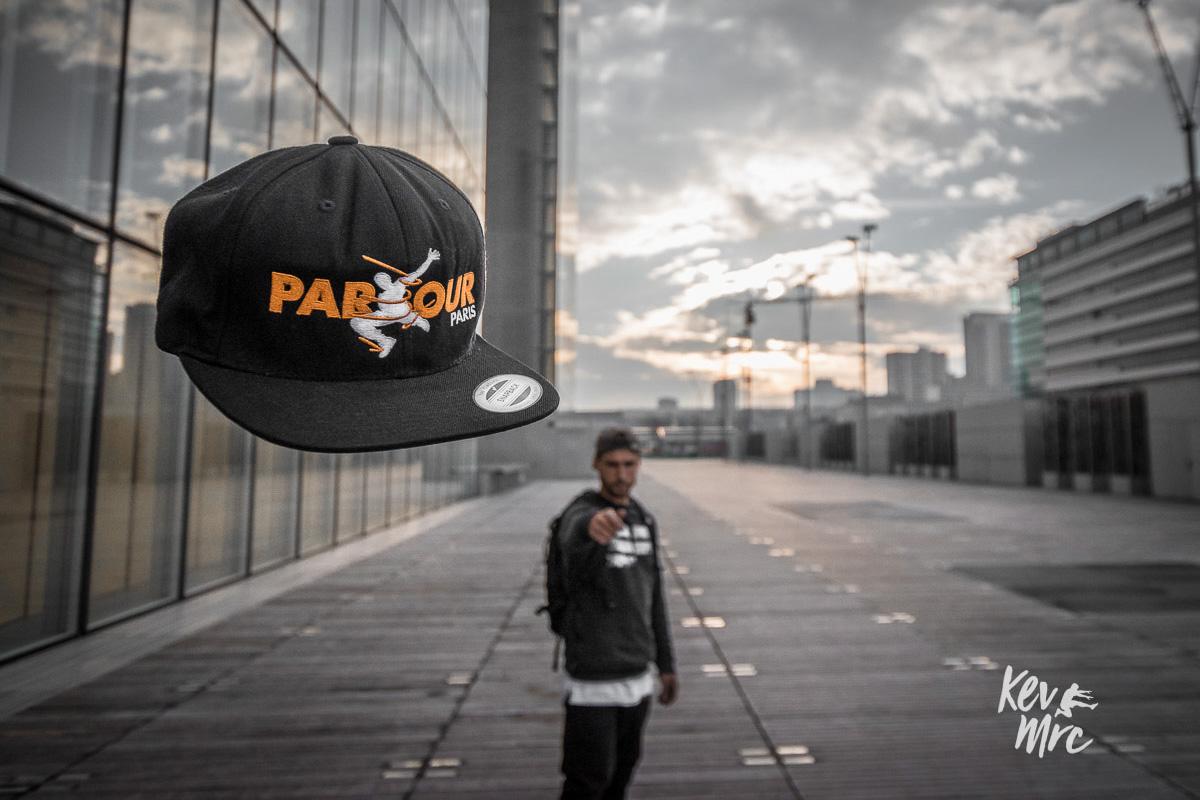
I used a wide open aperture to focus only on the hand and the magnifying glass while having the background out of focus.
Raw Photo
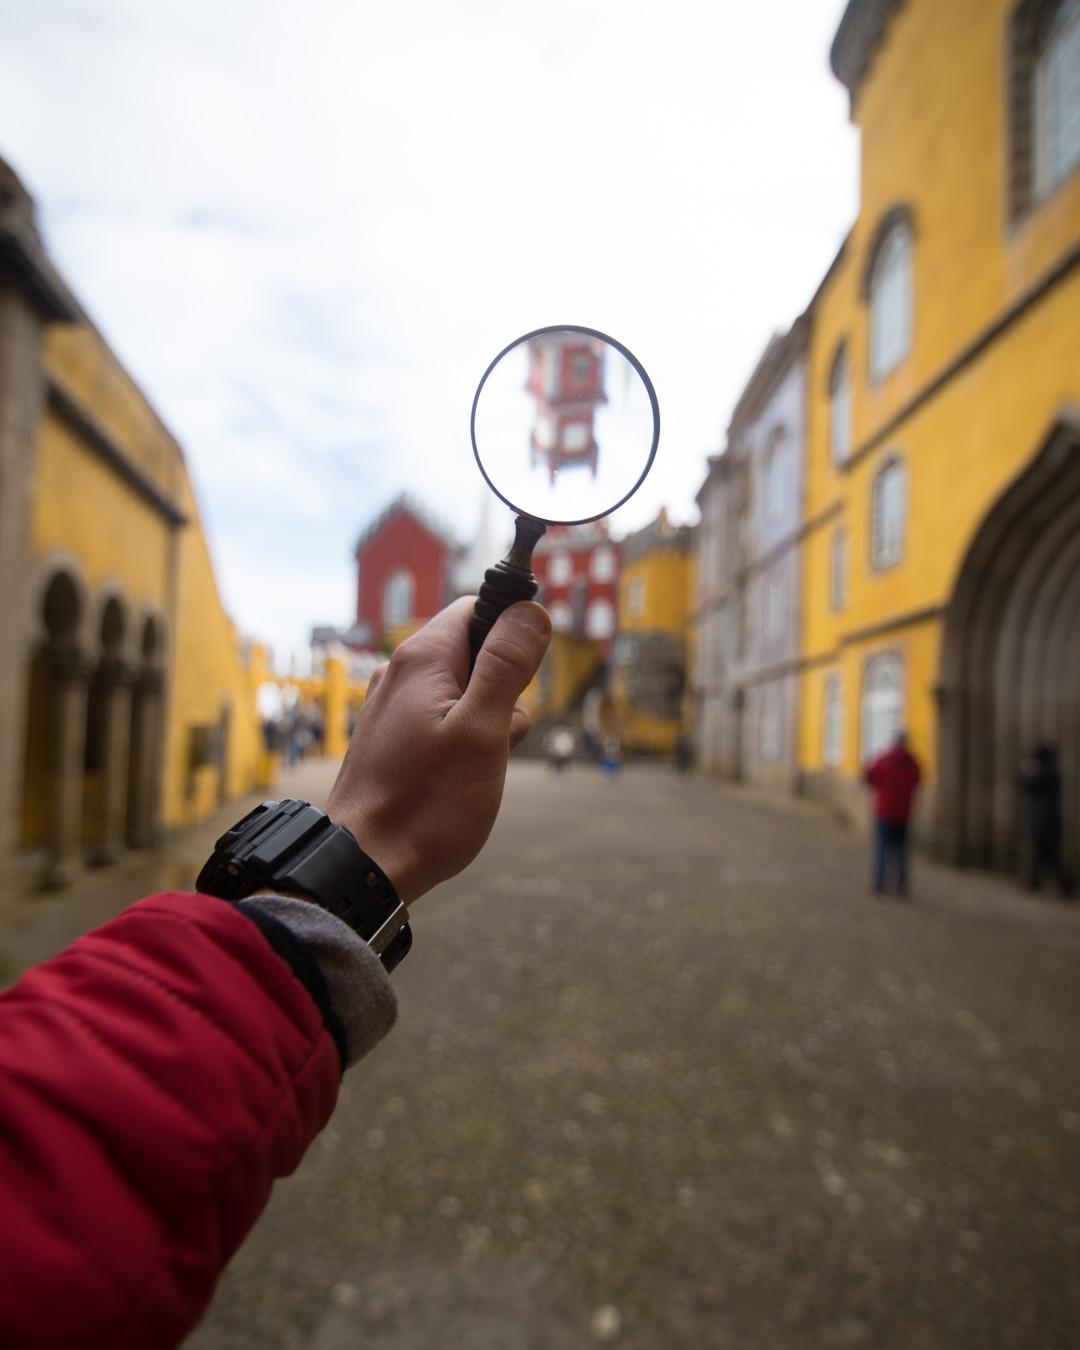
You can see below the image straight out of the camera.
Composition
The key to this image is the hand with the magnifying glass. I held my arm from the bottom right, and my arm leads the viewer’s eye all the way to the magnifying glass, with the top of the castle inside.
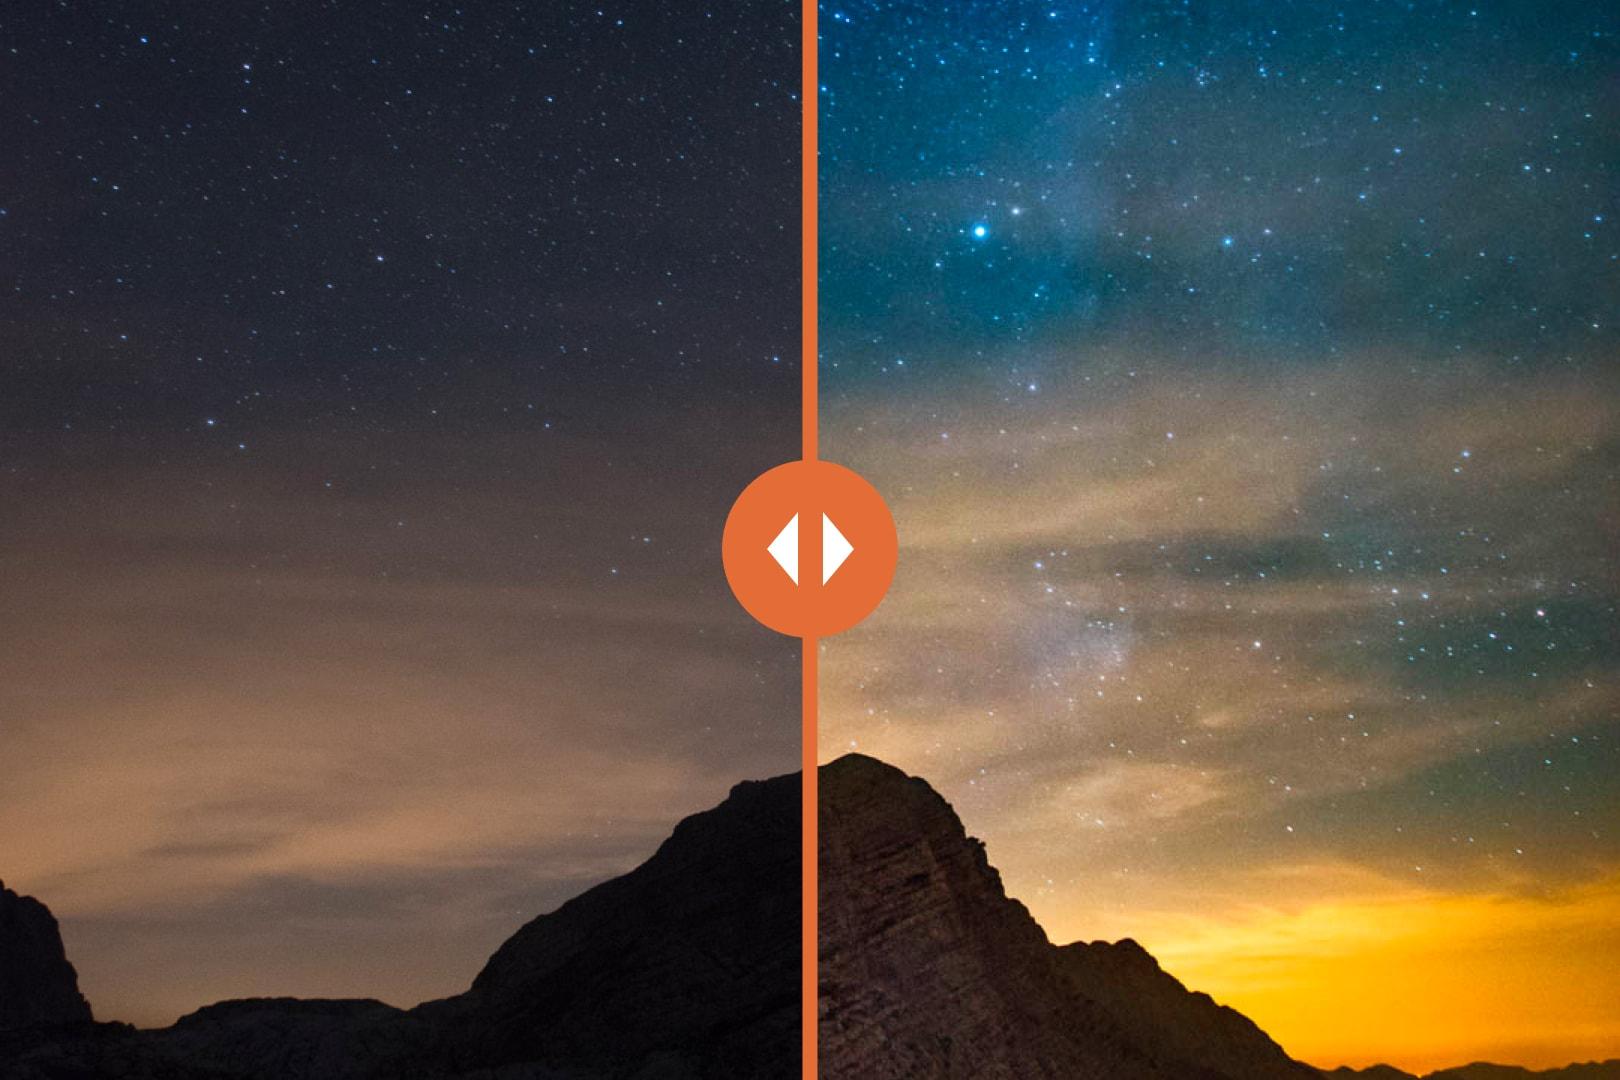
Before/After
Tap on the photo to see the before/after
Editing
In this one, the main part of the edit was done in Photoshop, to add the tower in the magnifying glass.
I took 2 shots, one with the hand lens in focus, and one with the castle in focus.
I edited both shots the same way: bumped the exposure, recovered the shadows, added contrast and vibrance to make the image pop.
Then, I opened both images as layers in Photoshop. I masked out the middle of the magnifying glass, and placed the second picture below. I made sure to position carefully the top of the tower inside the glass to make it look real, and voilà!
Do you want to learn how to take photos like these? You can start by checking my free 24 pages ebook on mastering digital photography basics: download the eBook for free!
#3 Sintra image
Finished Image
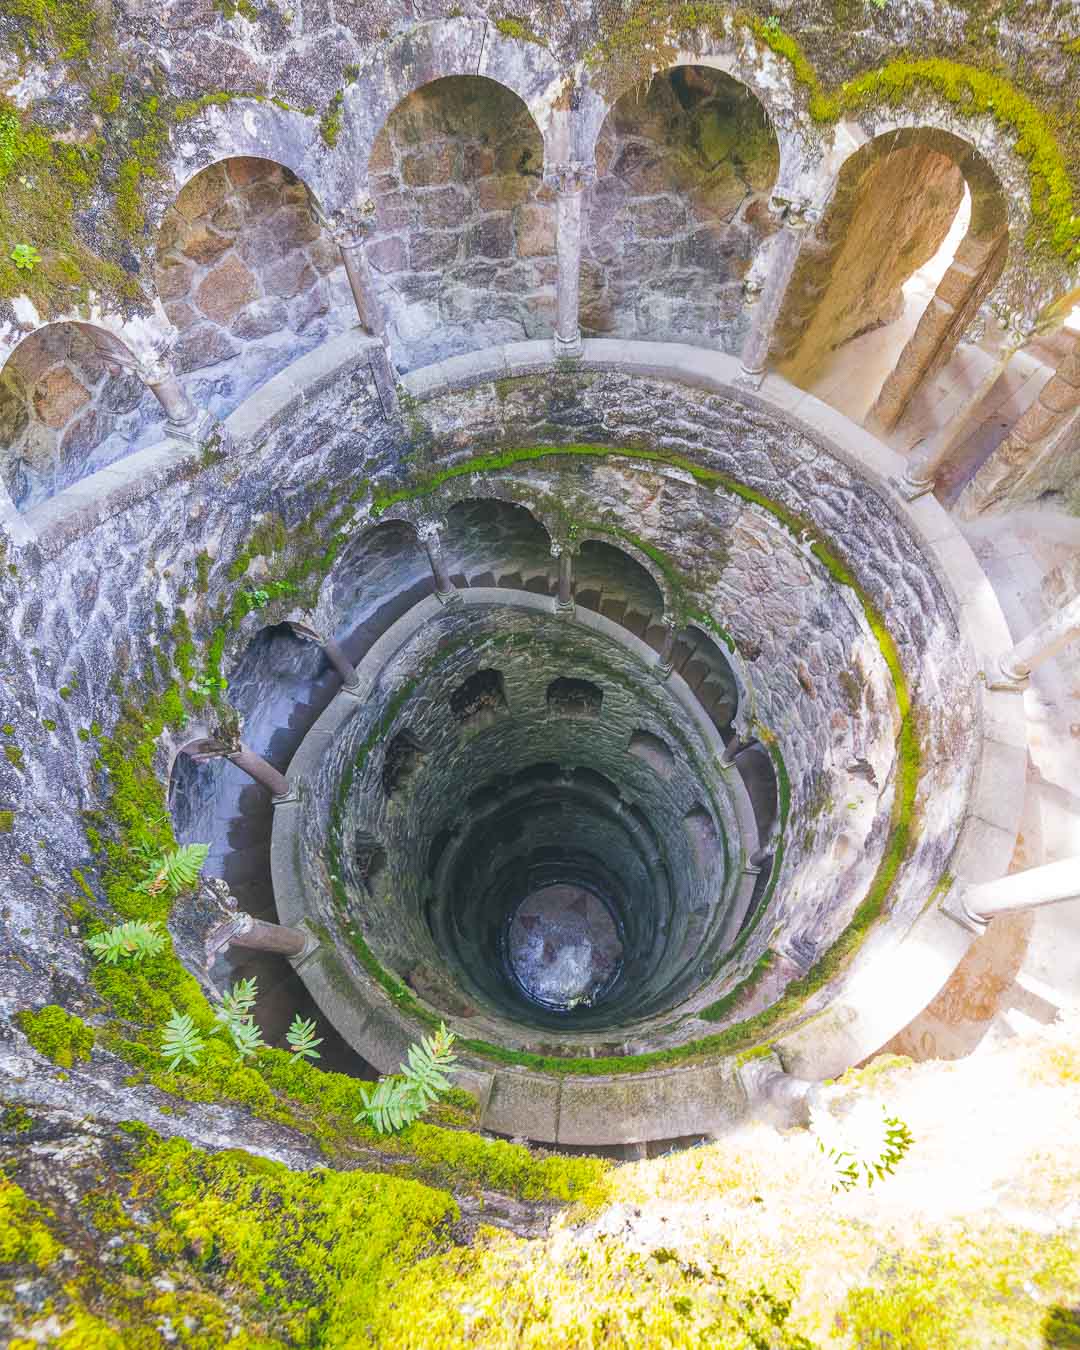
Here’s the last final image taken in Quinta da Regaleira, Sintra, that we will look at:
Camera Gear
This shot was taken with:
Camera: Canon 6D
Lens: Tokina 16-28mm f/2.8 Pro FX wide-angle lens
Tripod: I couldn’t use a tripod there, as I had to extend my arm over the well to have a good top-down perspective
Filters: none
Camera Settings
Here are the camera settings I used for this image:
Focal Length: 16mm
Aperture: f/8.0 (I wanted to have everything in focus)
Shutter speed: 1/30th sec (as I had no tripod, I had to use the slowest shutter speed I could manage with an handheld shot)
ISO: 1000 ISO (really bumped the ISO on this one to manage a fast enough shutter speed while exposing correctly)
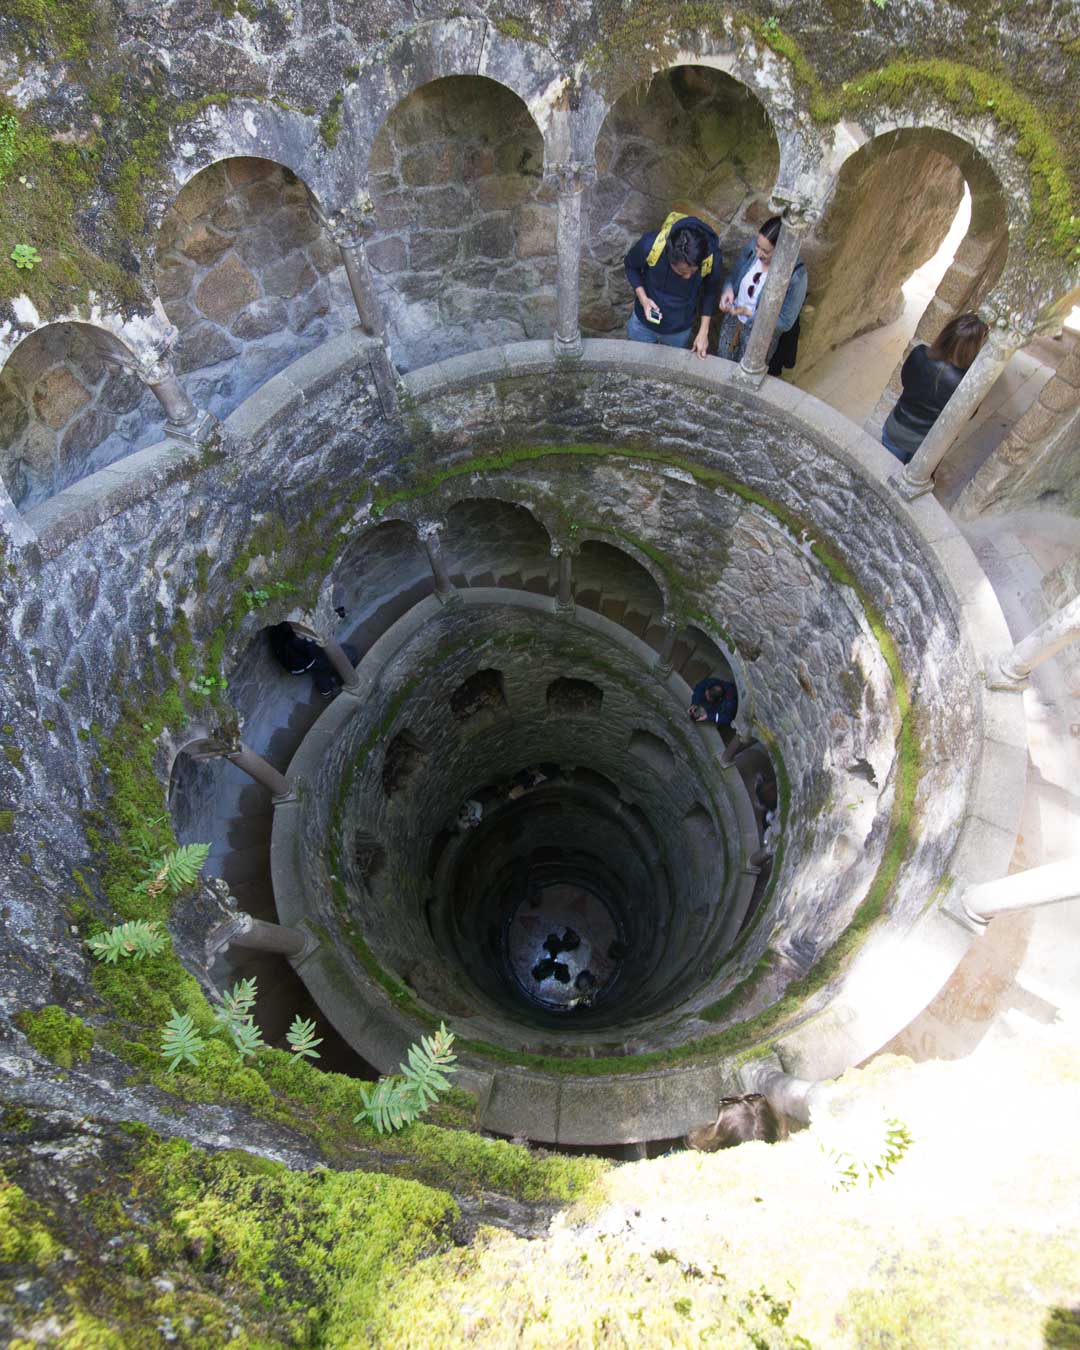
Raw Photo
You can see below the image straight out of the camera.
Composition
Composition here is really simple. I put my camera as far as I could over the well, and pointed it straight down. The goal was to show how deep this well really is!
Before/After
Tap on the photo to see the before/after
Editing
The hardest thing about editing this shot was the dynamic range. The bottom right of the image was under bright sunlight, while the rest of the image was in the shadows. I used selective adjustments (graduated filter and brush) to edit the 2 parts of the image differently.
When I took the shot, it was the middle of the afternoon, and there were many people around. There was no way I could get this shot without anyone in the frame.
However I really wanted to have an image without anyone in it. I opened the image in Photoshop, and after quite some work (1h) I was happy with the result. It’s still not perfect, but for small display on Instagram I believe it does the trick. What do you think?
And that concludes this episode of Behind the Scenes. I hope that you enjoyed learning more about how I took the image, from the gear used to the editing process.
Most of all, I hope you will be able to use that information for your own photos, and that it will help you improve your photography.
As always, feel free to ask me any questions you have by leaving a comment below (I always reply).

Pin this to Pinterest!
Enjoyed this guide? Then help a fellow traveler and pin it! They'll most definitely love you for it, 100% guarantee.