7 Reasons To Stop Using Auto Mode
Auto mode is often the first mode used when getting a digital camera. It’s easy and quick.
But it’s also very limiting.
Let’s learn why you should stop using auto mode.
As we’ve seen in a previous post (click here to read “Exposure 101”), there are 3 main settings you have control over to adjust exposure: shutter speed, aperture and ISO.
When you shoot in auto mode, you let the camera pick the 3 settings; it will automatically adjust them in order to achieve “correct exposure” (based on the metering, more on that in a next post).
That can create some issues in your photographs, and as much as it is quick and effortless, you have no control over the 2 main photography effects: depth of field and motion blur.
The benefits gained if you stop using auto mode
Shooting in other exposures modes, such as Aperture Priority, Shutter Priority or Manual allows you to:
- control Depth of Field
- control Motion Blur
- avoid blurry subjects
- stop camera shakes,
- get exactly what you want in focus
- get rid of that annoying flash
- let your creativity flow
1- Control Depth of Field
First, a quick definition: depth of field is the range of distance over which objects appear sharp.
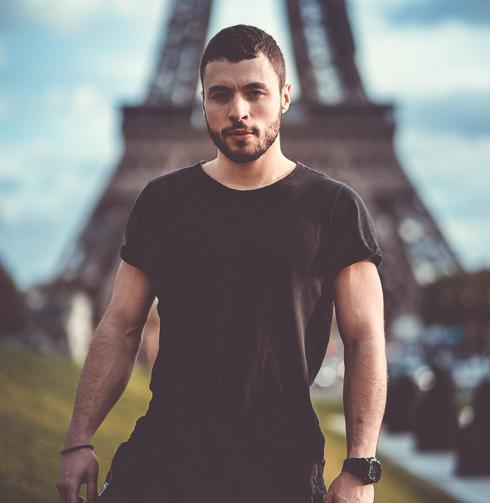
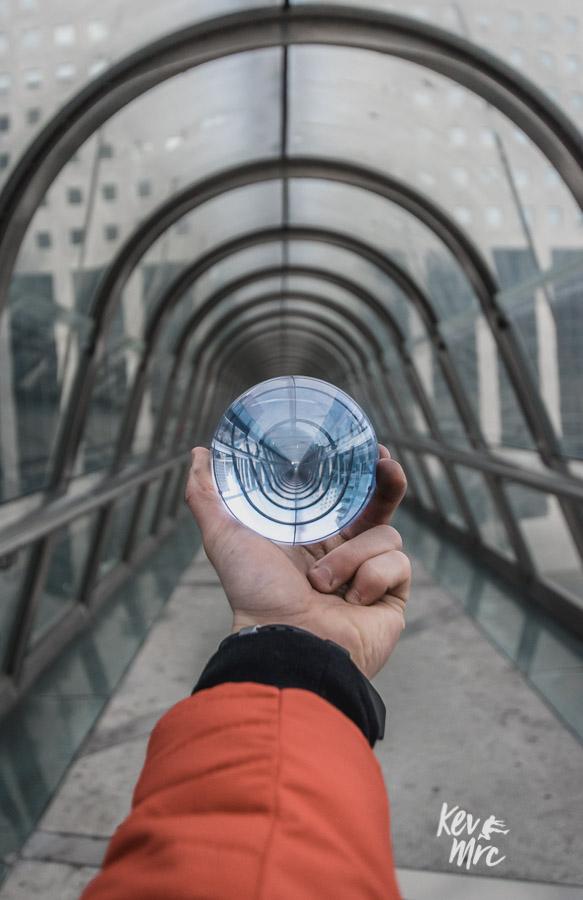
If you use a wide aperture (f/5.6 and below), you’ll get a shallow depth of field. This means that only part of the image will be in focus: usually the foreground only, or the background only.
This allows you to get creative with your photography and choose to draw attention on something specific.
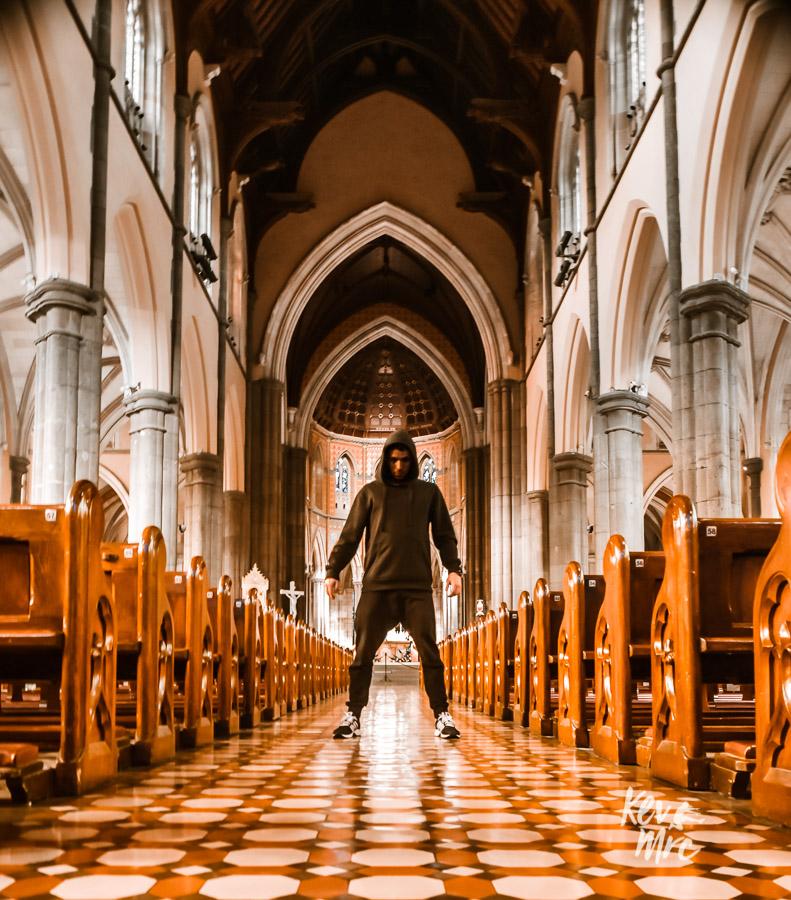
Below are some images using a shallow depth of field.
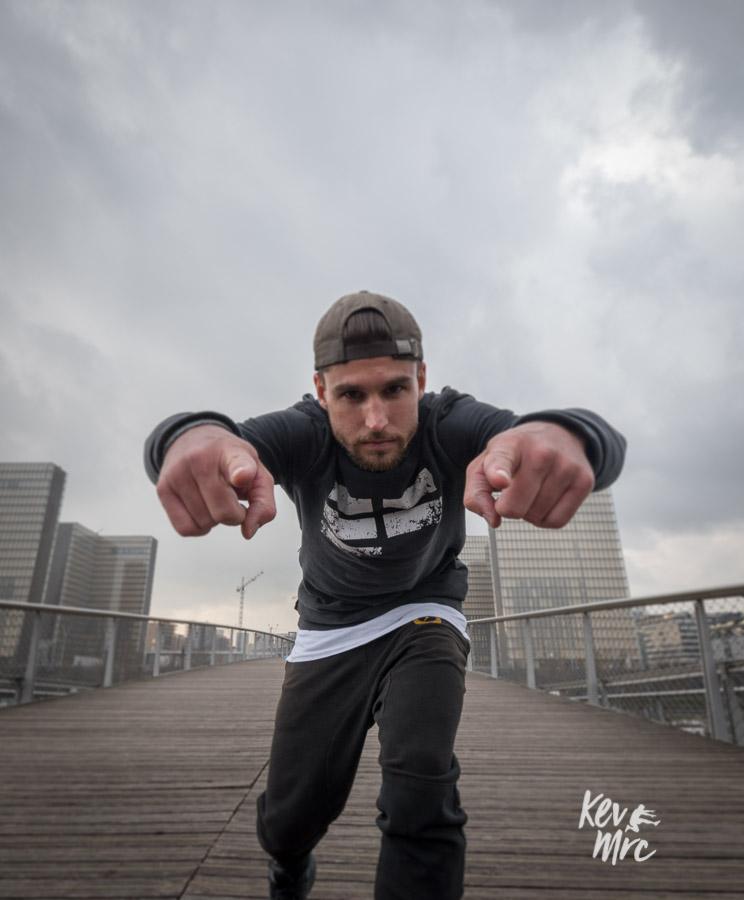
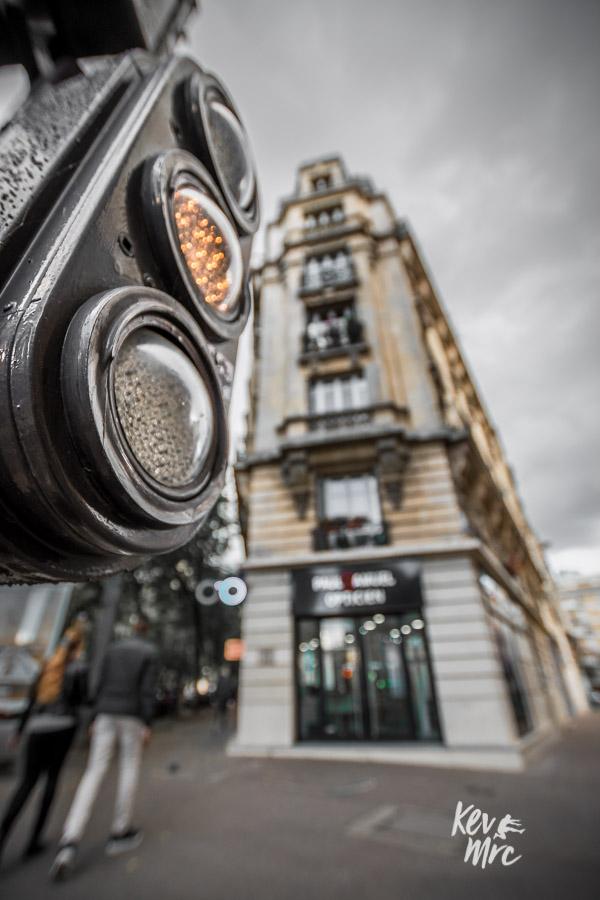
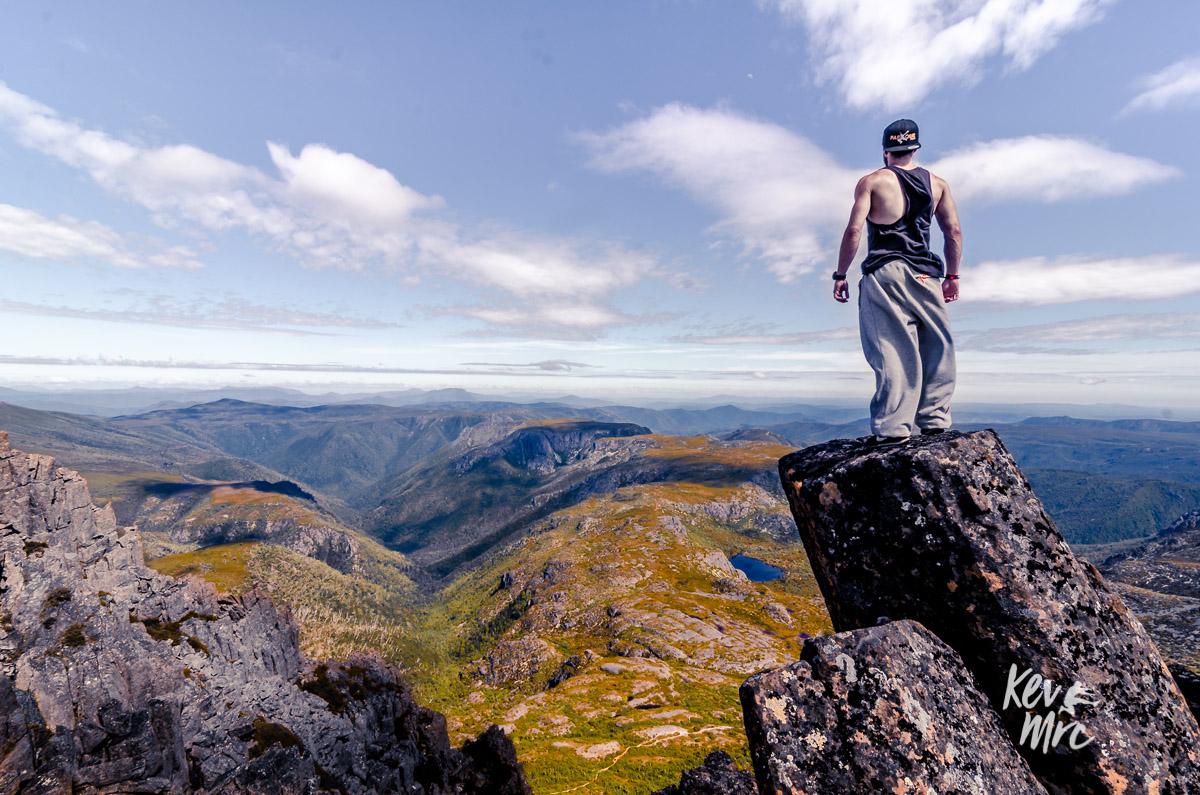
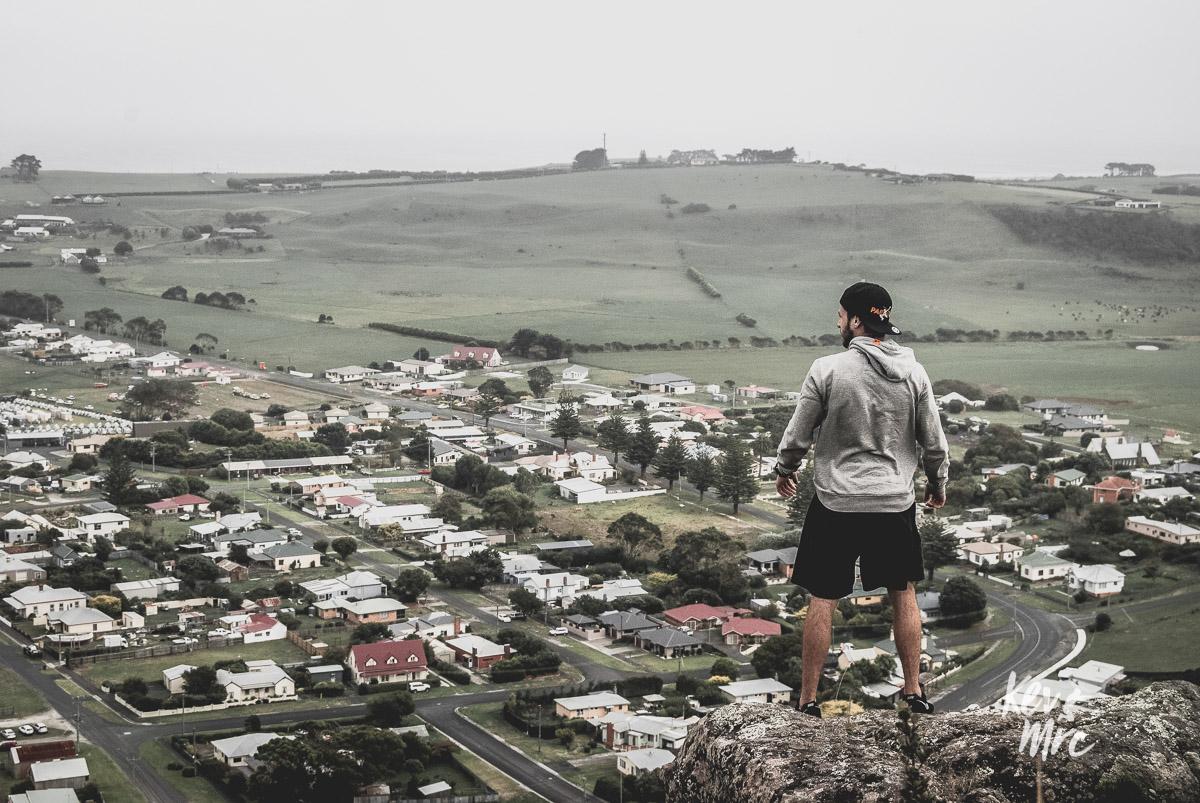
Now if you use a small aperture (f/8 and above), you’ll get a wide depth of field. This way, everything in the picture will be in focus.
You can find images using this effect below.
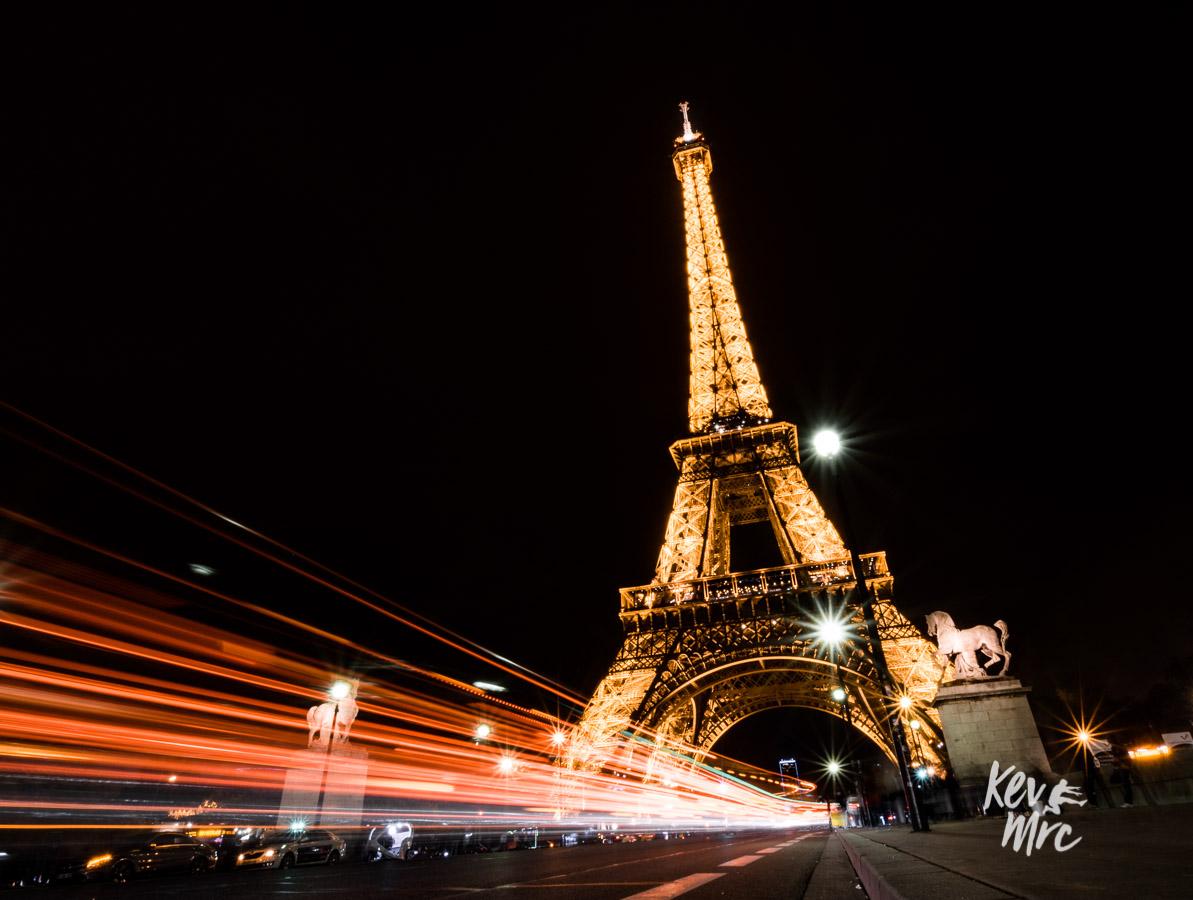
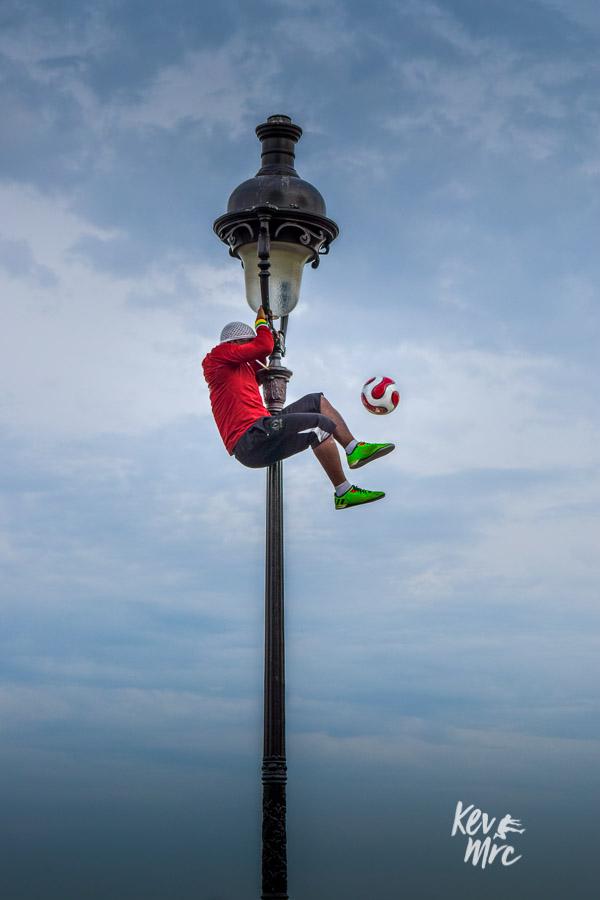
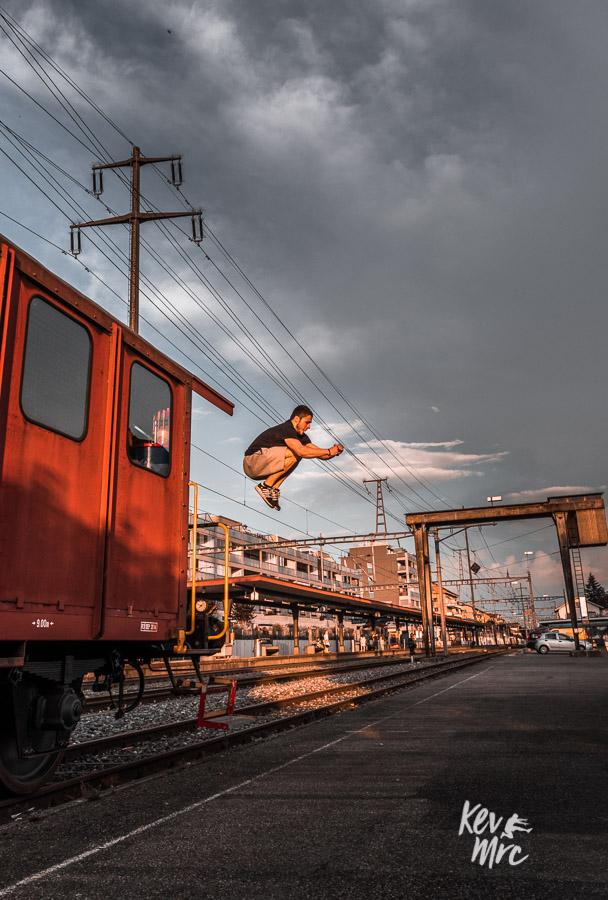
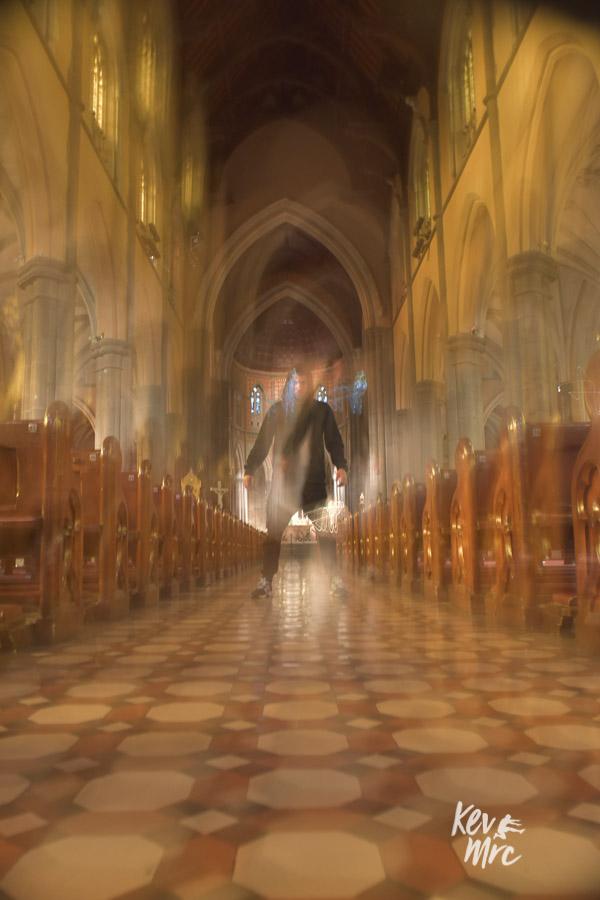
2- Control Motion Blur
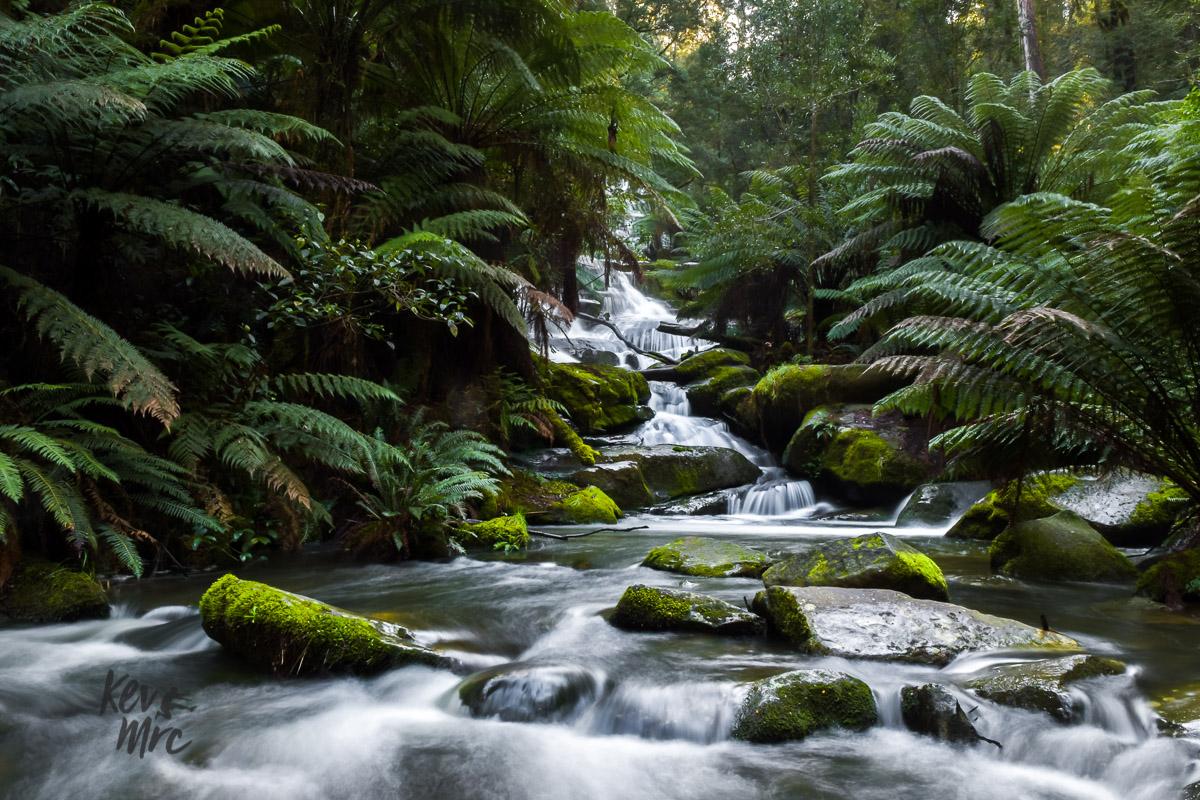
The other photography effect is motion blur. Depending on your shutter speed, you can freeze fast action or create movement with motion blur.
By using a slow shutter speed (from 1/2 to 30″), your camera will take a significant amount of time to take the picture. During this time, moving subjects will be recorded and the movement displayed as motion blur.
Using this technique, you can create light trails, smooth out the water to give it a silky effect, or even blur people in a crowded area.
On the other hand, if you use a fast shutter speed (1/300 to 1/4000), you can capture fast-paced action and freeze it in the picture, getting the exact moment you want.
This can be used to capture people jumping in mid-air, a basketball player mid-dunk, freeze a bird in flight, or to capture any other live moments.
3- Avoid blurry subjects
This goes together with controlling motion blur. If you’re shooting in low-light conditions, your camera will automatically pick a slow shutter speed to allow enough light to get in your camera to get a correct exposure. This will thus create unwanted motion blur. Let’s say you’re trying to take a picture of people, but because there’s not enough light you’ll have a slow shutter speed, and this will cause all the moving people in your shot to be blurry.
By controlling the shutter speed yourself, you’ll be able to choose one fast enough so that people, even if they move, appear sharp and in focus in your shot.
4- Stop camera shake
If you’ve read this article on 4 Tips to Shoot Without a Tripod, you’ll know that when your shutter speed is slower than 1/30th of a second, it’s damn near impossible to get a sharp shot and avoid camera shake. Because the camera takes a relatively long time to take the picture, your natural body shakes will affect the picture and you’ll get a blurry picture. That’s exactly what happens when you try to take a picture of your friends during a party and all you get is a blurry picture.
Take control of your camera and get rid of that issue!
5- Get exactly what you want in focus
If you shoot on auto mode, your camera will automatically pick the aperture for you; that means sometimes you’d want to use a shallow depth of field to draw attention to a person, but your camera will put everything in focus because there’s too much light and it will close down the aperture. Or other times you’d like everything to be in focus, and because there’s not enough light around your camera will use a wider aperture and you’ll lose sharpness on some areas.
That’s coupled with the fact that your camera decides where to focus, and you’ll end up with things you wanted in focus blurry and things you wanted blurry in focus.
6- Get rid of that annoying flash
In auto mode, your camera will automatically fire your built-in flash if it deems it needed. And if you have ever taken any photos with the camera flash, you know it’s rather unflattering. The flash adds a harsh light on the scene and create unwanted contrast. In most situations, you’d be best without the flash, using the natural light.
Stop using auto mode and only use the flash if really needed
7- Let your creativity flow!
As stated previously, auto mode is quick and effortless. But there’s so much more you could accomplish by actually taking control of your camera, and choosing what settings you want, to get THE result you want.
Let your creativity flow, see in your mind the things you want to create, then adjust your camera settings to capture that moment and create that visual.
As I always say: “You’re the photographer. Take control.”
Are you convinced you should stop using auto mode? Let me know if this article helped you decide, or if you learned something!
Stay tuned for future articles helping you get out of auto.

Pin this to Pinterest!
Enjoyed this guide? Then help a fellow traveler and pin it! They'll most definitely love you for it, 100% guarantee.